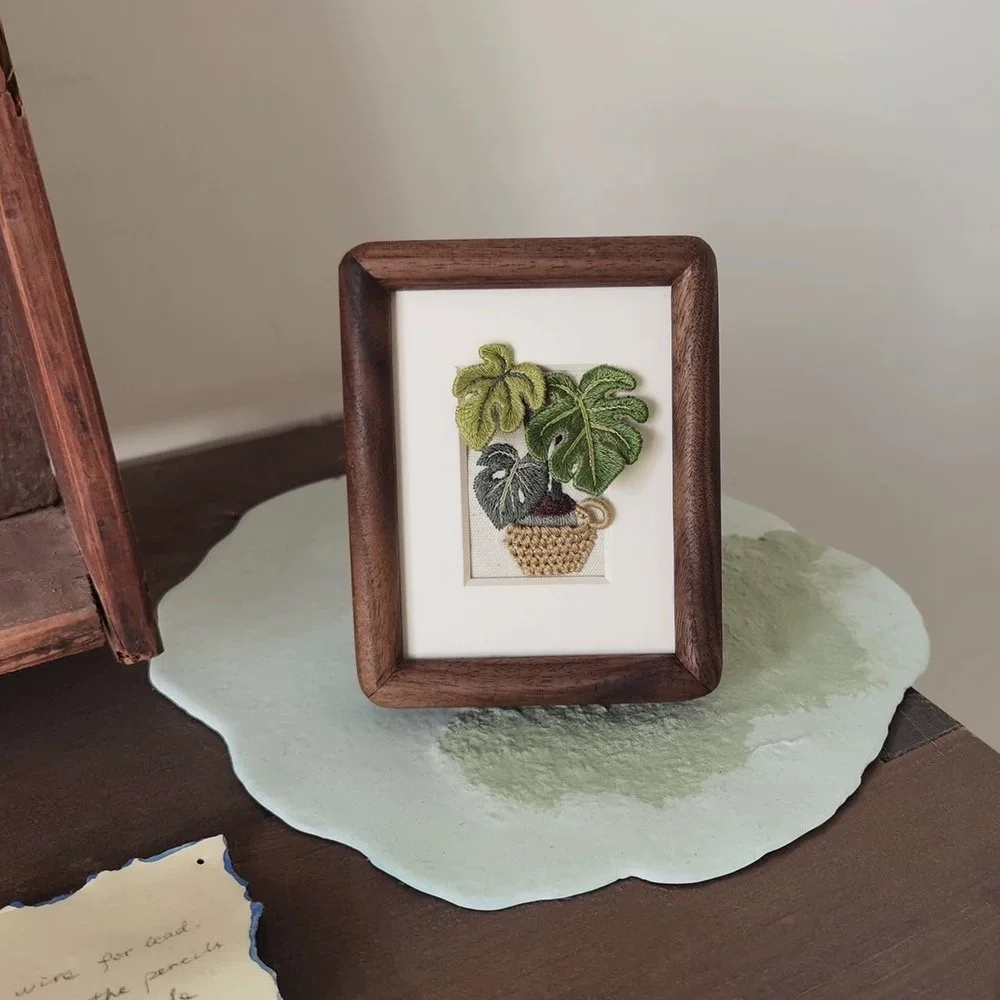
3D Monstera Embroidery Kit
- Full Embroidery & Assembly Tutorials
Embroidery Tips for Beginners
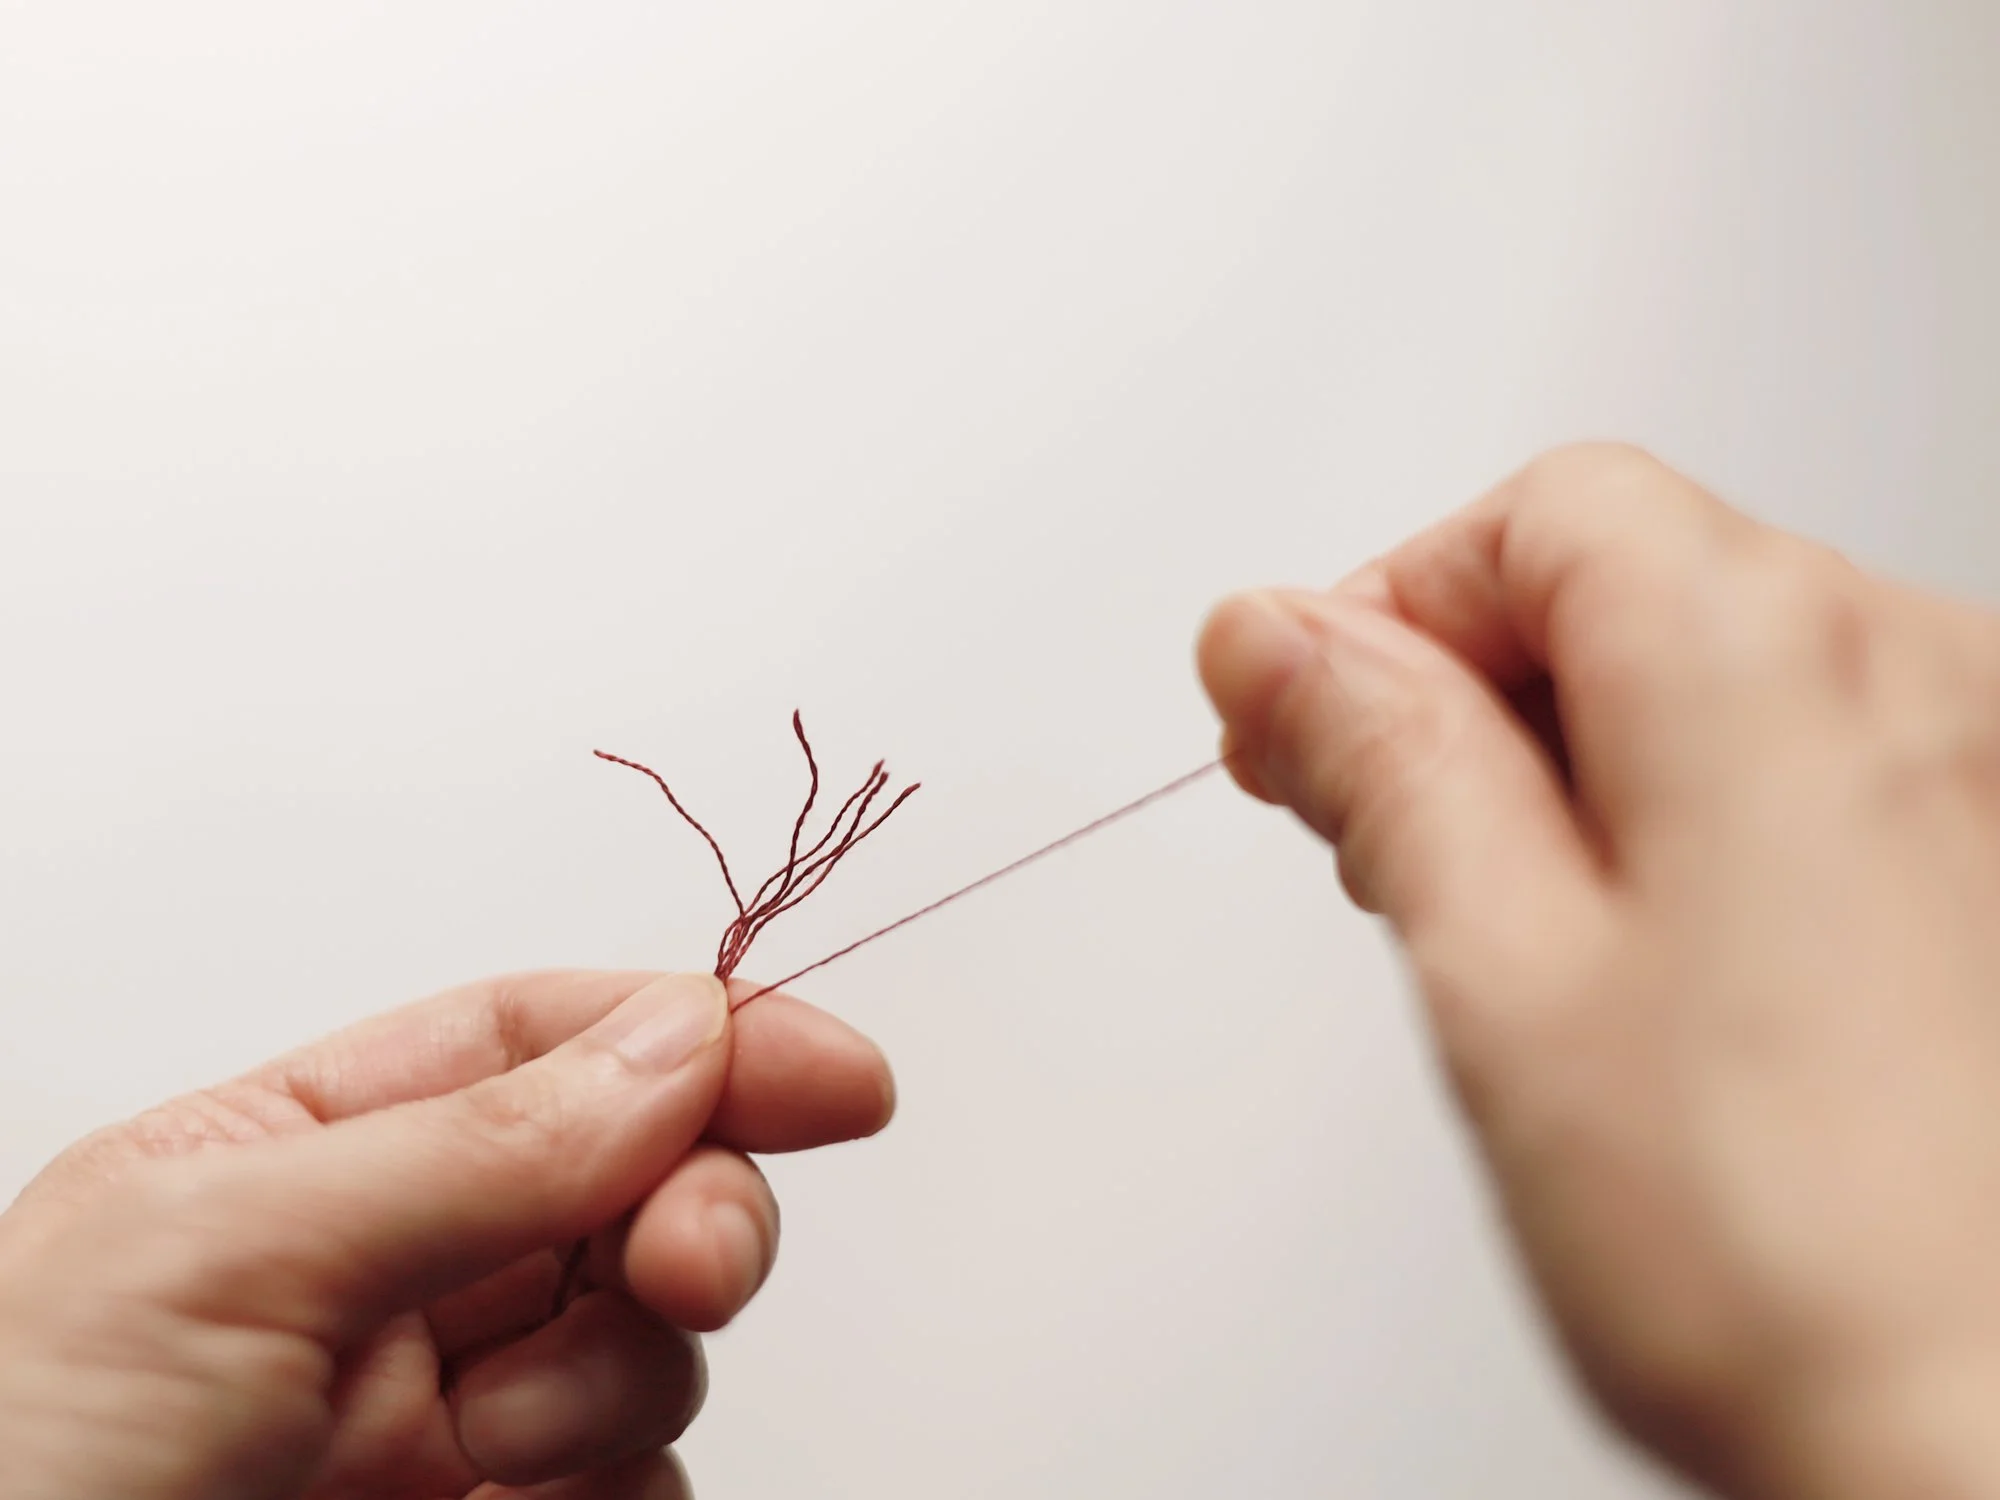
The standard stranded cotton embroidery thread has six strands of fine threads twisted together into a big one (main thread). The instructions in our DIY kits and patterns will clearly indicate how many strands you will need to use for each part of the embroidery.
No matter how many strands you use, you will always need to separate each strand from the main thread first. Cut the thread to the desired length, hold it in one hand, and pull the strand out one by one until you have the required number. Gather them into a single bunch for stitching.
Use one of the illustrated methods to thread the needle. Method A can be used for any number of strands, while Method B is suitable only for an even number of strands.

Embroidery Tutorial 1 - Surface Embroidery
Embroidery Tutorial 2 - 3D Embroidery
Important Update: As you can see in the 3D Leaves Embroidery Tutorial, trimming the leaves can take quite a bit of time and effort, as it can be difficult to remove all the frays.
While developing our other 3D embroidery kits, we discovered a much easier solution: apply Fray Check (also known as fray stopper or edge-sealing liquid) to the back edges of the embroidered leaves. Let it dry completely before trimming—and it worked like a charm! Alternatively, white craft glue also works well if you don't have Fray Check.
With Fray Check or glue, trimming the leaves feels almost like cutting paper—there are virtually no frays to deal with, so there’s no more endless trimming to achieve a clean, neat finish!