
Puppy Parade Kit
Full Embroidery Tutorials
Embroidery Tips for Beginners
Stranded cotton embroidery thread is made up of 6 strands. Our Embroidery Pattern and video tutorials clearly indicate how many strands to use for each part of the design.
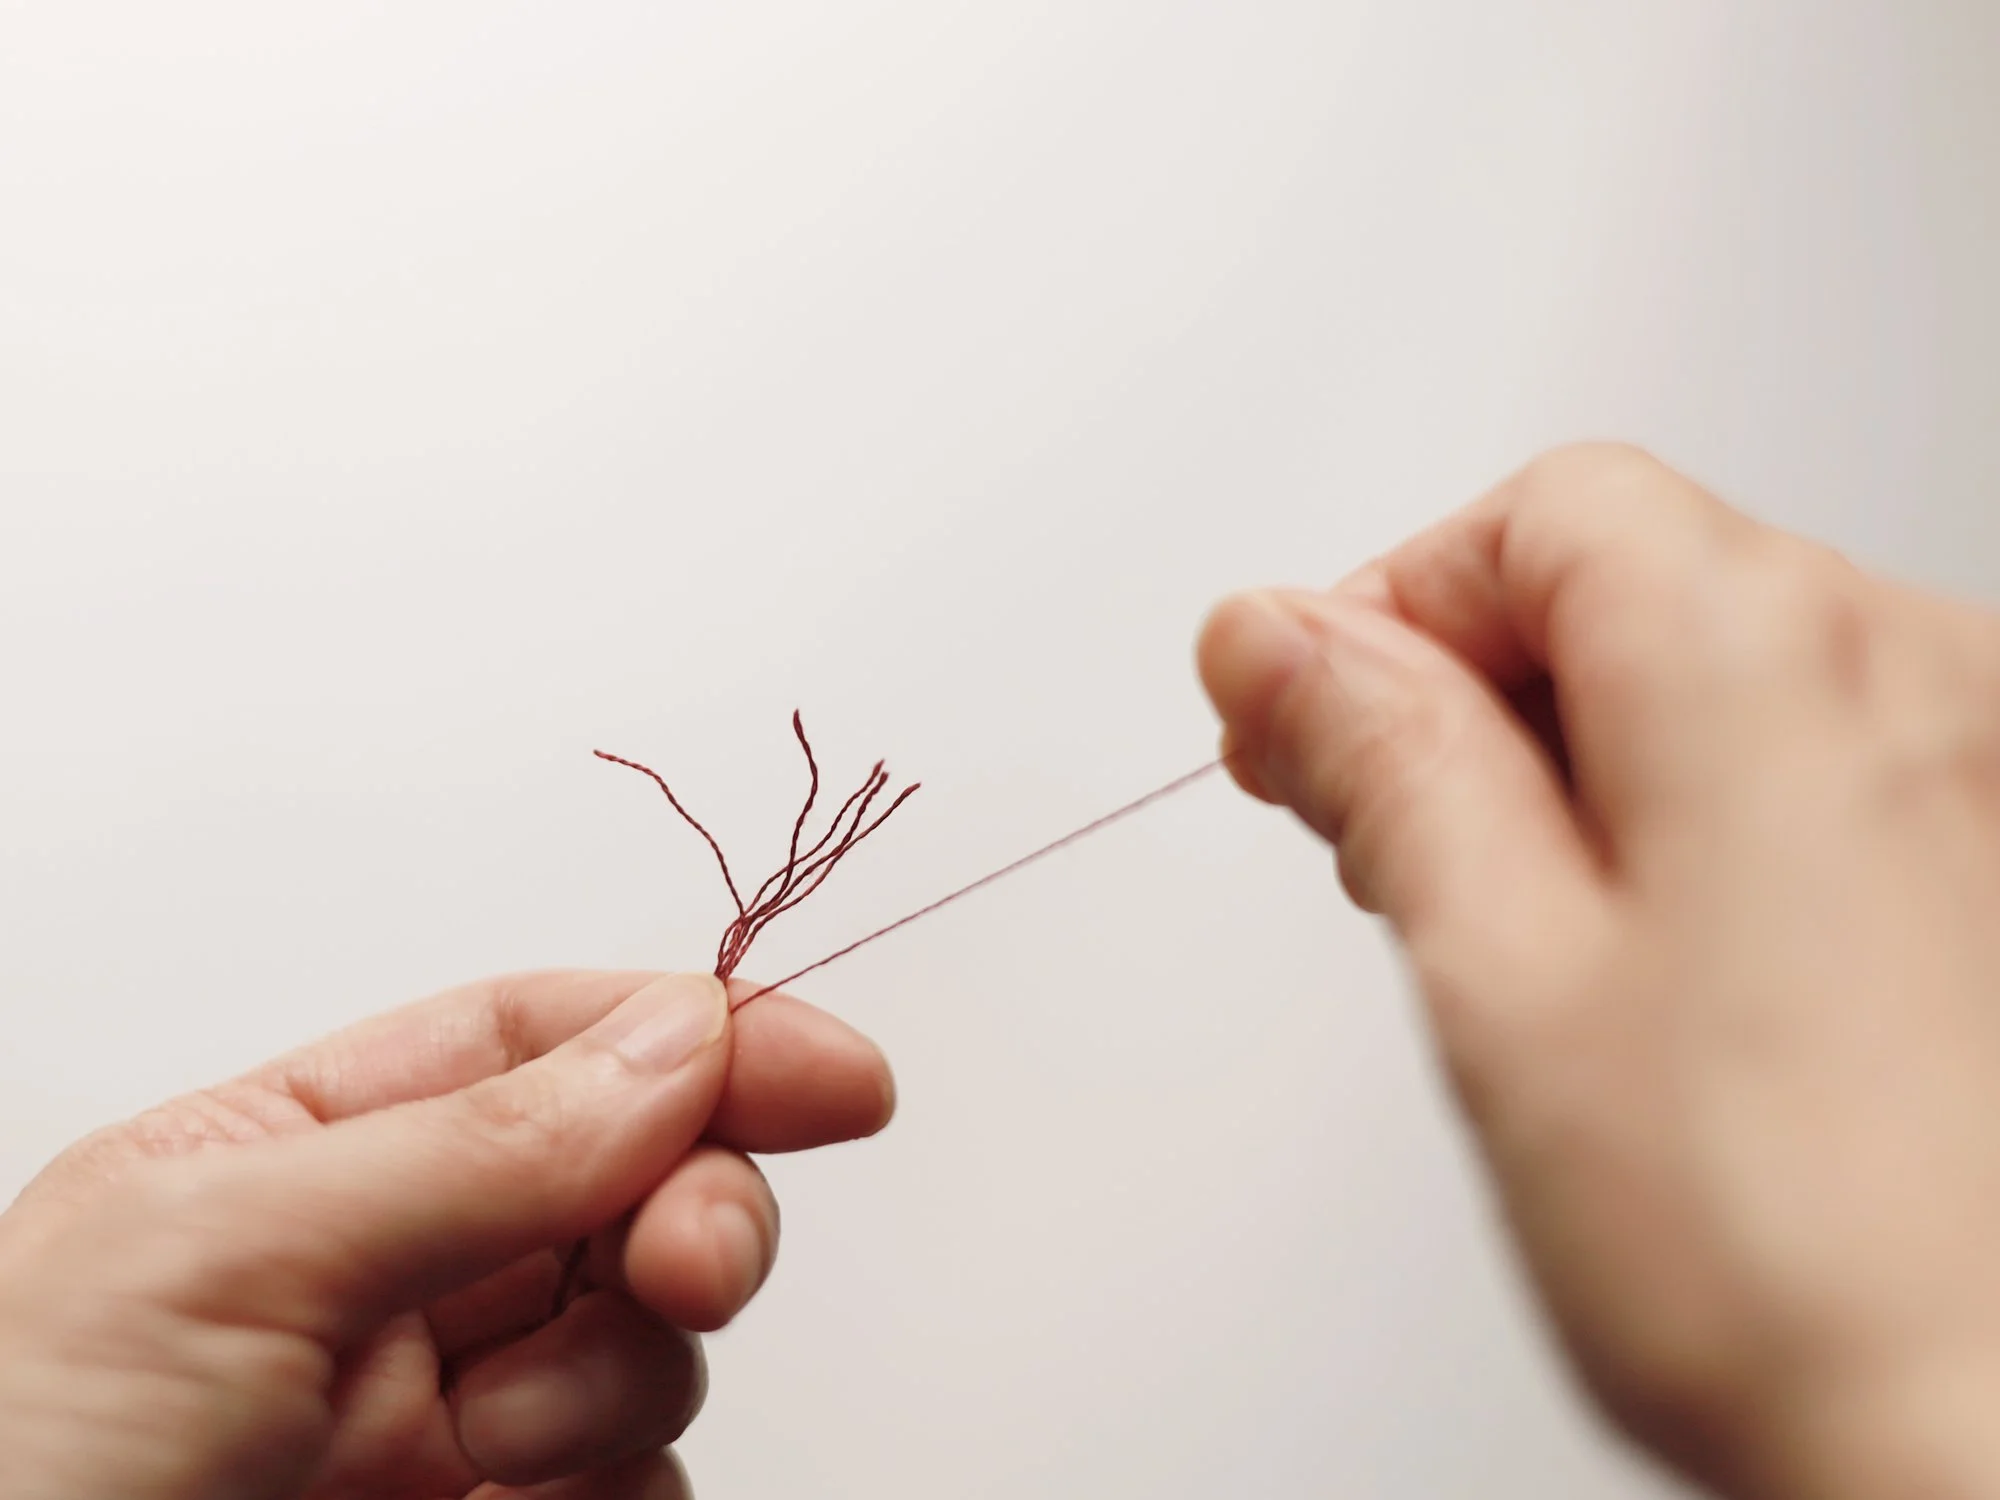
Cut the thread to the desired length, hold it in one hand, and pull the strand out one by one until you have the required number. Gather them into a single bunch for stitching.
Use one of the illustrated methods to thread the needle. Method A can be used for any number of strands, while Method B is suitable only for an even number of strands.

Get the Tension Right (SUPER IMPORTANT!)
One common mistake beginners make when embroidering is pulling the thread too tight after each stitch. This might not be noticeable while the fabric is still in the hoop, but it will be too late once the embroidery is complete and the fabric is distorted and puckered. This, unfortunately, can not be fixed.
This is why getting the right tension is crucial—especially when working with long and short stitch or satin stitch to fill a space, as these are the hardest to keep even! To achieve the correct tension, avoid pulling the thread too tightly after each stitch. The thread should lie flat against the fabric without causing puckering or distortion (hard to see but you can feel the tension if paying close attention). After making a stitch, gently tug the thread until it is secure but not overly tight.
It also helps with stabiliser (interfacing) and hoop. Keep the fabric taut in the hoop at all times, like the skin of a drum.
EP1: Pinscher
EP2: Shiba Inu
EP3: French Bulldog
EP4: Golden Retriever
EP5: Schnauzer
EP6: Poodle
EP7: Yorkshire Terrier
EP8: Corgi
EP9: Border Collie
Finishing
1. Once the embroidery is complete:
For stickers:
Trim off any excess sticker, being careful not to cut your fabric.
Soak the fabric in water for at least 30 minutes. The sticker usually dissolves within seconds, but it will take longer as it is mostly covered by stitches.
Gently run your finger along the edge of the embroidery to check if the sticker has fully dissolved — any residual sticker will feel like a slippery gel. Gently remove any residue, if present, and dry the fabric.
For bag kit, gently iron the bag to smooth out any creases.
For frame kit, lightly apply a hot iron to the printed areas to erase the pattern.
2. For the frame kit only: Cut the fleece interfacing to the same size as the inner frame (i.e. the one with embroidery) or 1~2mm smaller. Place the interfacing into the outer frame first, then position the inner frame on top, centred within the outer frame.
To keep the inner frame centred, insert folded tissues into the gaps on each side. Turn the frame over and insert the four screws into the holes on the back. If you’d like to hang it on the wall, use the tool set provided in the kit to install the hook.


Congratulations! Your embroidery project is now complete!
Visit our website www.montbleu.co.uk for more fun projects. (If you’re also a dog lover, be sure to check out our dog embroidery kit too! )
If you spot any mistakes in this tutorial or our video tutorials, have suggestions for improvement, or would like to share your finished projects, please don’t hesitate to contact us.