Rose Garden Sashiko Bag
Step-by-Step Photo Tutorial (Beginner-Friendly)
Project Notes
Fabric Choice: Medium-weight woven cotton or linen fabric (We used our indigo plant-dyed fabrics, which are ideal for Sashiko stitching.)
Interfacing: Midweight to heavyweight fusible fleece is suitable for this project.
Sashiko Thread: Medium Sashiko thread in your chosen colour. Sashiko thread cannot be separated, so use it as a single strand. 100 m of thread should be more than enough.
Fabric Markers: Heat-erasable markers are recommended for tracing the pattern on the right side of the fabric.
Other Notions & Supplies: One set of 14mm magnetic snap fasteners; one leather strap, approximately 55 cm long; assorted seed beads and bugle beads in your chosen colours & beading needle suitable for your beads (optional).
Each individual rose piece can be sewn by machine, but joining the pieces together is done by hand.
Sewing & Embroidery Tutorial
2. Cut interfacing pieces:
Using the stencils, trace the stitching outline onto the non-adhesive side of the fusible fleece, excluding the seam allowance. Cut out the pieces. You will need 6 pentagons and 19 hexagons in total.
Tips:
When cutting fusible fleece interfacing, trim around 2 mm inside the traced outline. Leaving a small gap between the interfacing edge and the stitching line helps reduce bulk and creates a cleaner, neater finish.
1. Prepare main fabric pieces:
Place the stencil on the right side of the main fabric. Using a heat-erasable marker, trace the pattern and the outer outline (seam allowance) onto the fabric.
You will need 6 pentagons and 19 hexagons in total. You can trace all the pieces onto the main fabric in one go, complete the stitching, and then cut them out.
Tips:
When tracing the hexagons onto a large piece of main fabric, arrange the patterns as shown in the first photo to maximise fabric usage. If you’re working with smaller pieces of fabric, adjust the layout as needed to fit as many hexagons as possible (see the second photo).
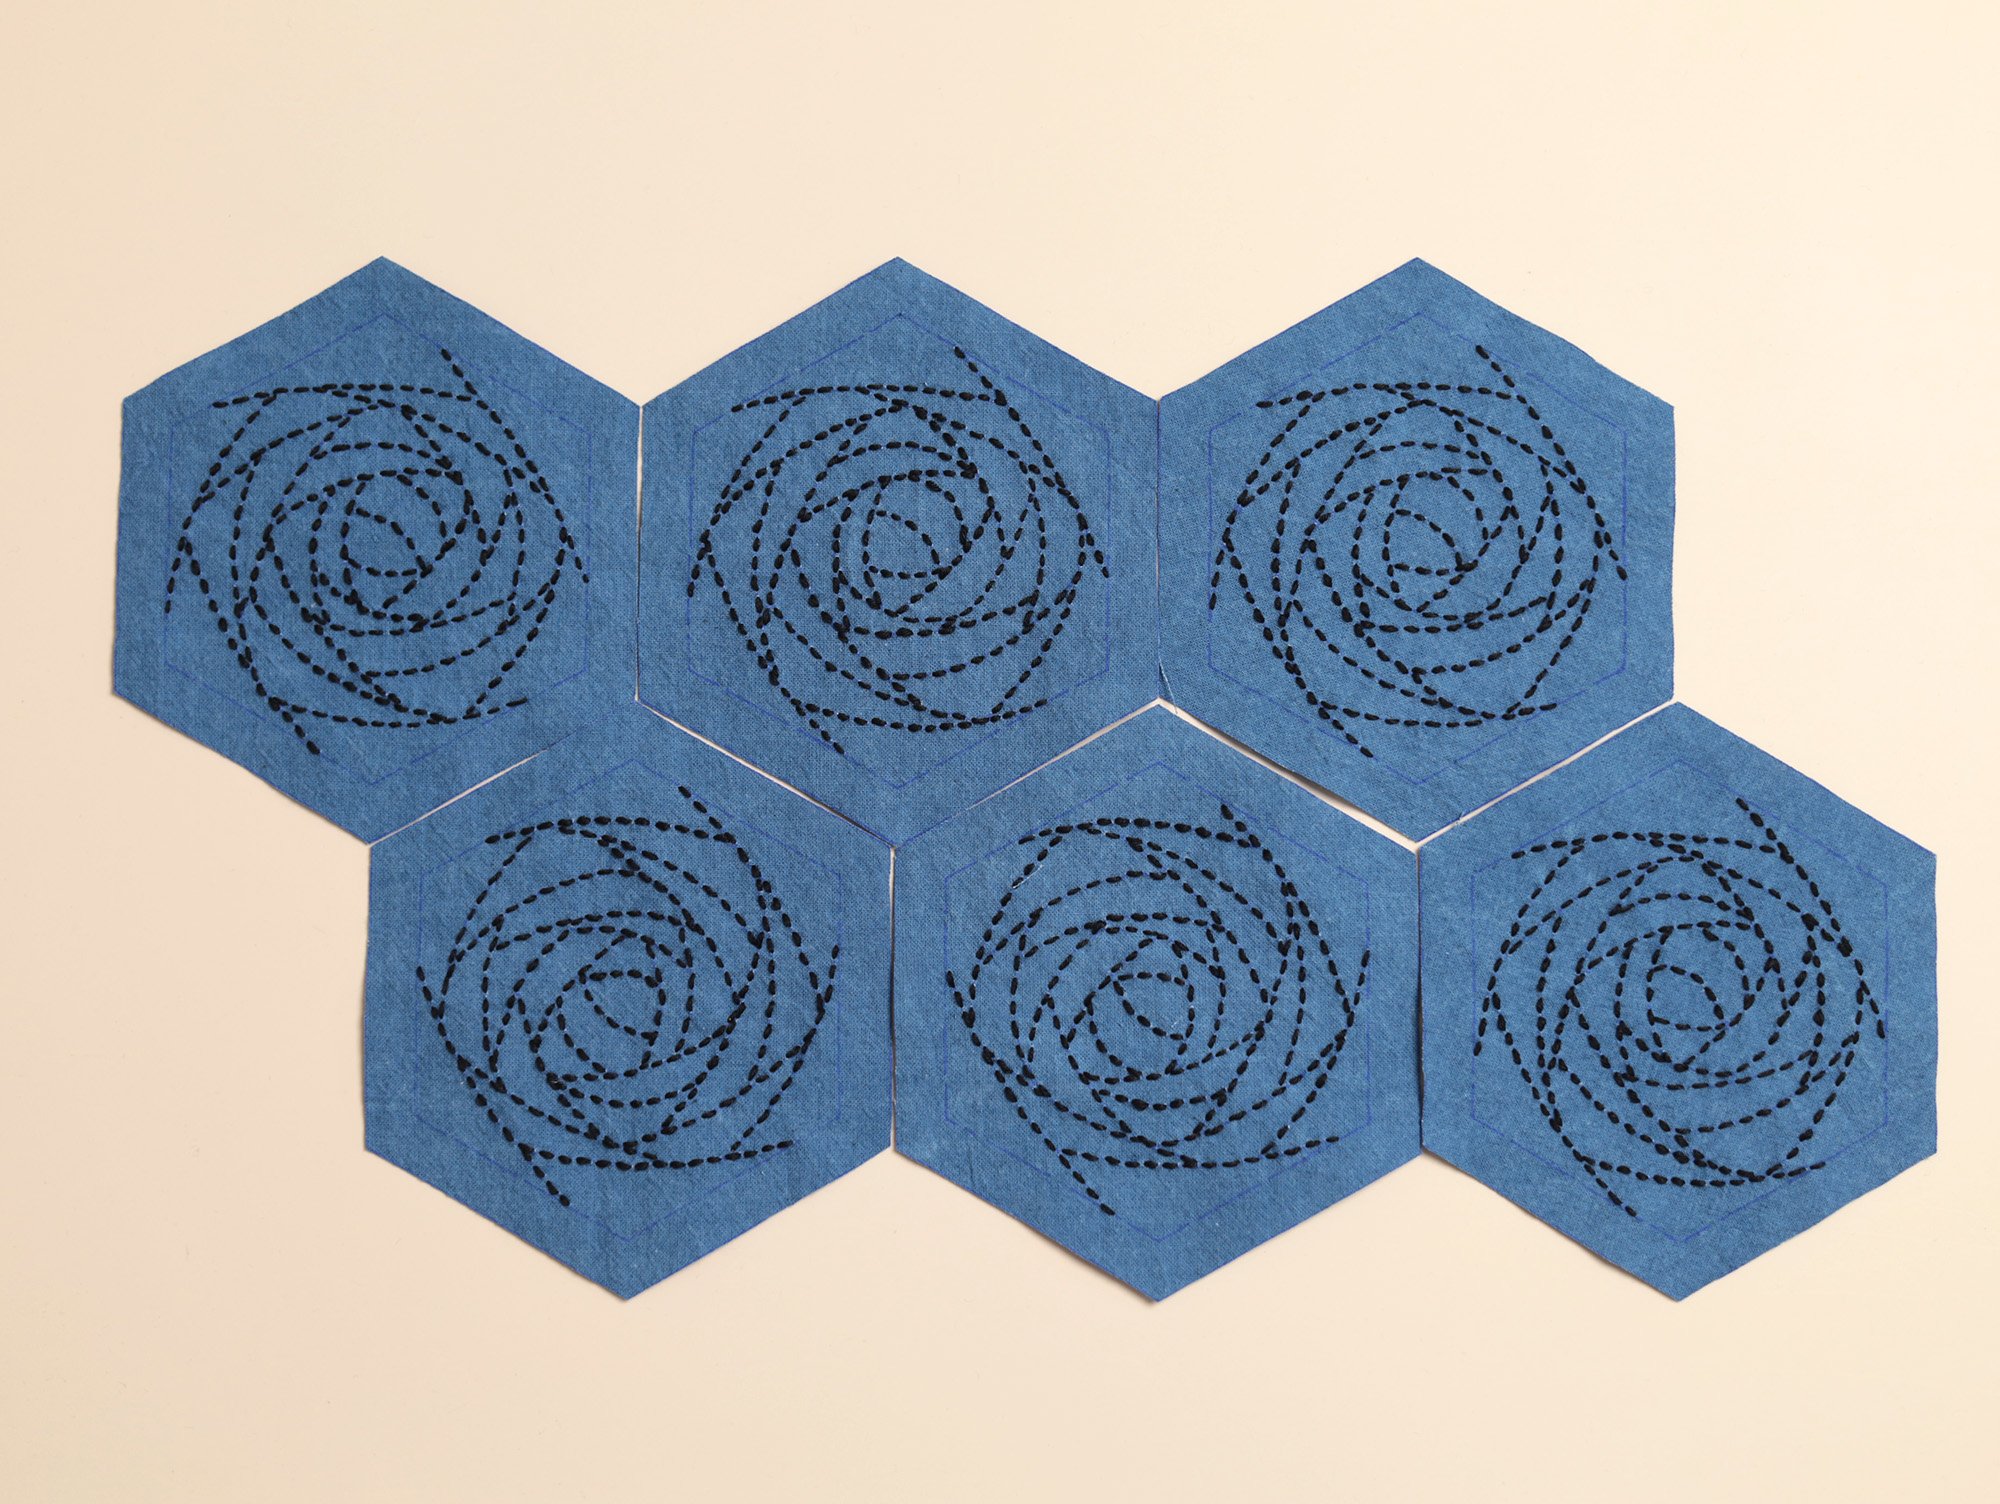
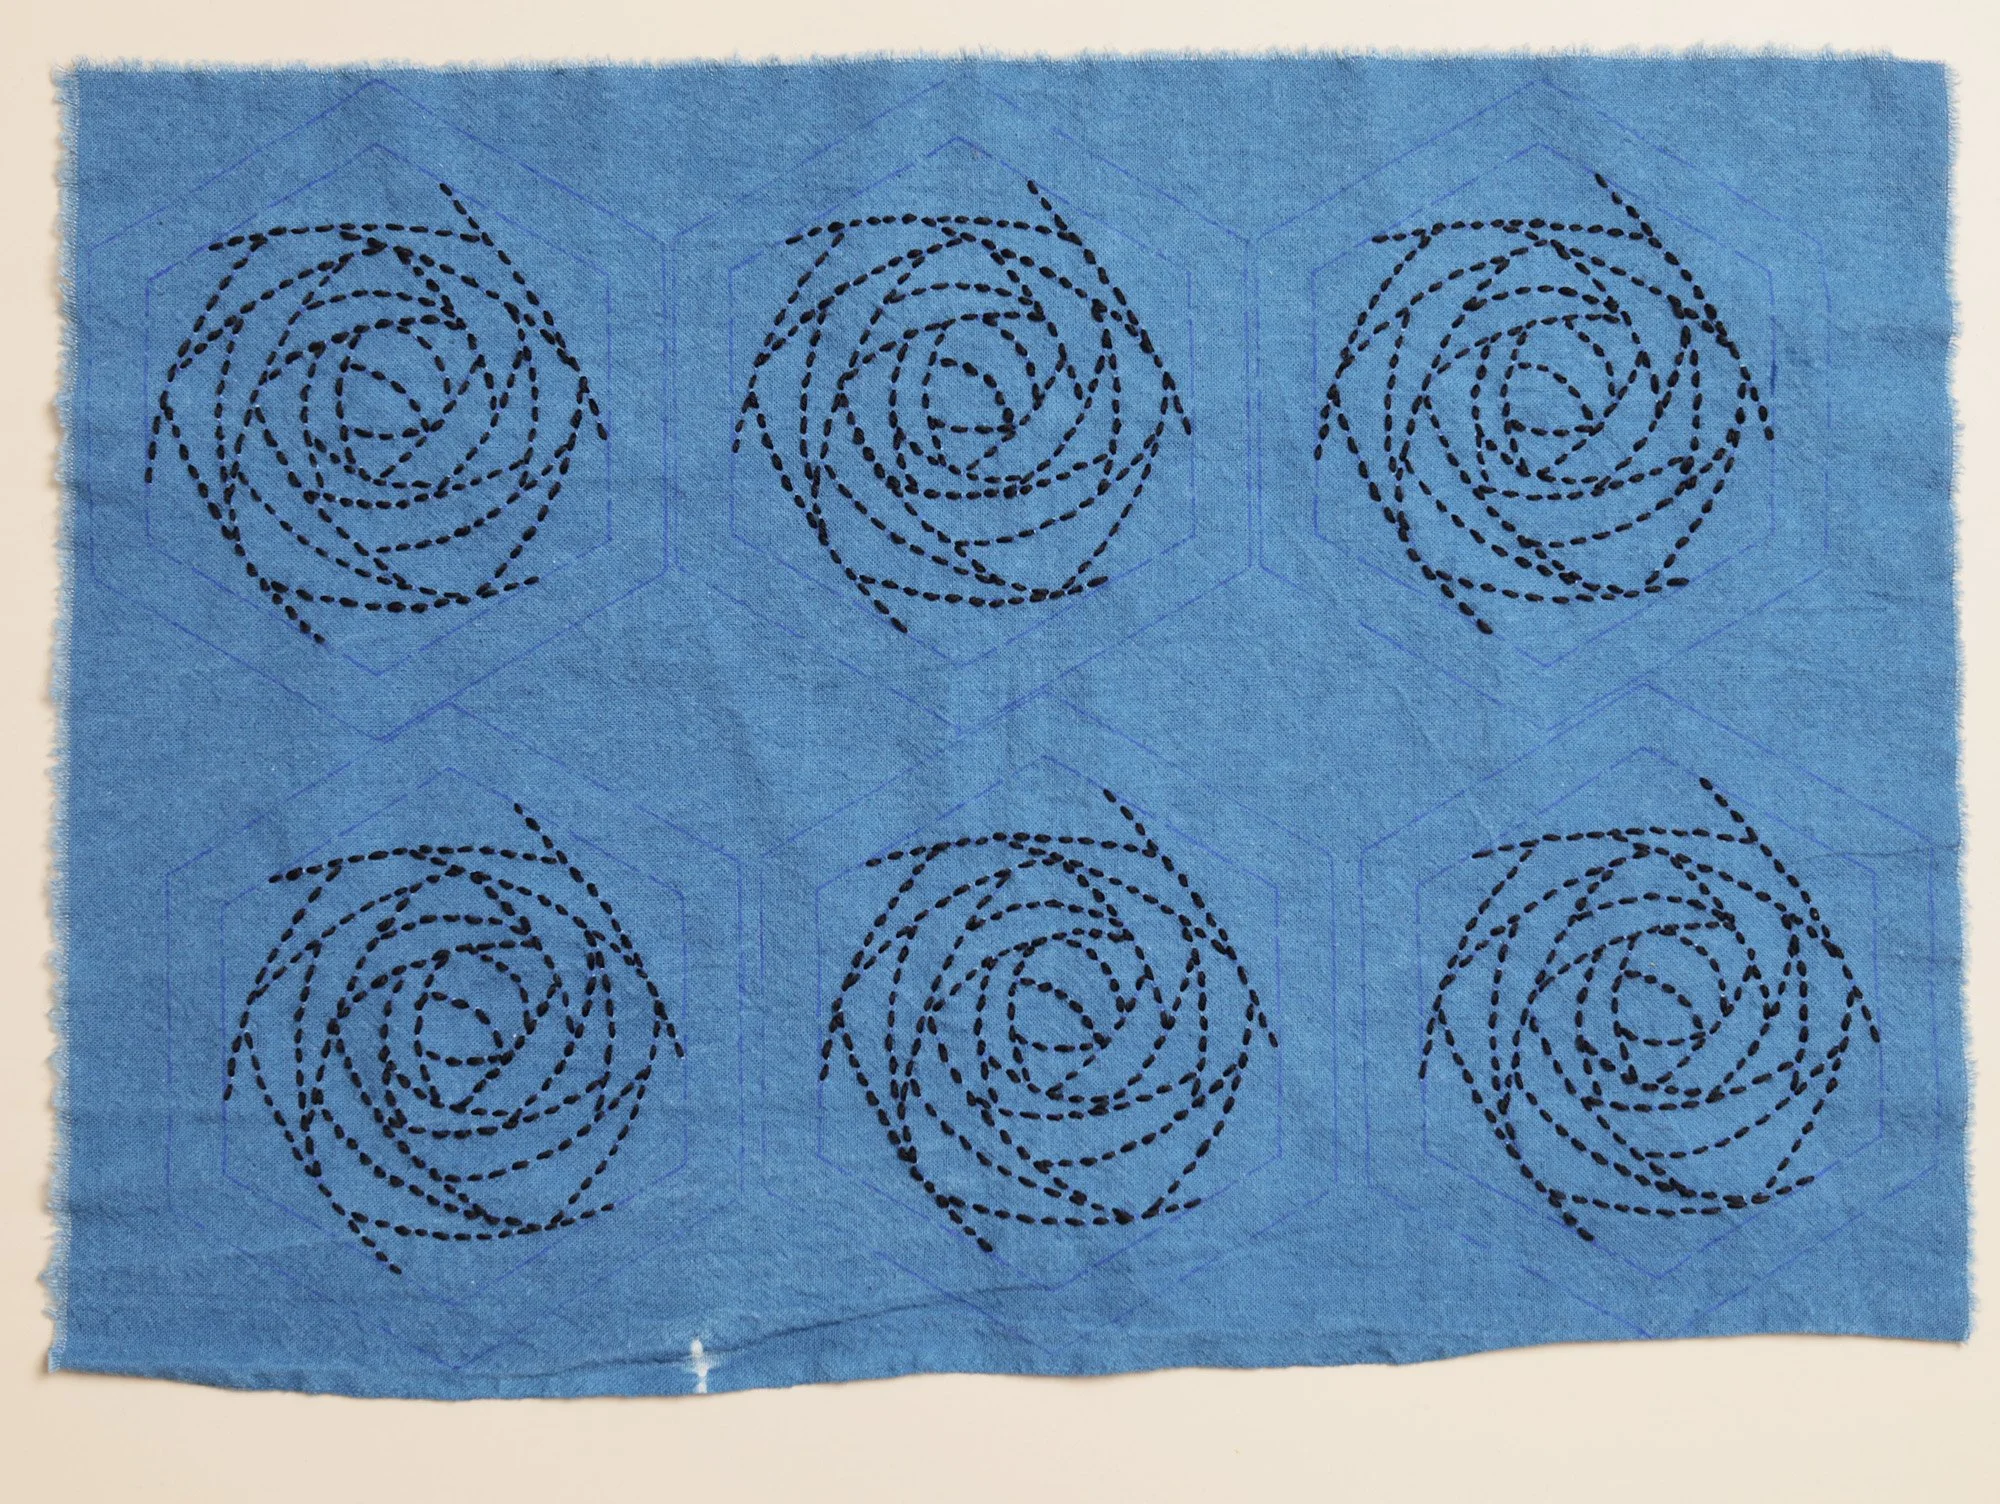
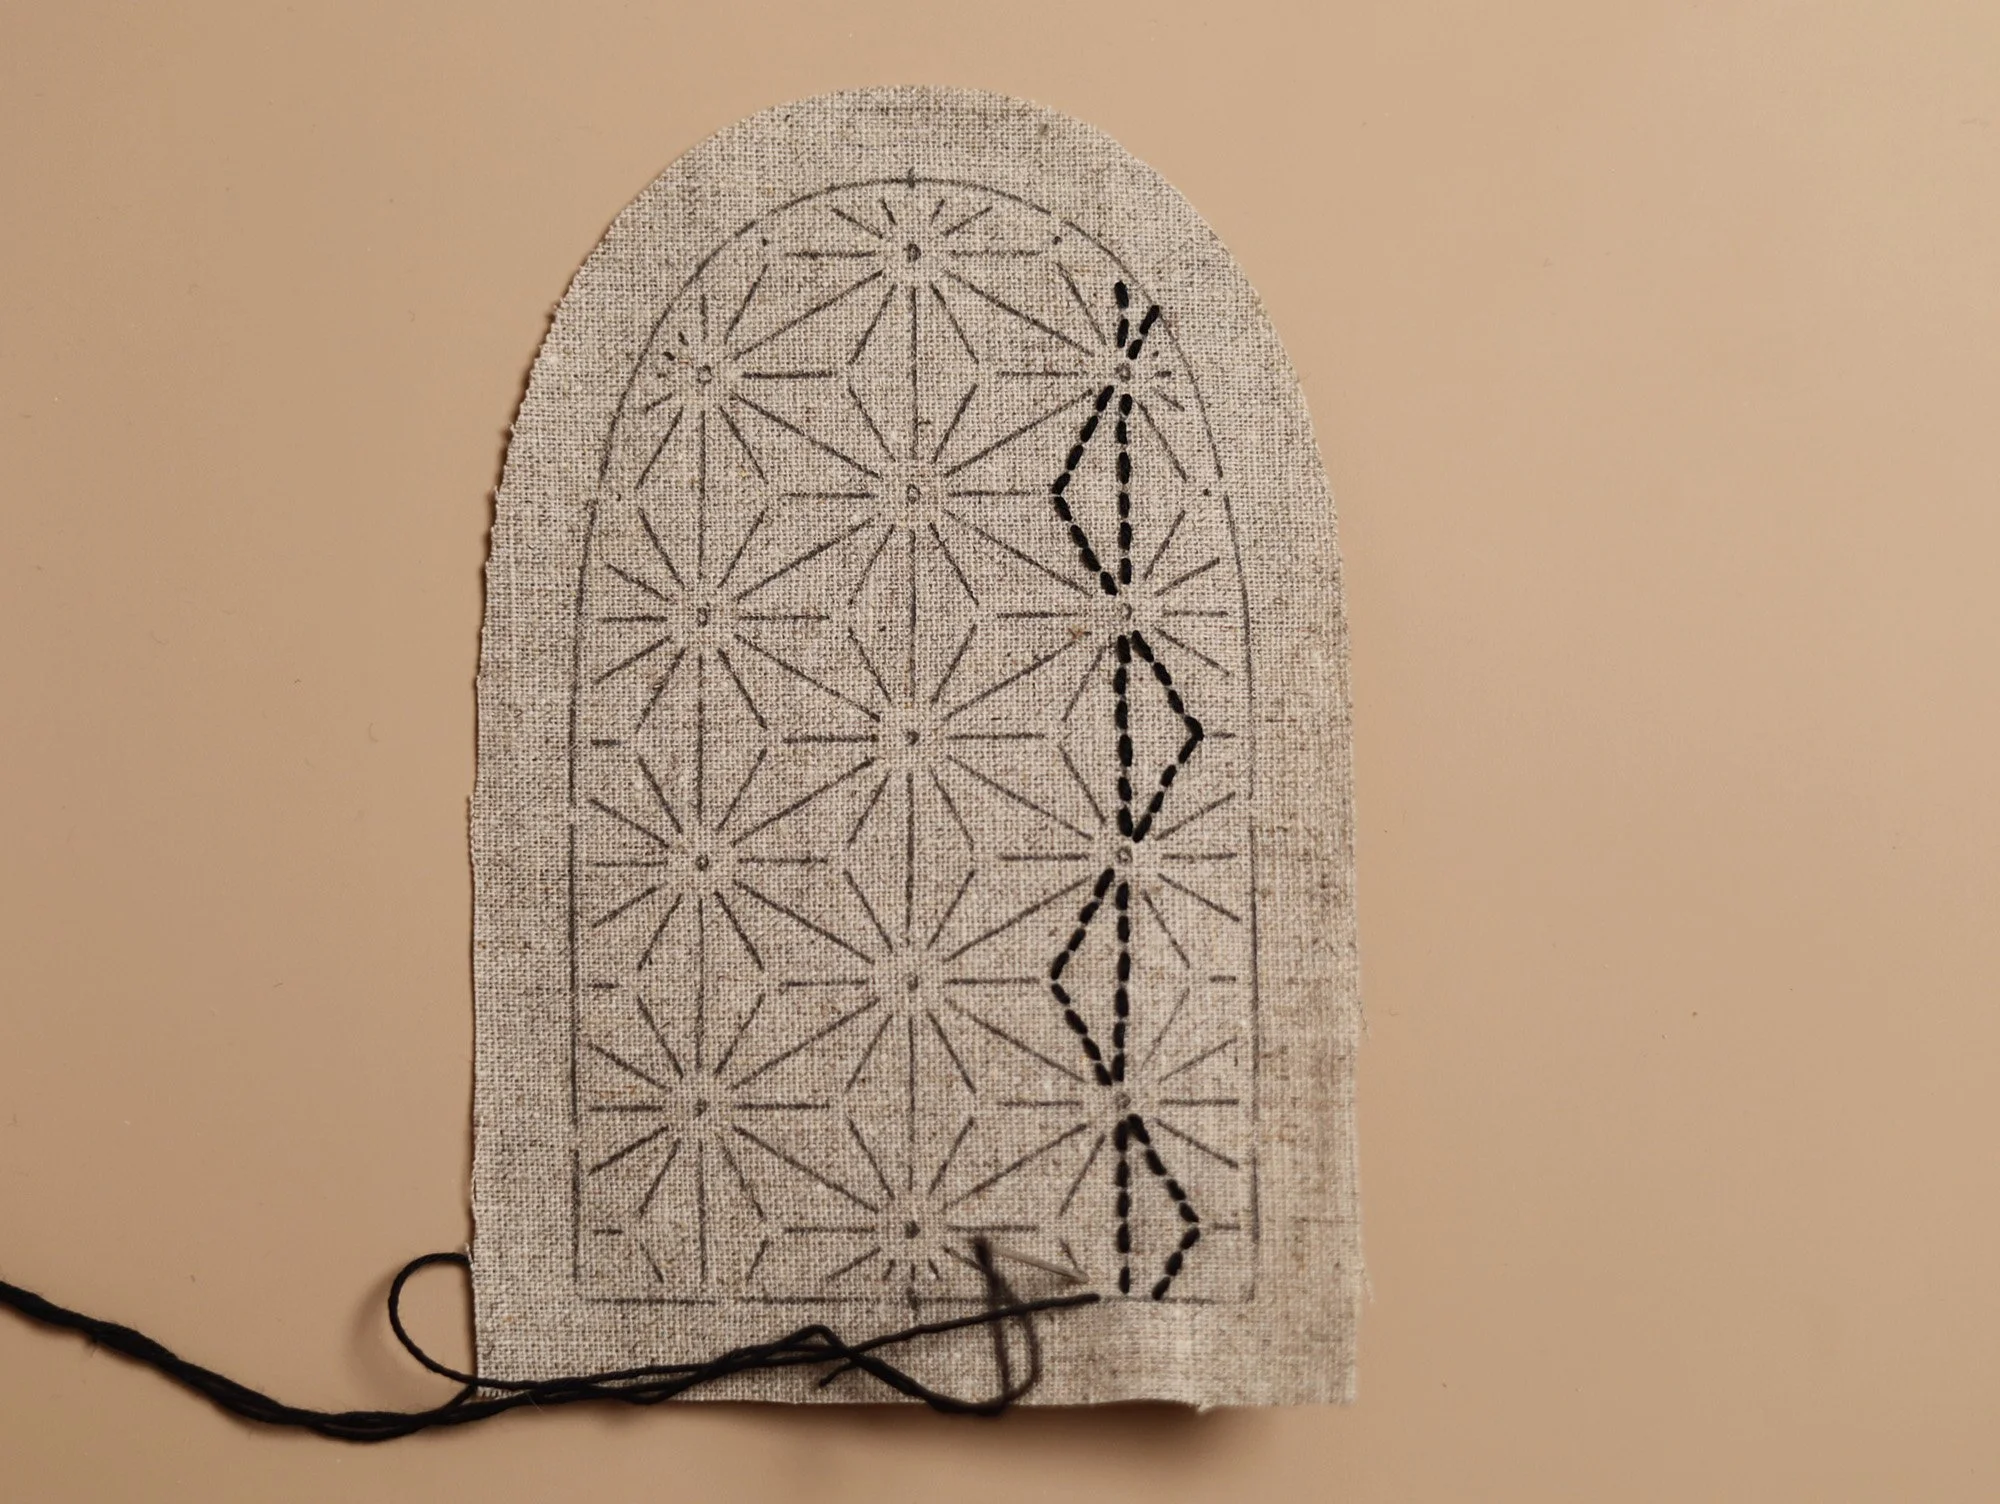
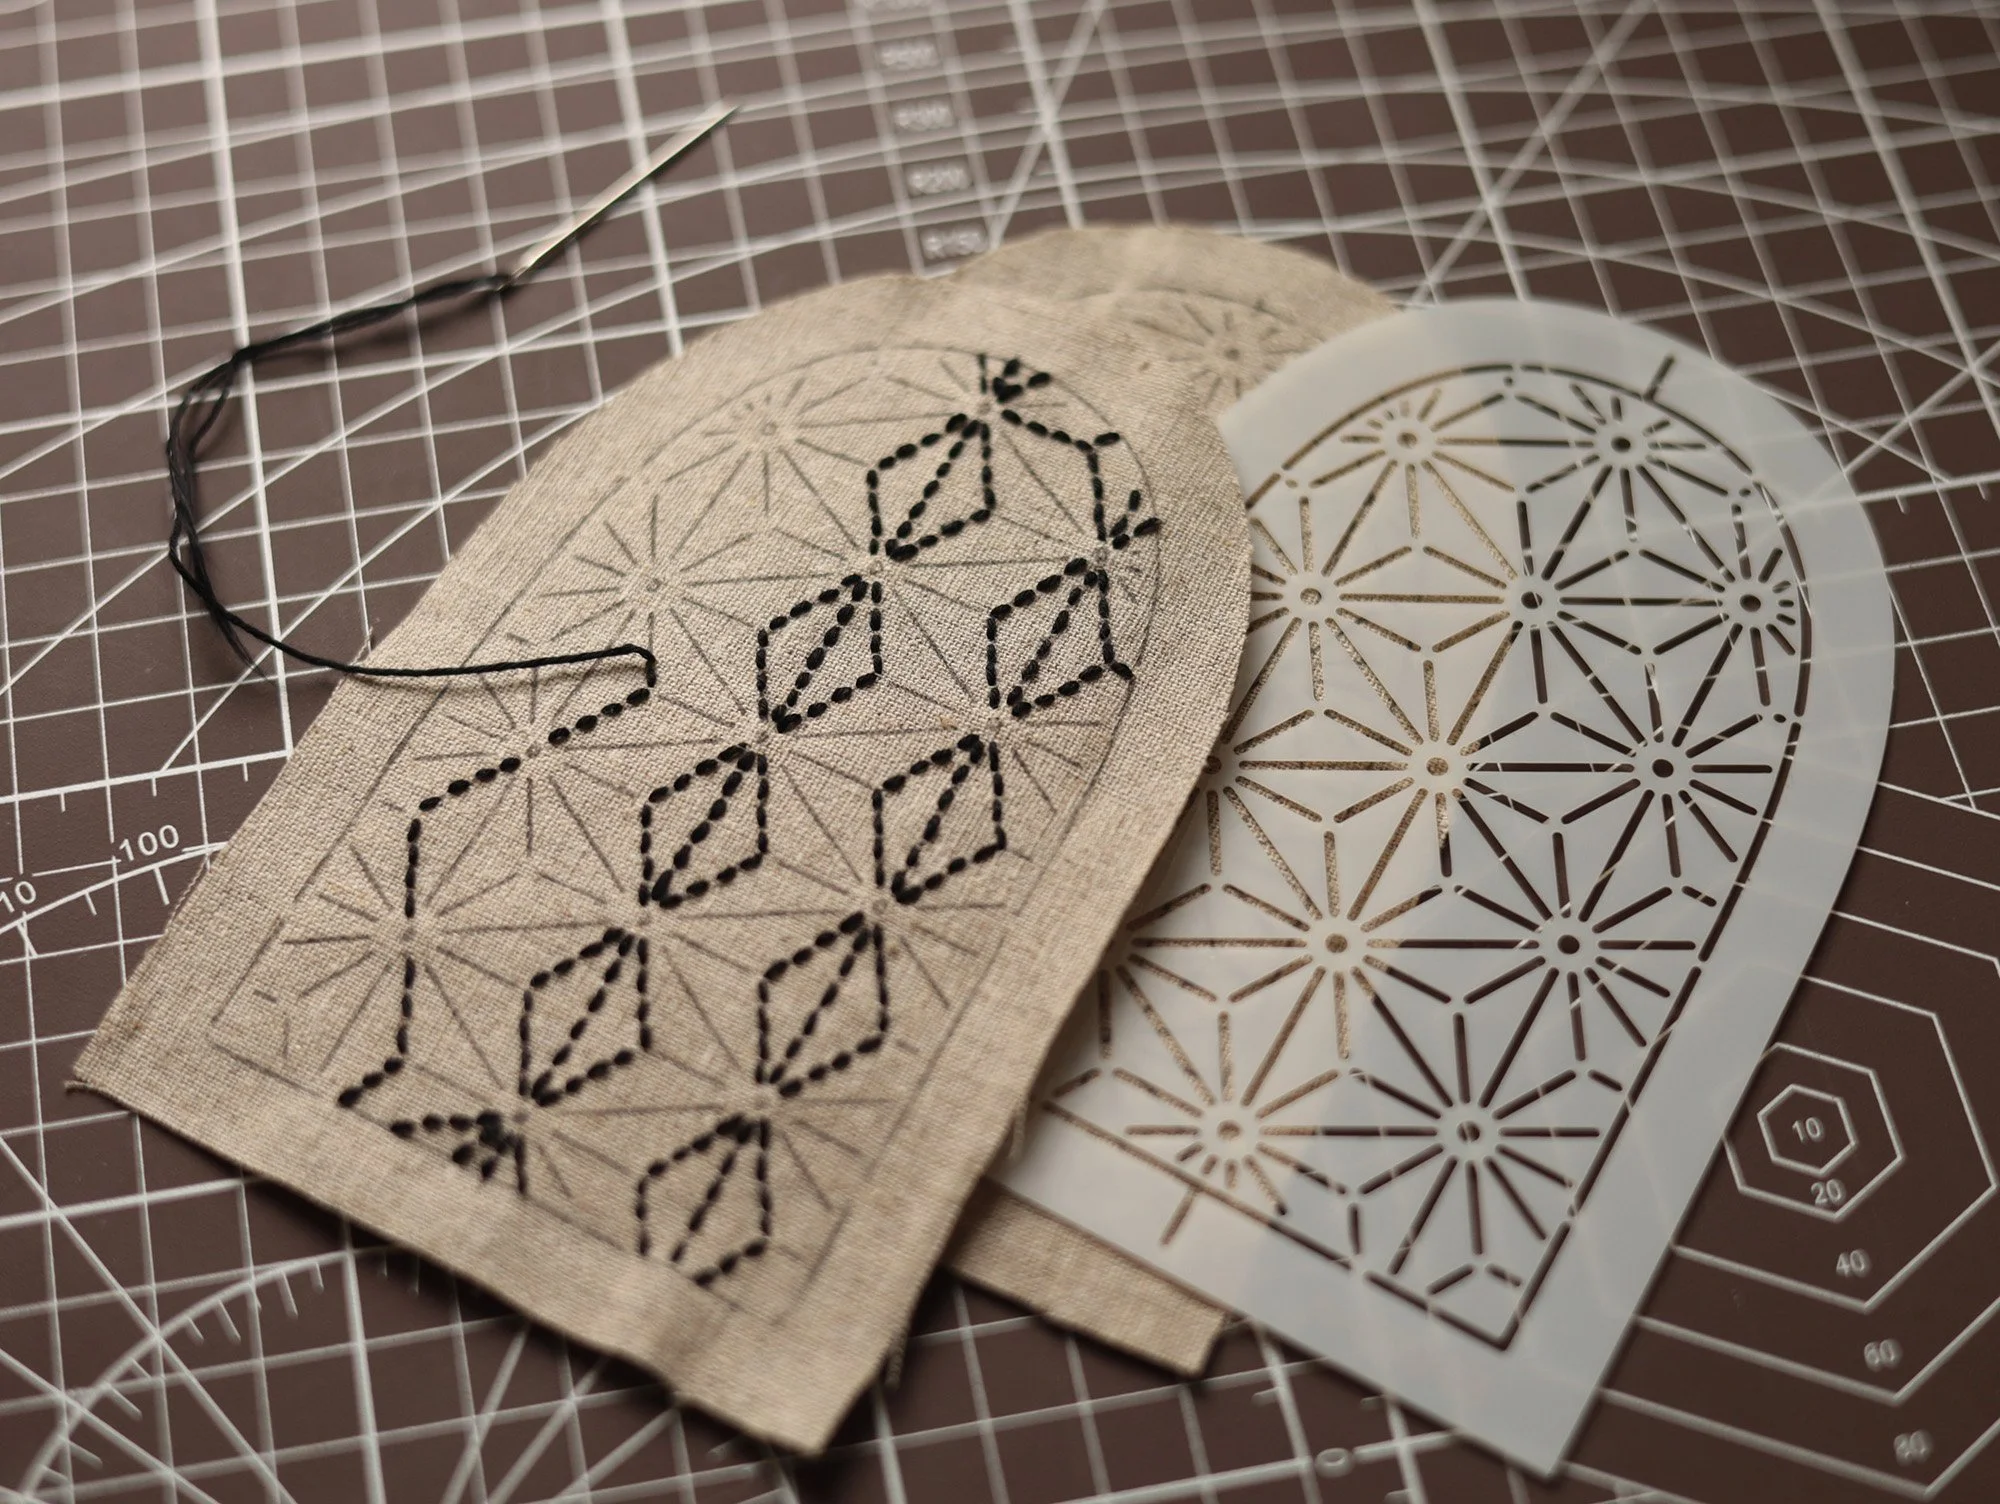
Sashiko stitching uses simple running stitches throughout the design. It is traditionally worked with a single strand of Sashiko thread, without a hoop. After completing each line of stitching, use your fingers to gently smooth out any gathering along the line. The stitches should lie relaxed on the fabric without pulling or creating tension. Move on to the nearest line and continue stitching until the entire pattern is complete. If there is no nearby line to continue with, secure the thread with a knot at the back, then start stitching the next line.
After cutting out all the main fabric pieces, use the stencils and a fabric marker to trace the stitching lines (seam allowances) onto the wrong side of each piece.
Apply the interfacing to the main fabric:
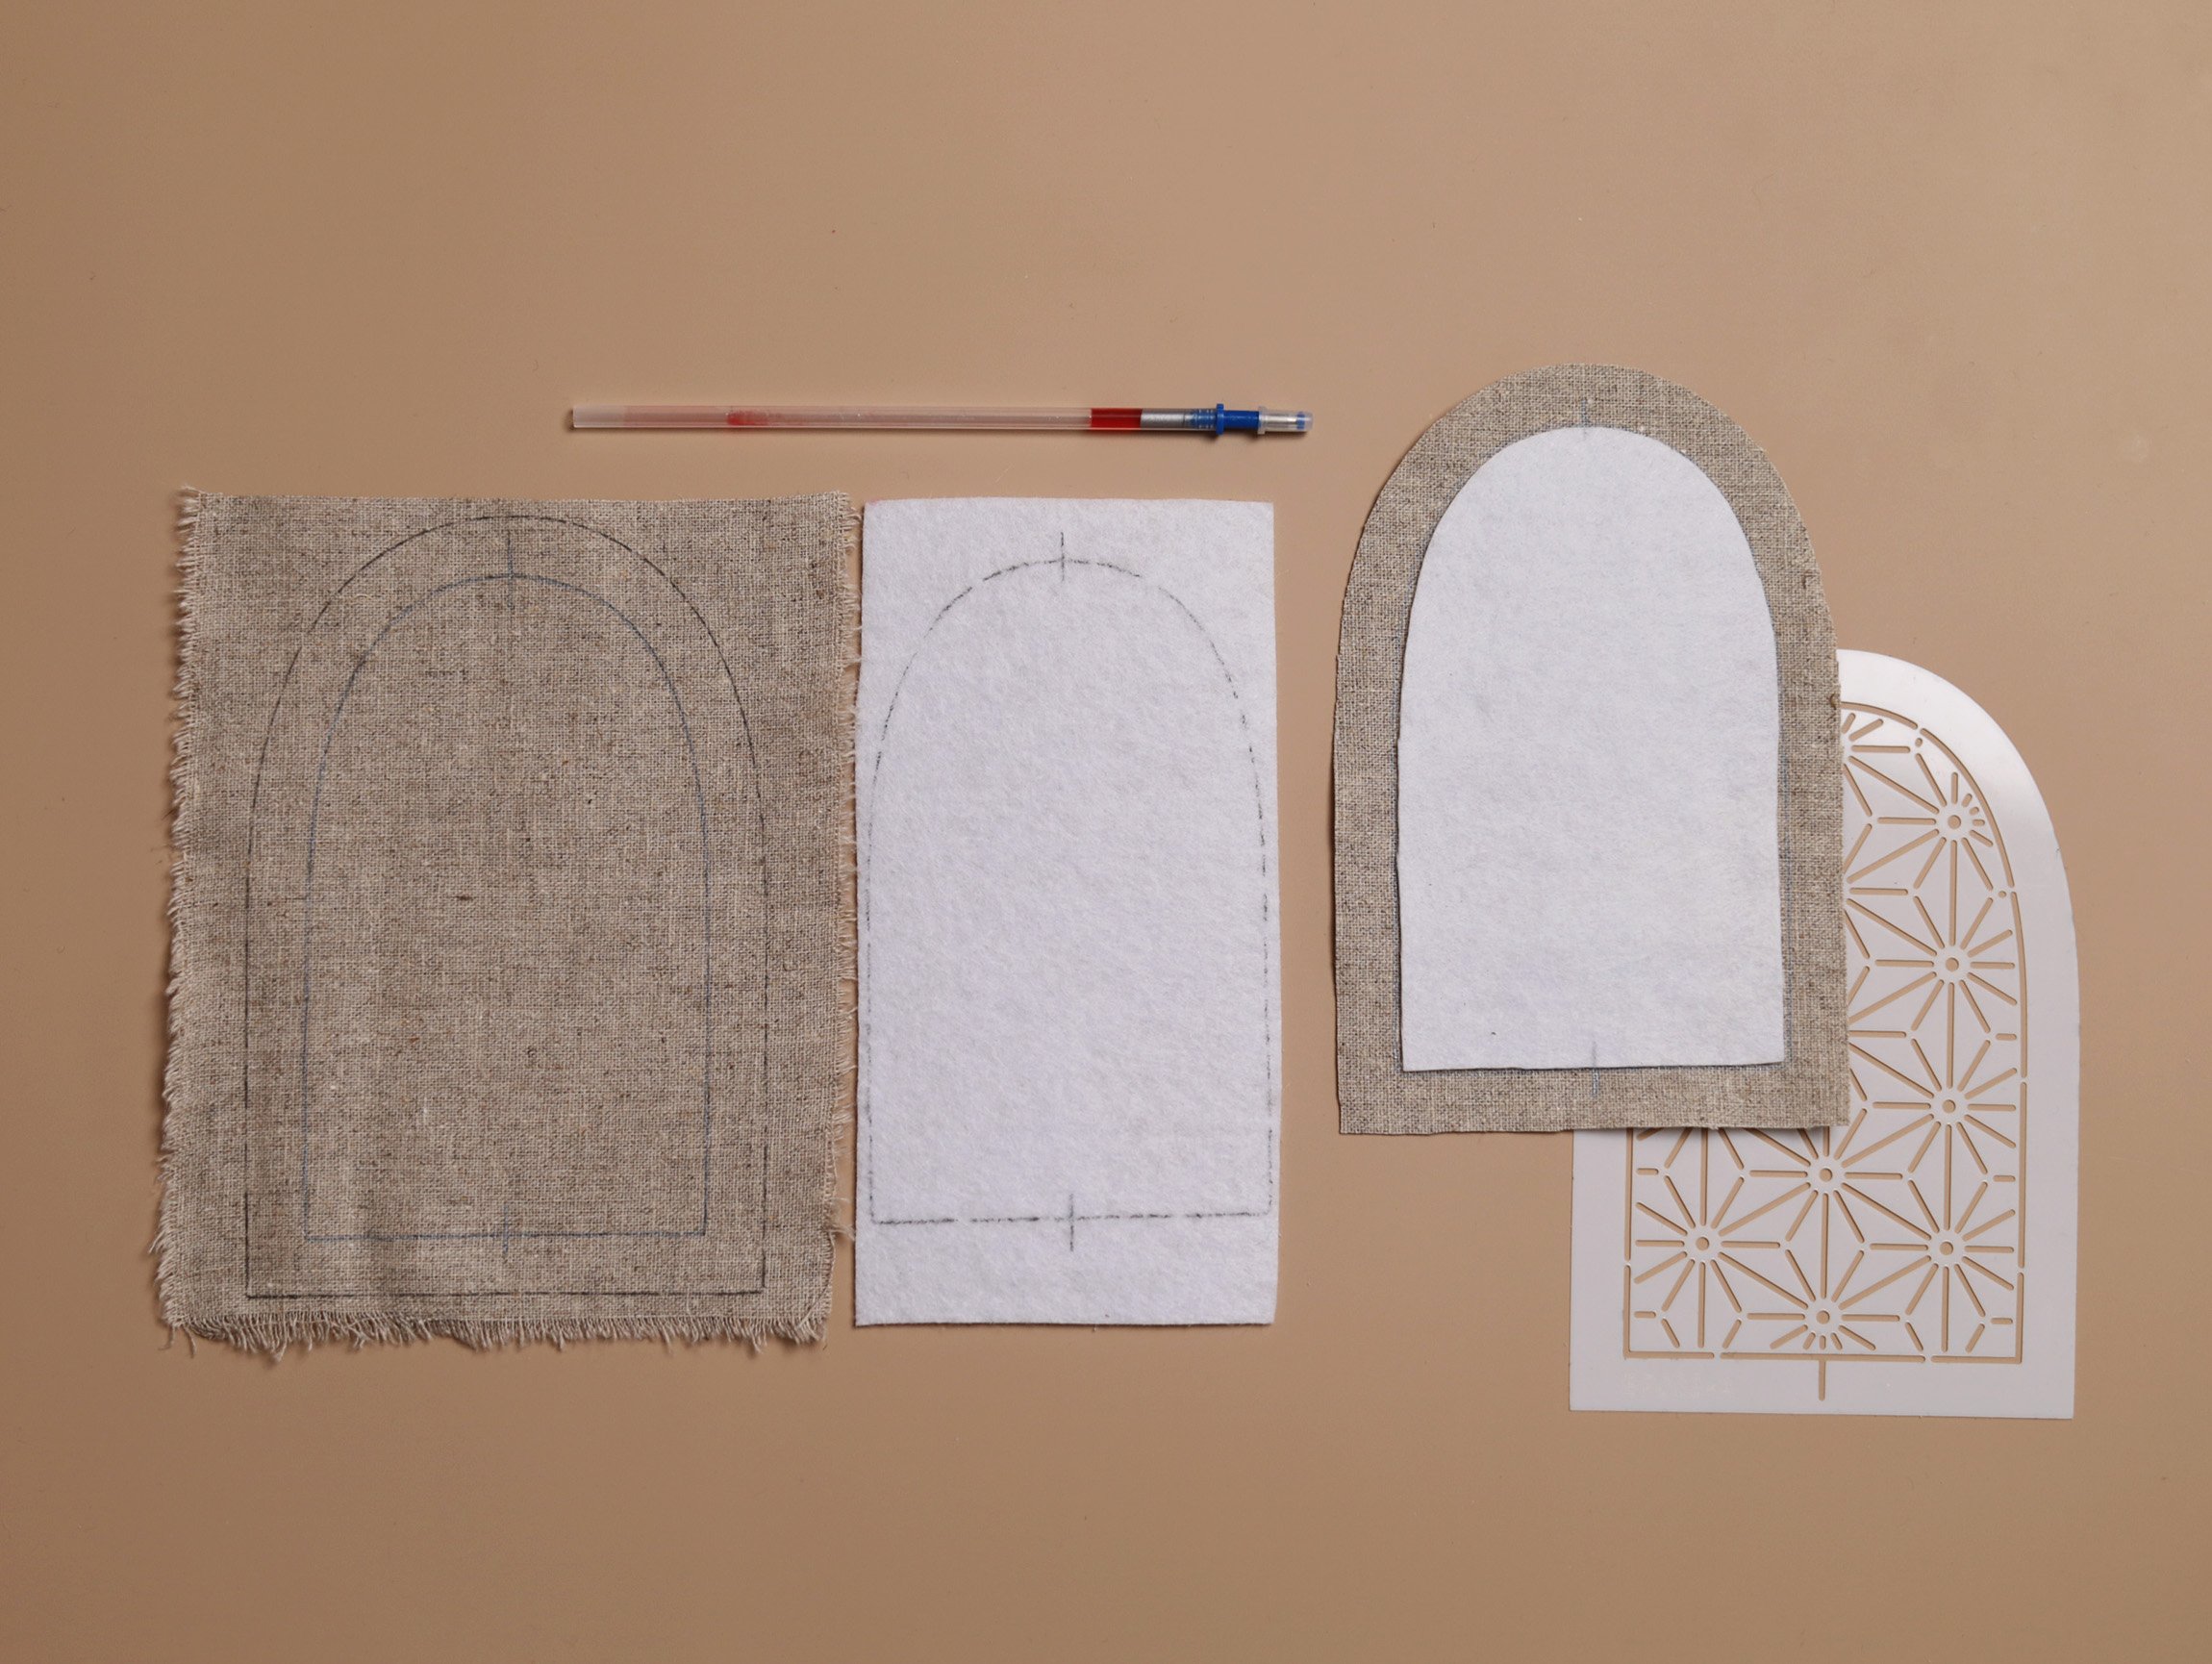
Place one interfacing piece on the wrong side of one main fabric piece, inside the stitching outline. Check that it does not overlap any of the stitching lines. If necessary, trim away the excess so the fleece sits approximately 1 mm inside the stitching lines all the way around.
Once the interfacing is centred within the stitching outline, cover it with a scrap of fabric and press to fuse it in place. Turn the piece over and press from the right side to ensure the fleece is securely attached.
Repeat the same process with the other interfacing and main fabric piece.
3. Trace the pattern:
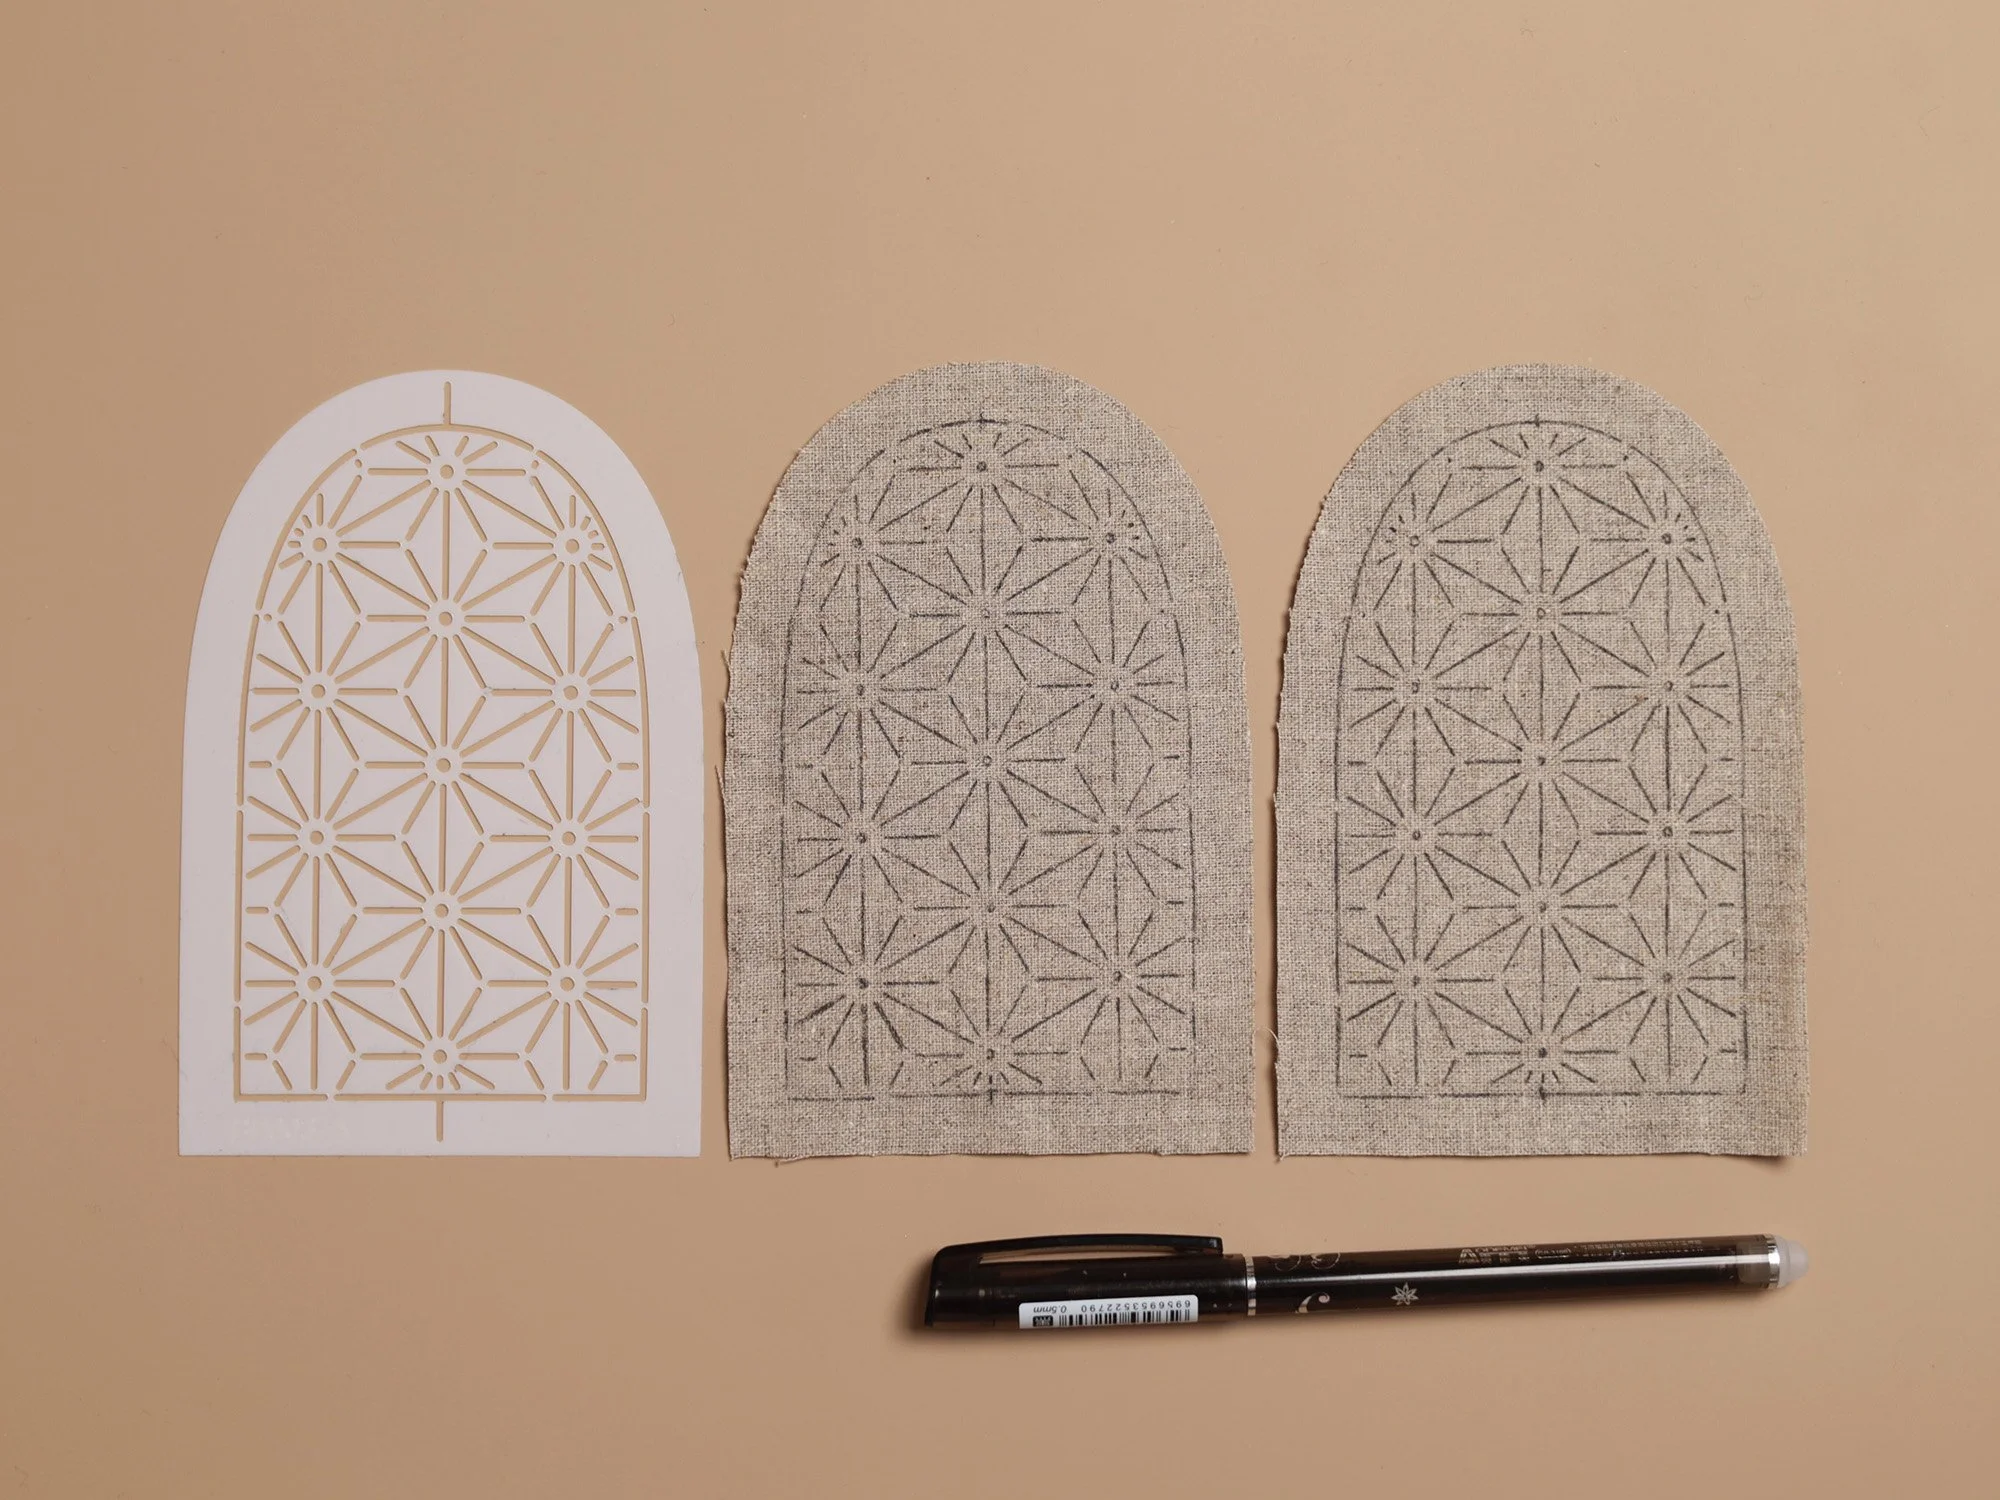
Place the stencil on the right side of one main fabric piece, aligning the edges. Trace the pattern onto the fabric using a heat-erasable pen or heat-erasable cream.
Repeat the same process with the other main fabric piece.
4. Sashiko Stitching
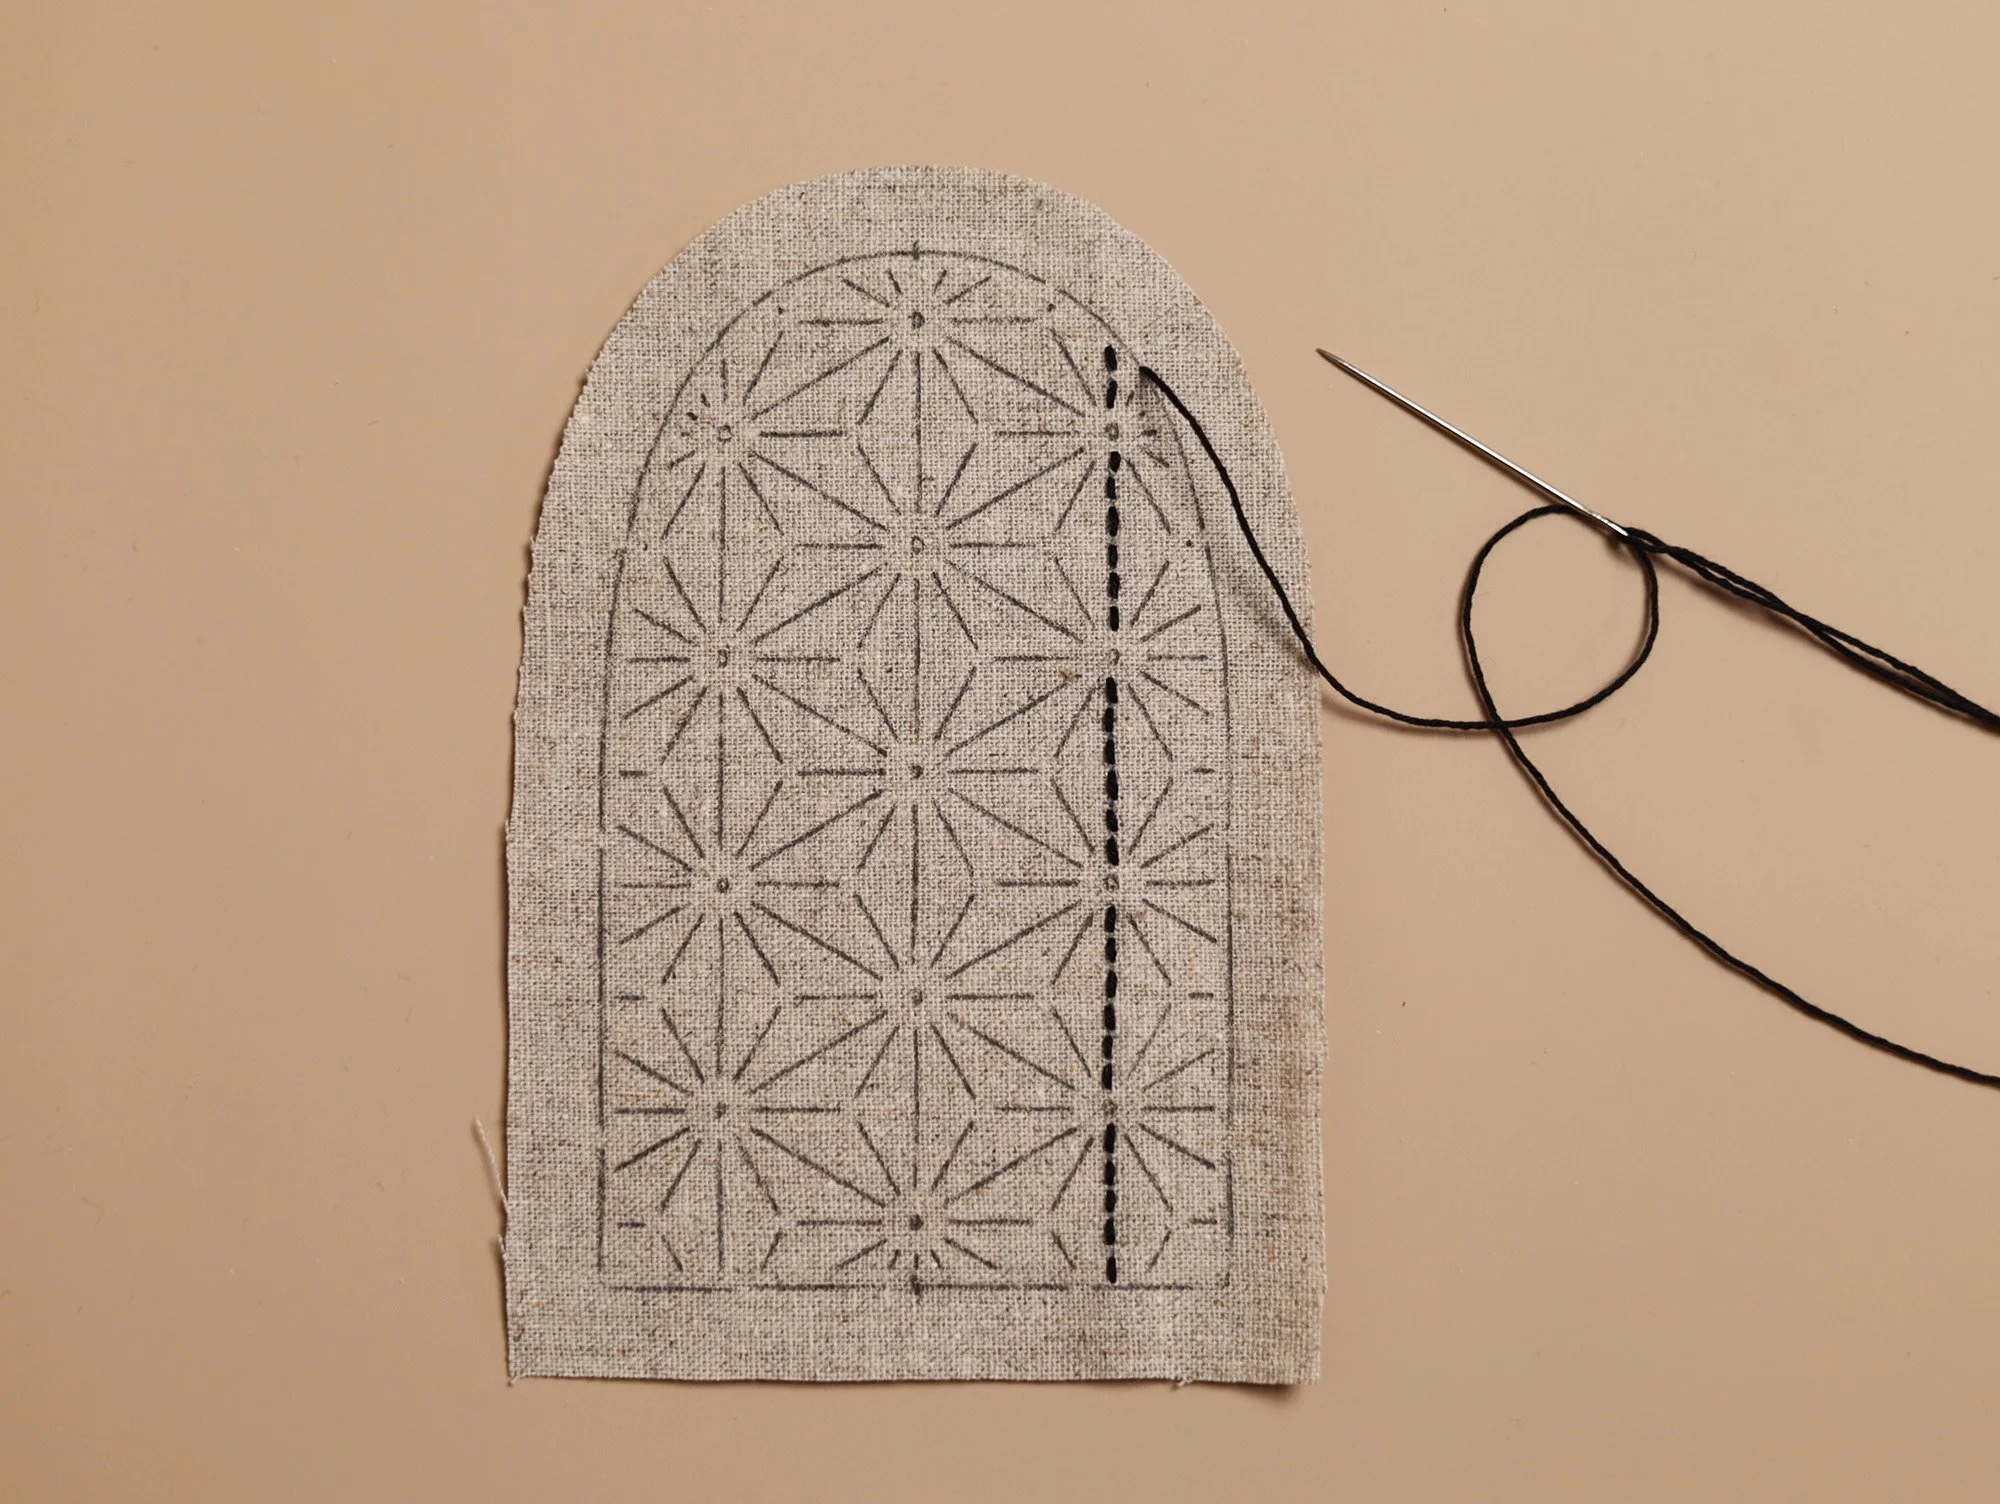
Thread your Sashiko needle with approximately 60 cm of thread and tie a knot at one end.
Start stitching use running stitches, keeping the stitches approximately 2–3 mm long with 0.5-1 mm gaps between them. Feel free to choose your preferred stitch length and gap, and try to keep your stitches even throughout.
Stitch along each line of the hemp leaf pattern in any order you like. At the end of each line, bring the needle to the back and continue with the next line close to it.
If there are no nearby lines to continue with, tie a knot at the end and trim the thread to finish.
Optional: Once the Sashiko stitching is complete, you can add beads to the central points for extra detail. (We used 2mm seed beads.)
Tips:
Keep the tension relaxed: Avoid pulling the thread too tightly. Keep the fabric flat and the stitches even.
Start and end all converging lines at the same distance from the central points. I started and ended them halfway between the line ends and the central points.
5. Sewing
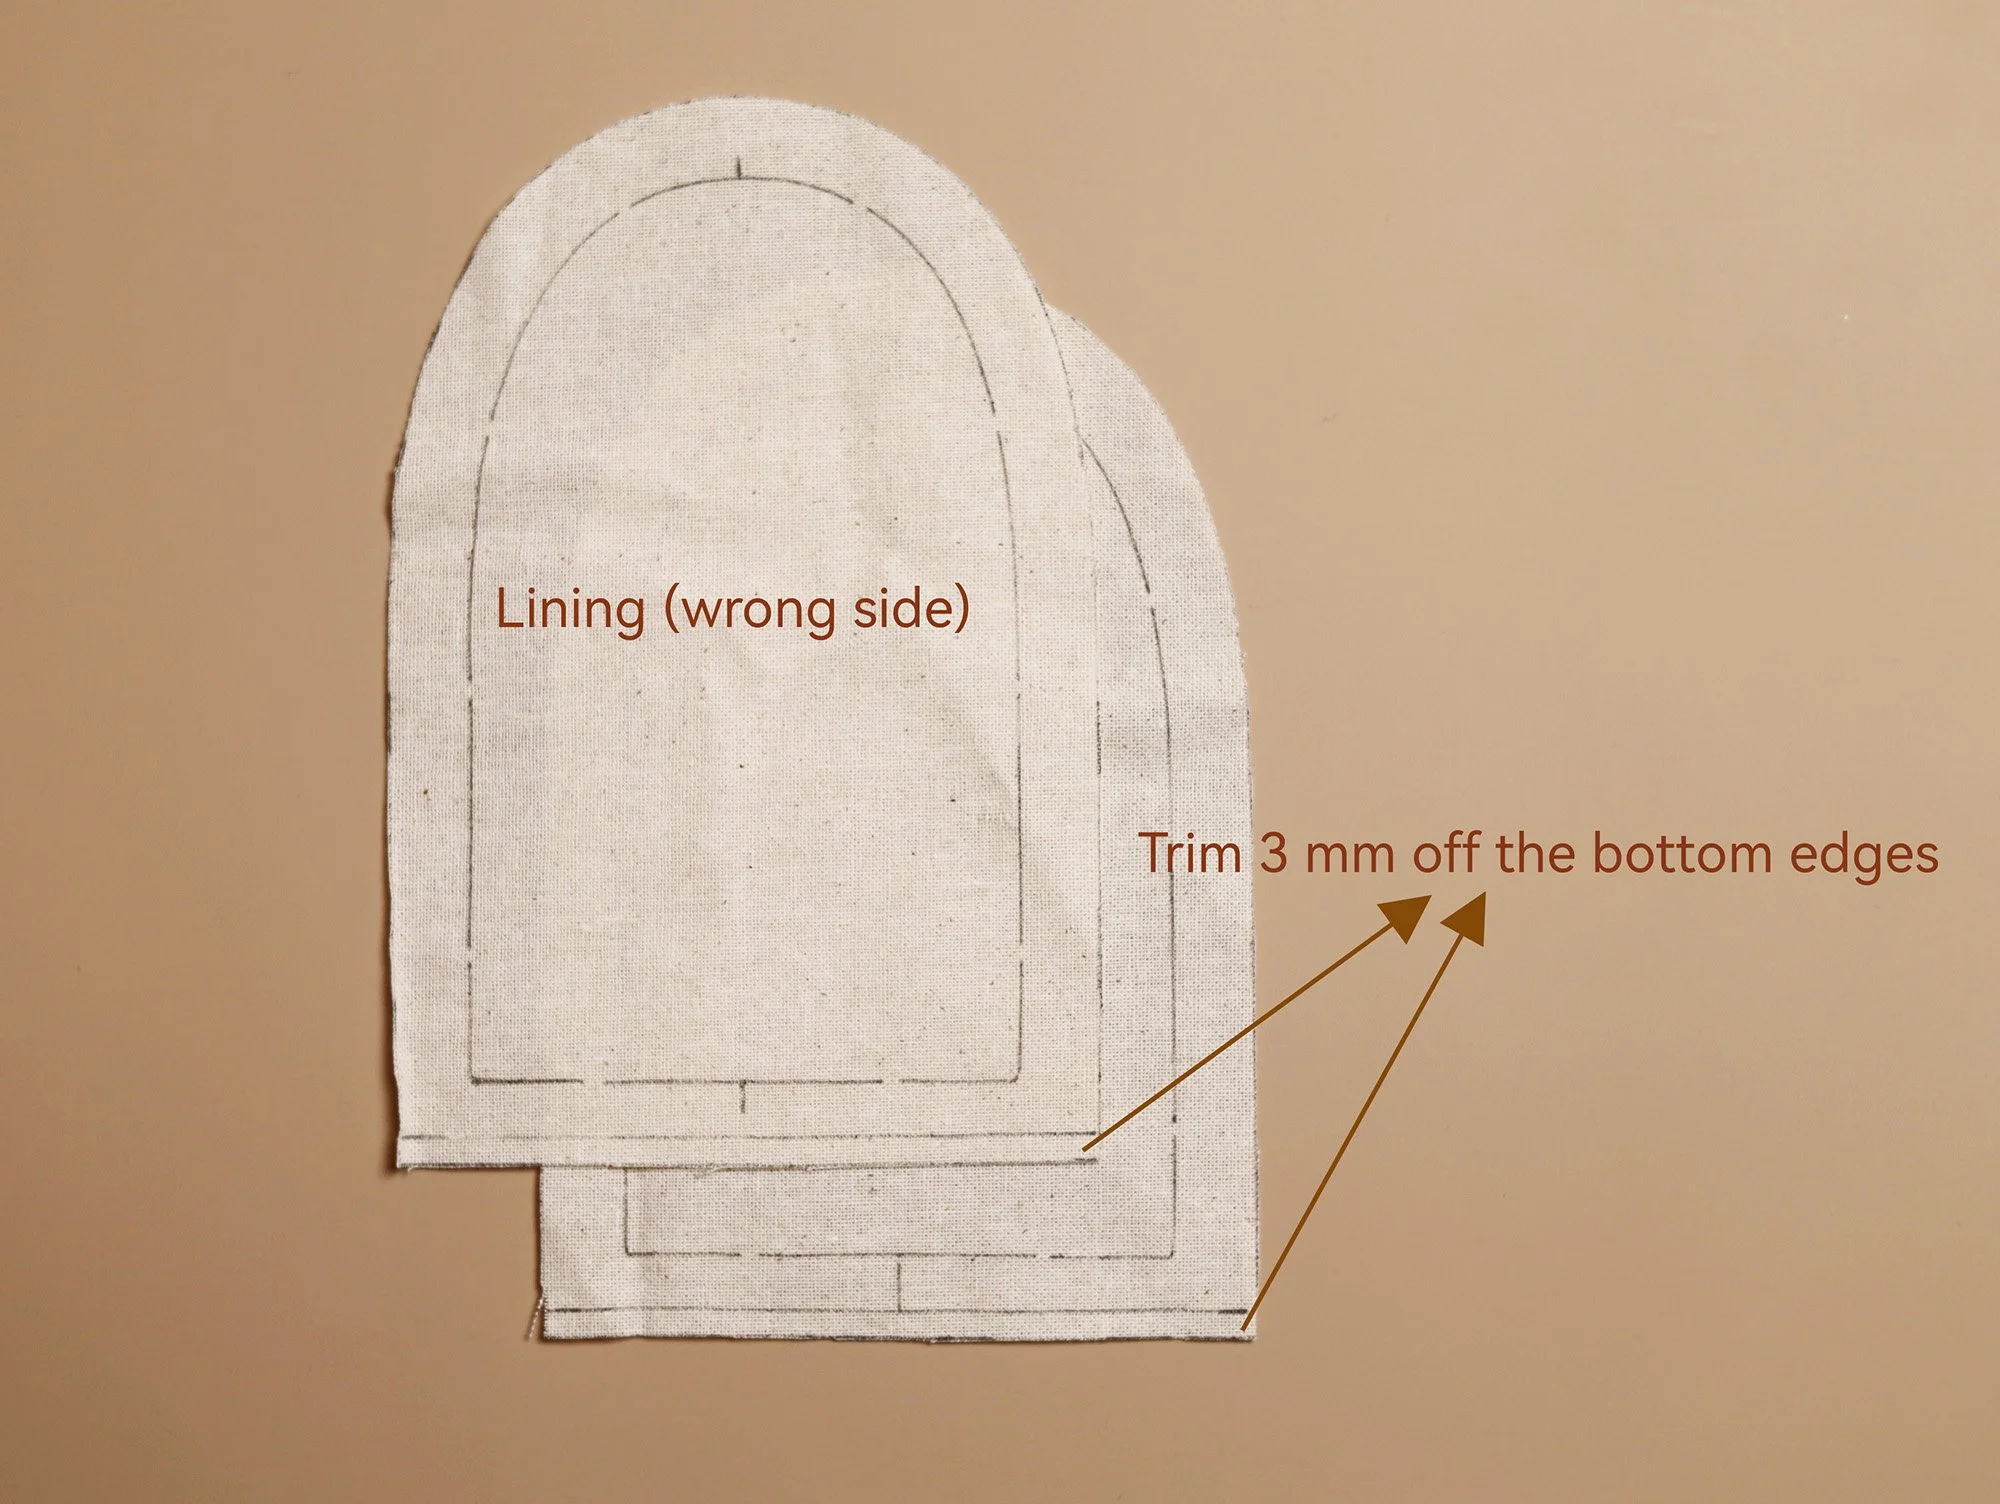
Place one main fabric piece on top of a lining piece, with the right sides facing each other and the bottom raw edges aligned. Sew along the bottom edge, following the traced stitching line.
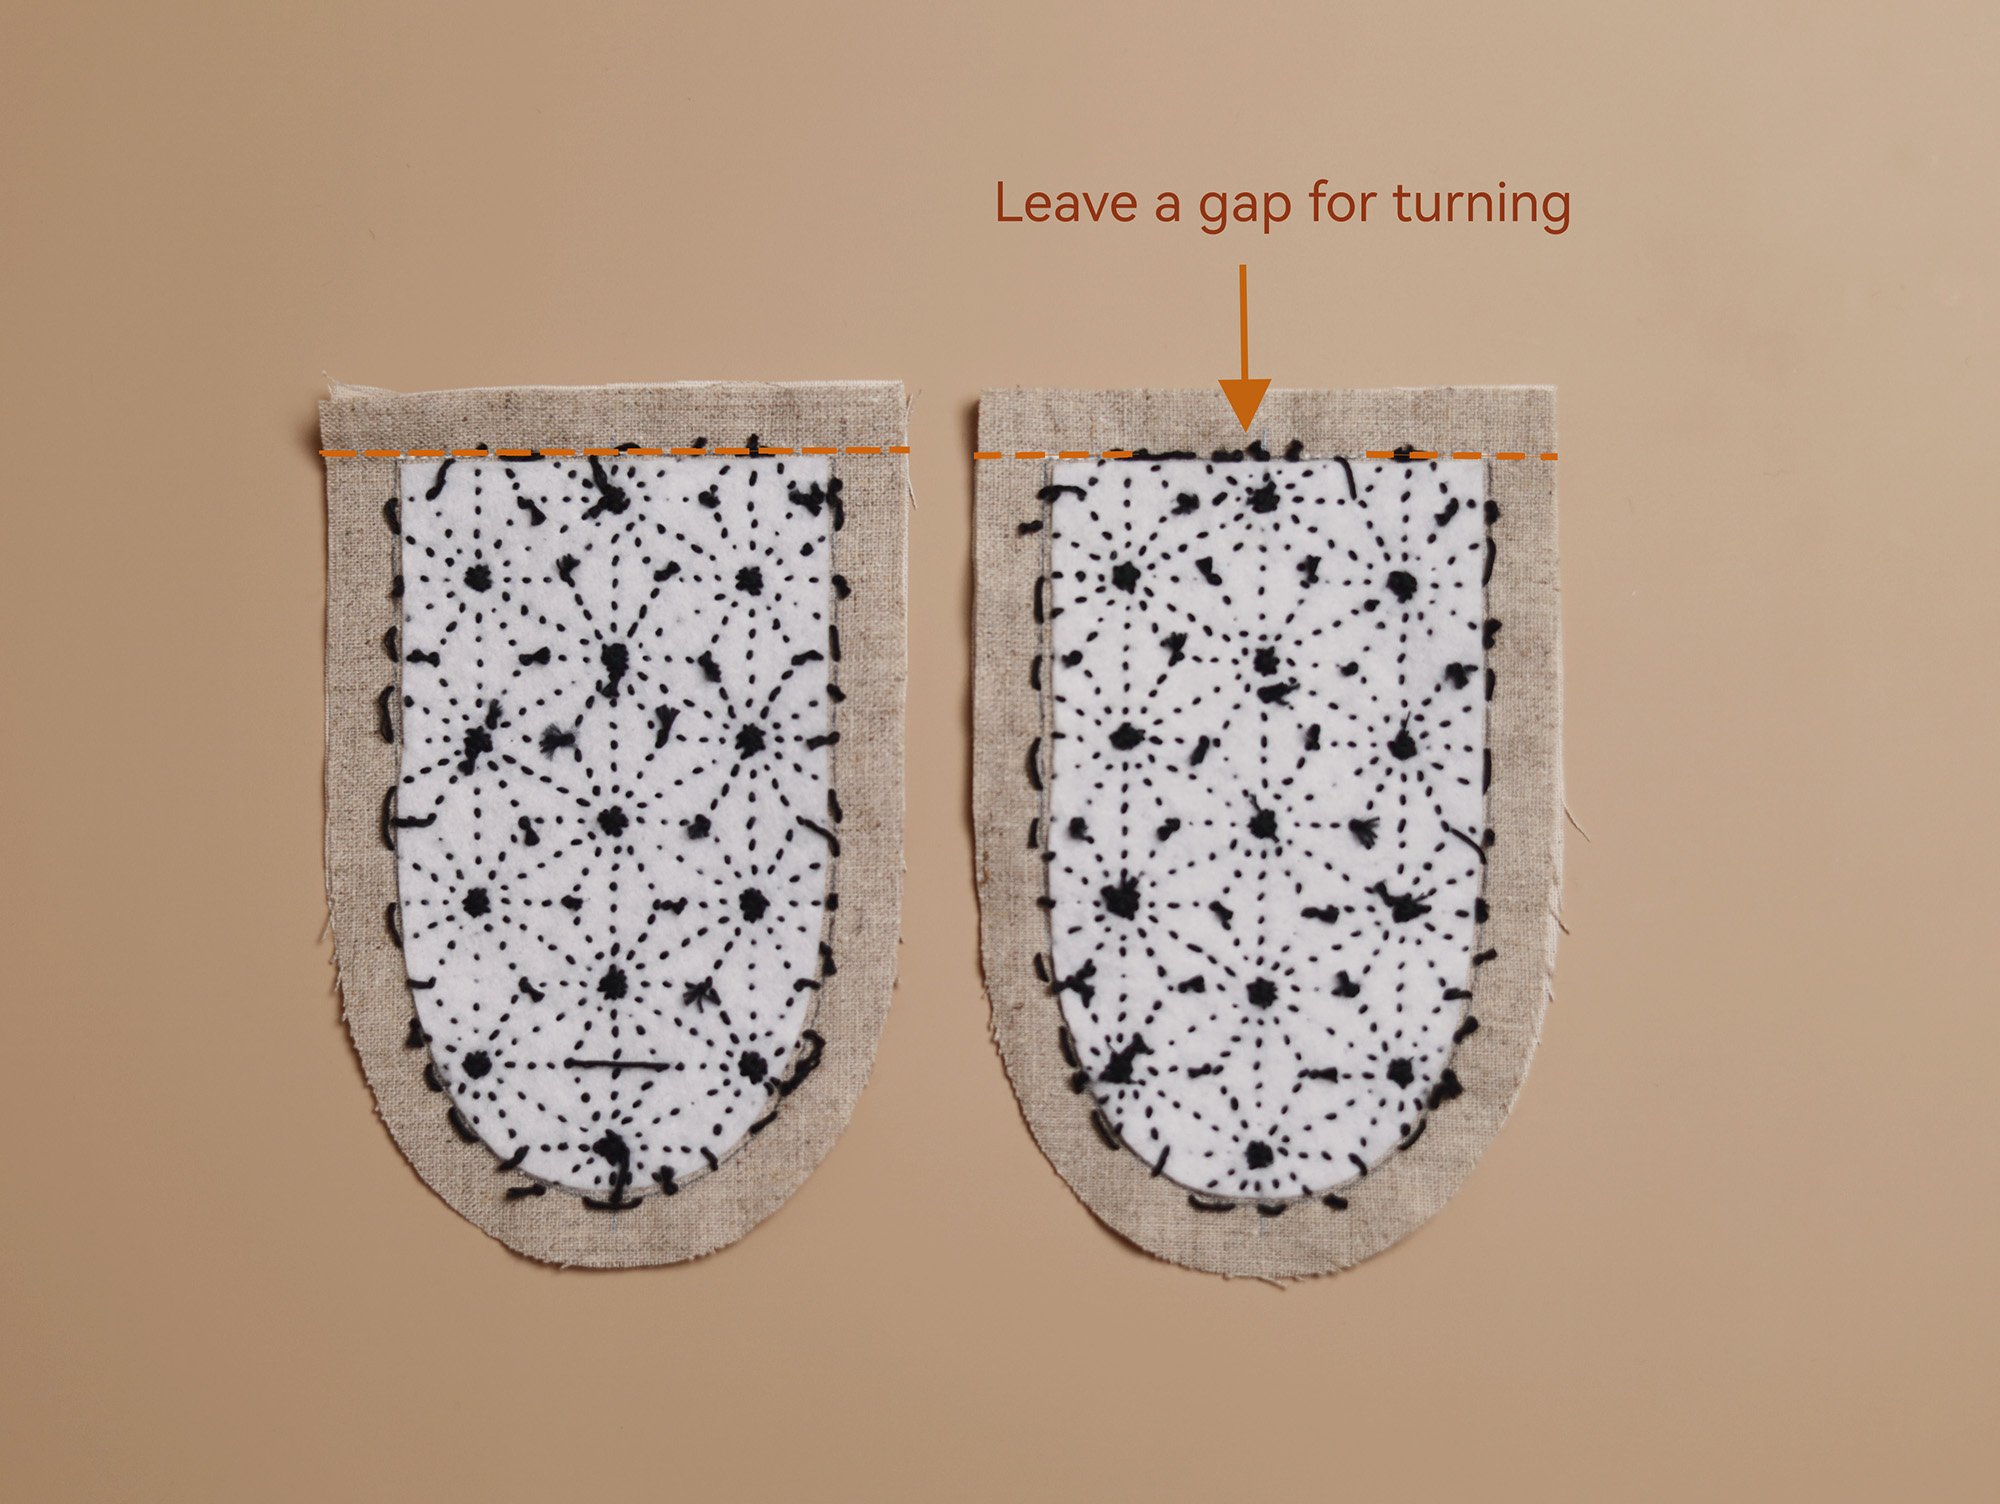
Repeat the same process with the other main fabric and lining pair, but this time leave a gap of approximately 4 cm in the middle for turning.
Separate the main and lining pieces in each pair, then press the seam allowances open. (Note: I forgot to press the seams open here. It’s not a problem, but it does make the turning gap slightly harder to reach later.)
Place the two pairs together, with the right sides of the main fabrics facing each other and the right sides of the linings facing each other.
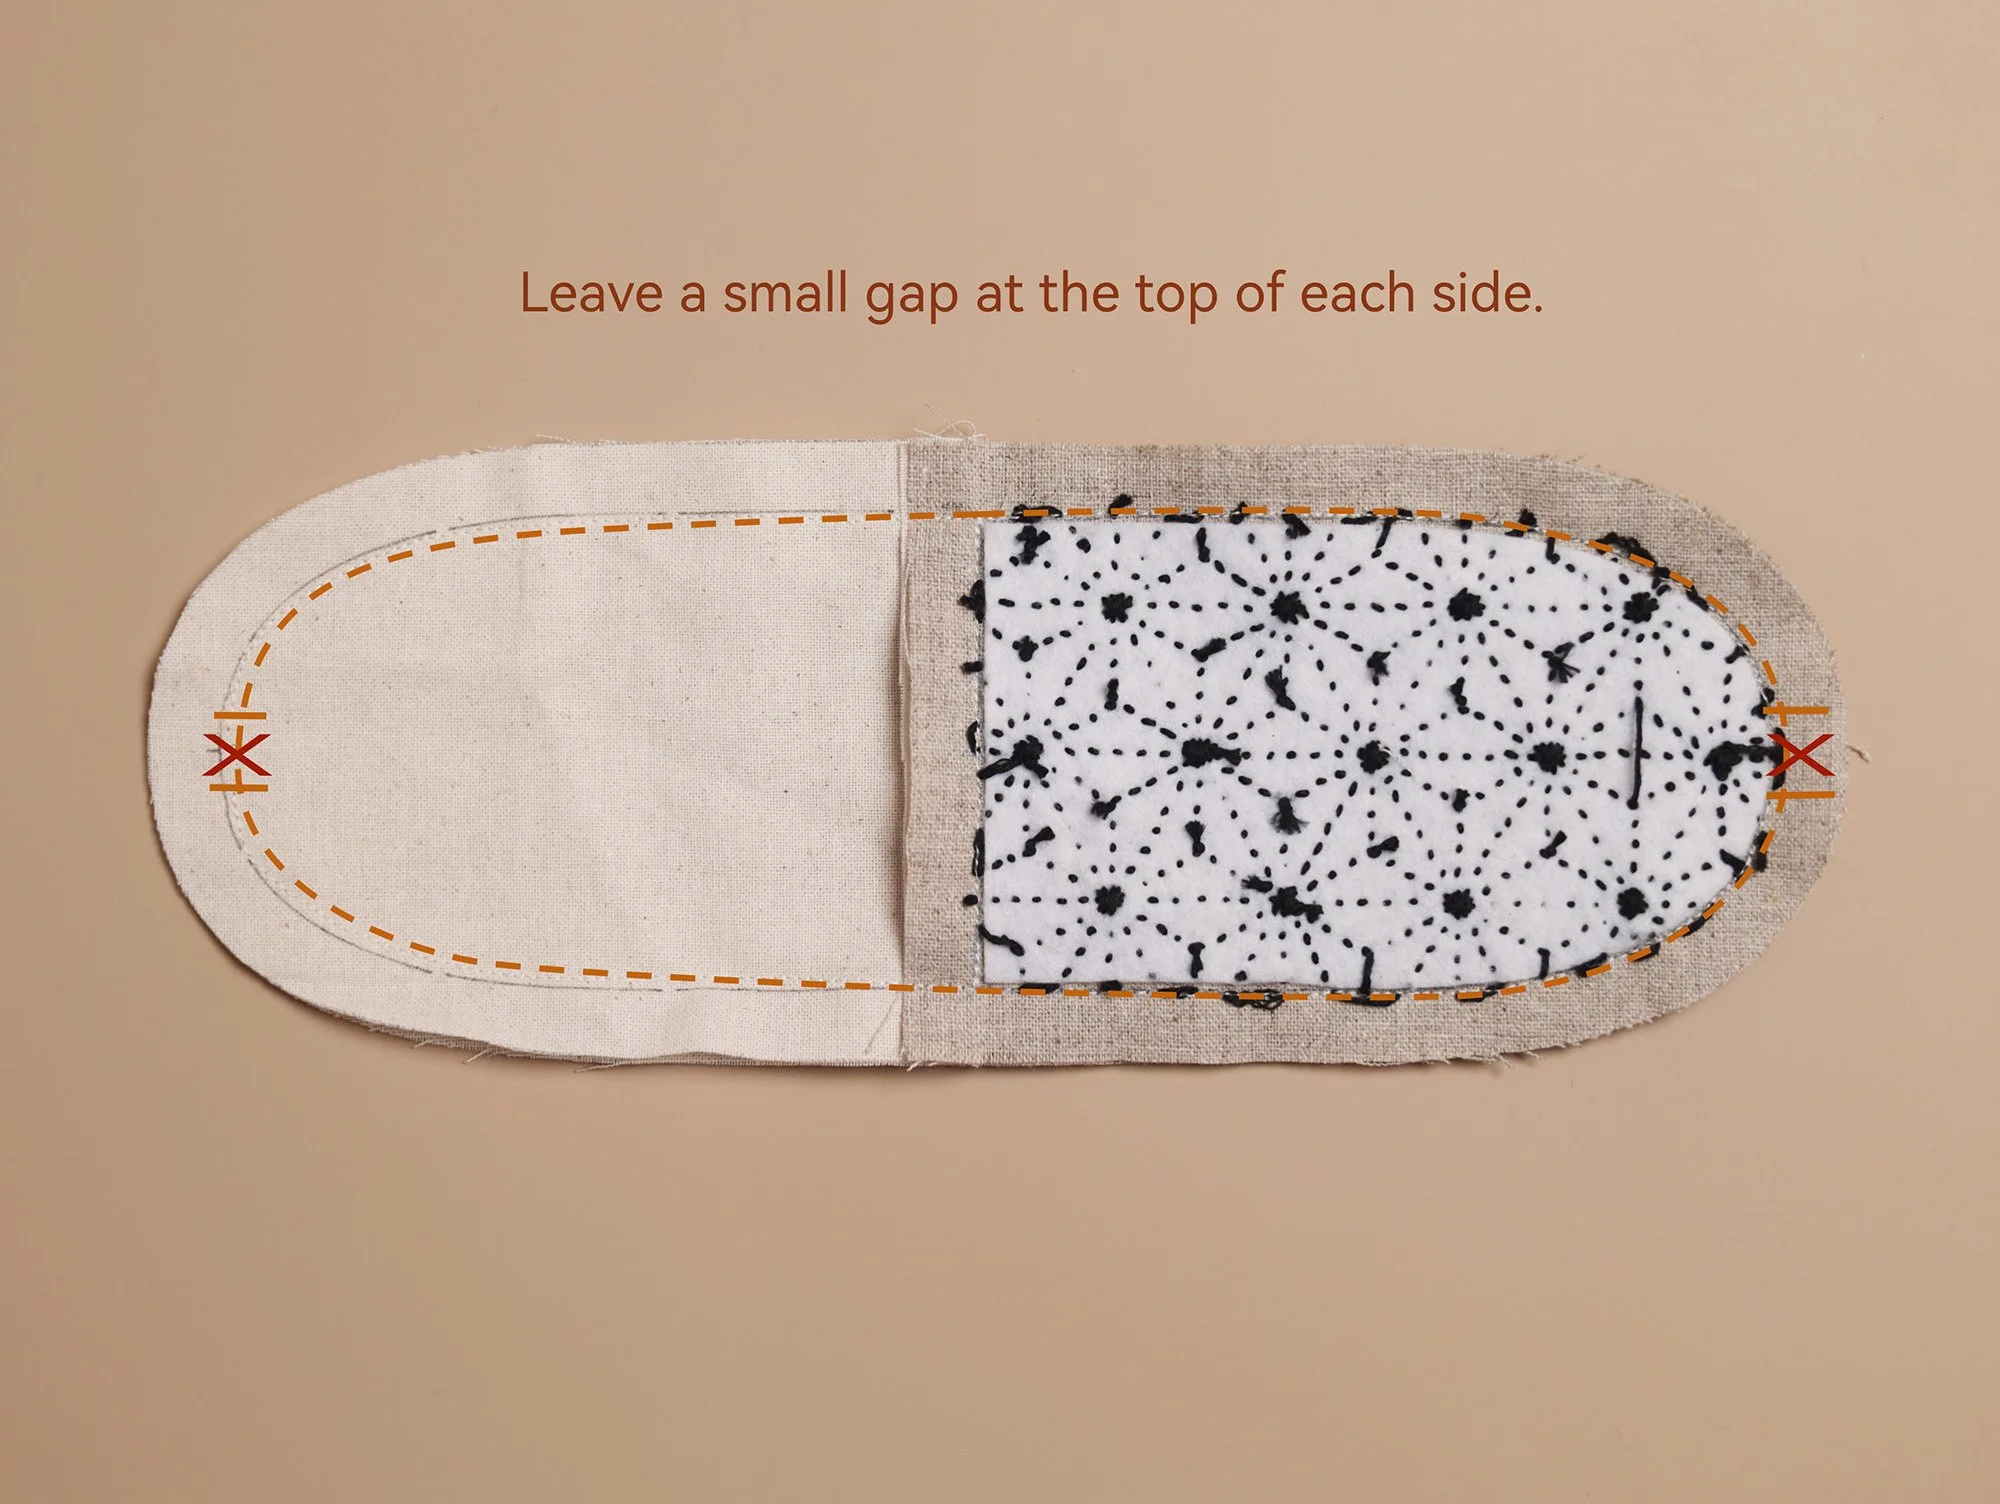
Sew around the entire piece, leaving a 0.6–1 cm gap at the top of both the main fabric and lining.
On the main fabric side, sew along the stitching line which should be 1–2 mm away from the interfacing.
On the lining side, sew with a 1.2 seam allowance to make the lining slightly smaller.
Trim approximately half of the seam allowance with pinking shears. Do not trim the seam allowance around the top openings.
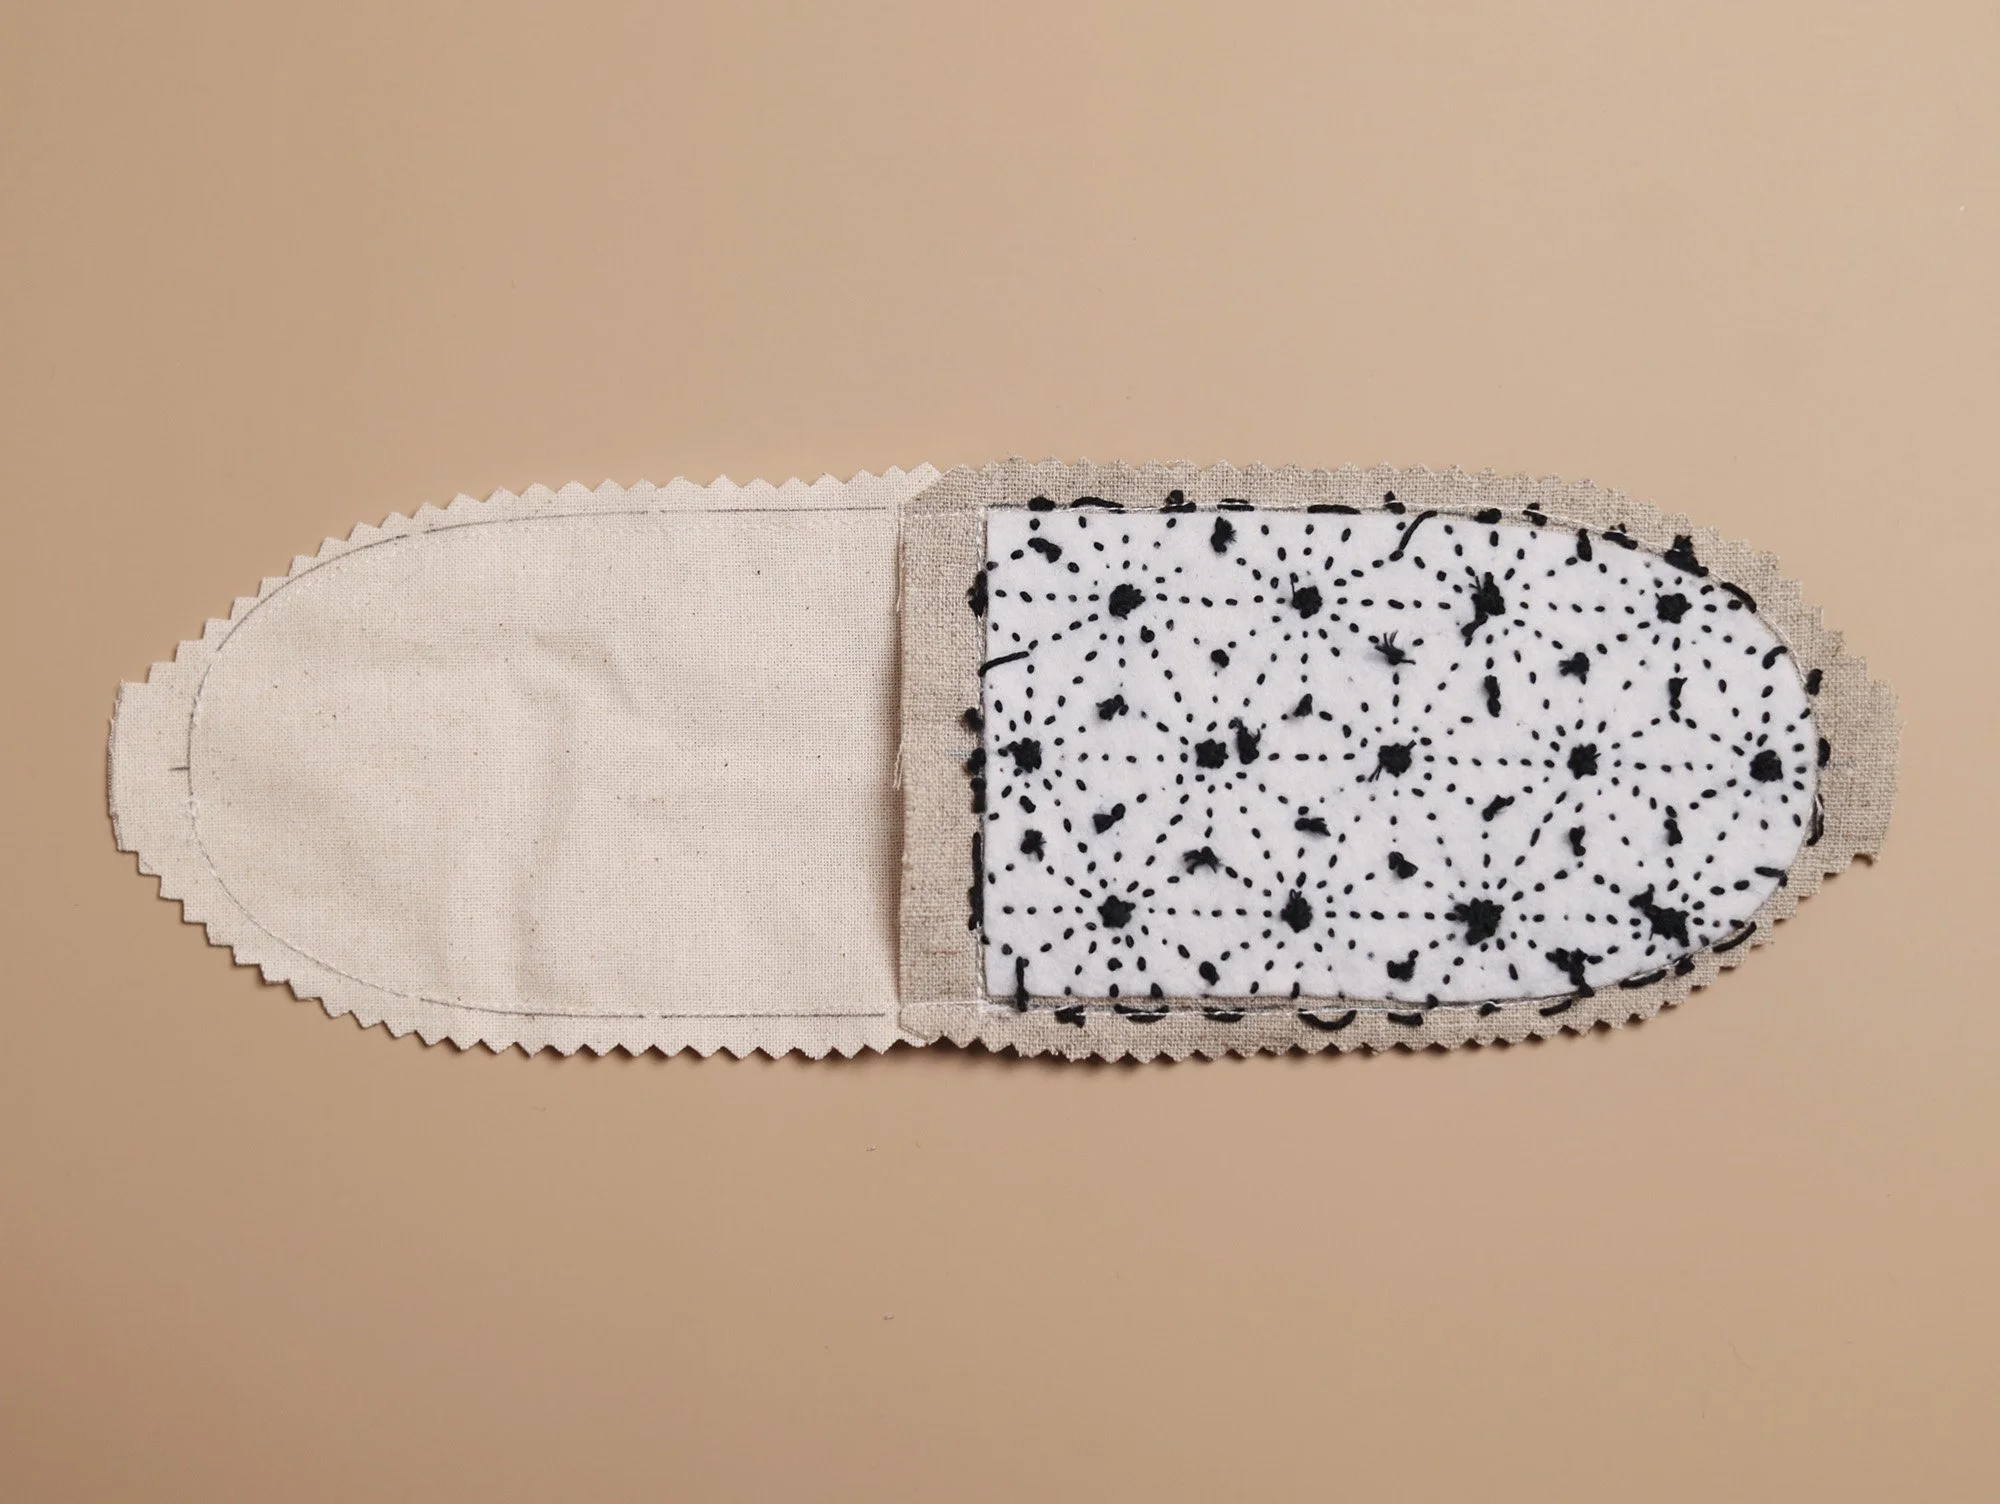
Optional: Open the seam allowances at the top, fold them down along the stitching line, and secure them to their respective fabric pieces with a few hand stitches.
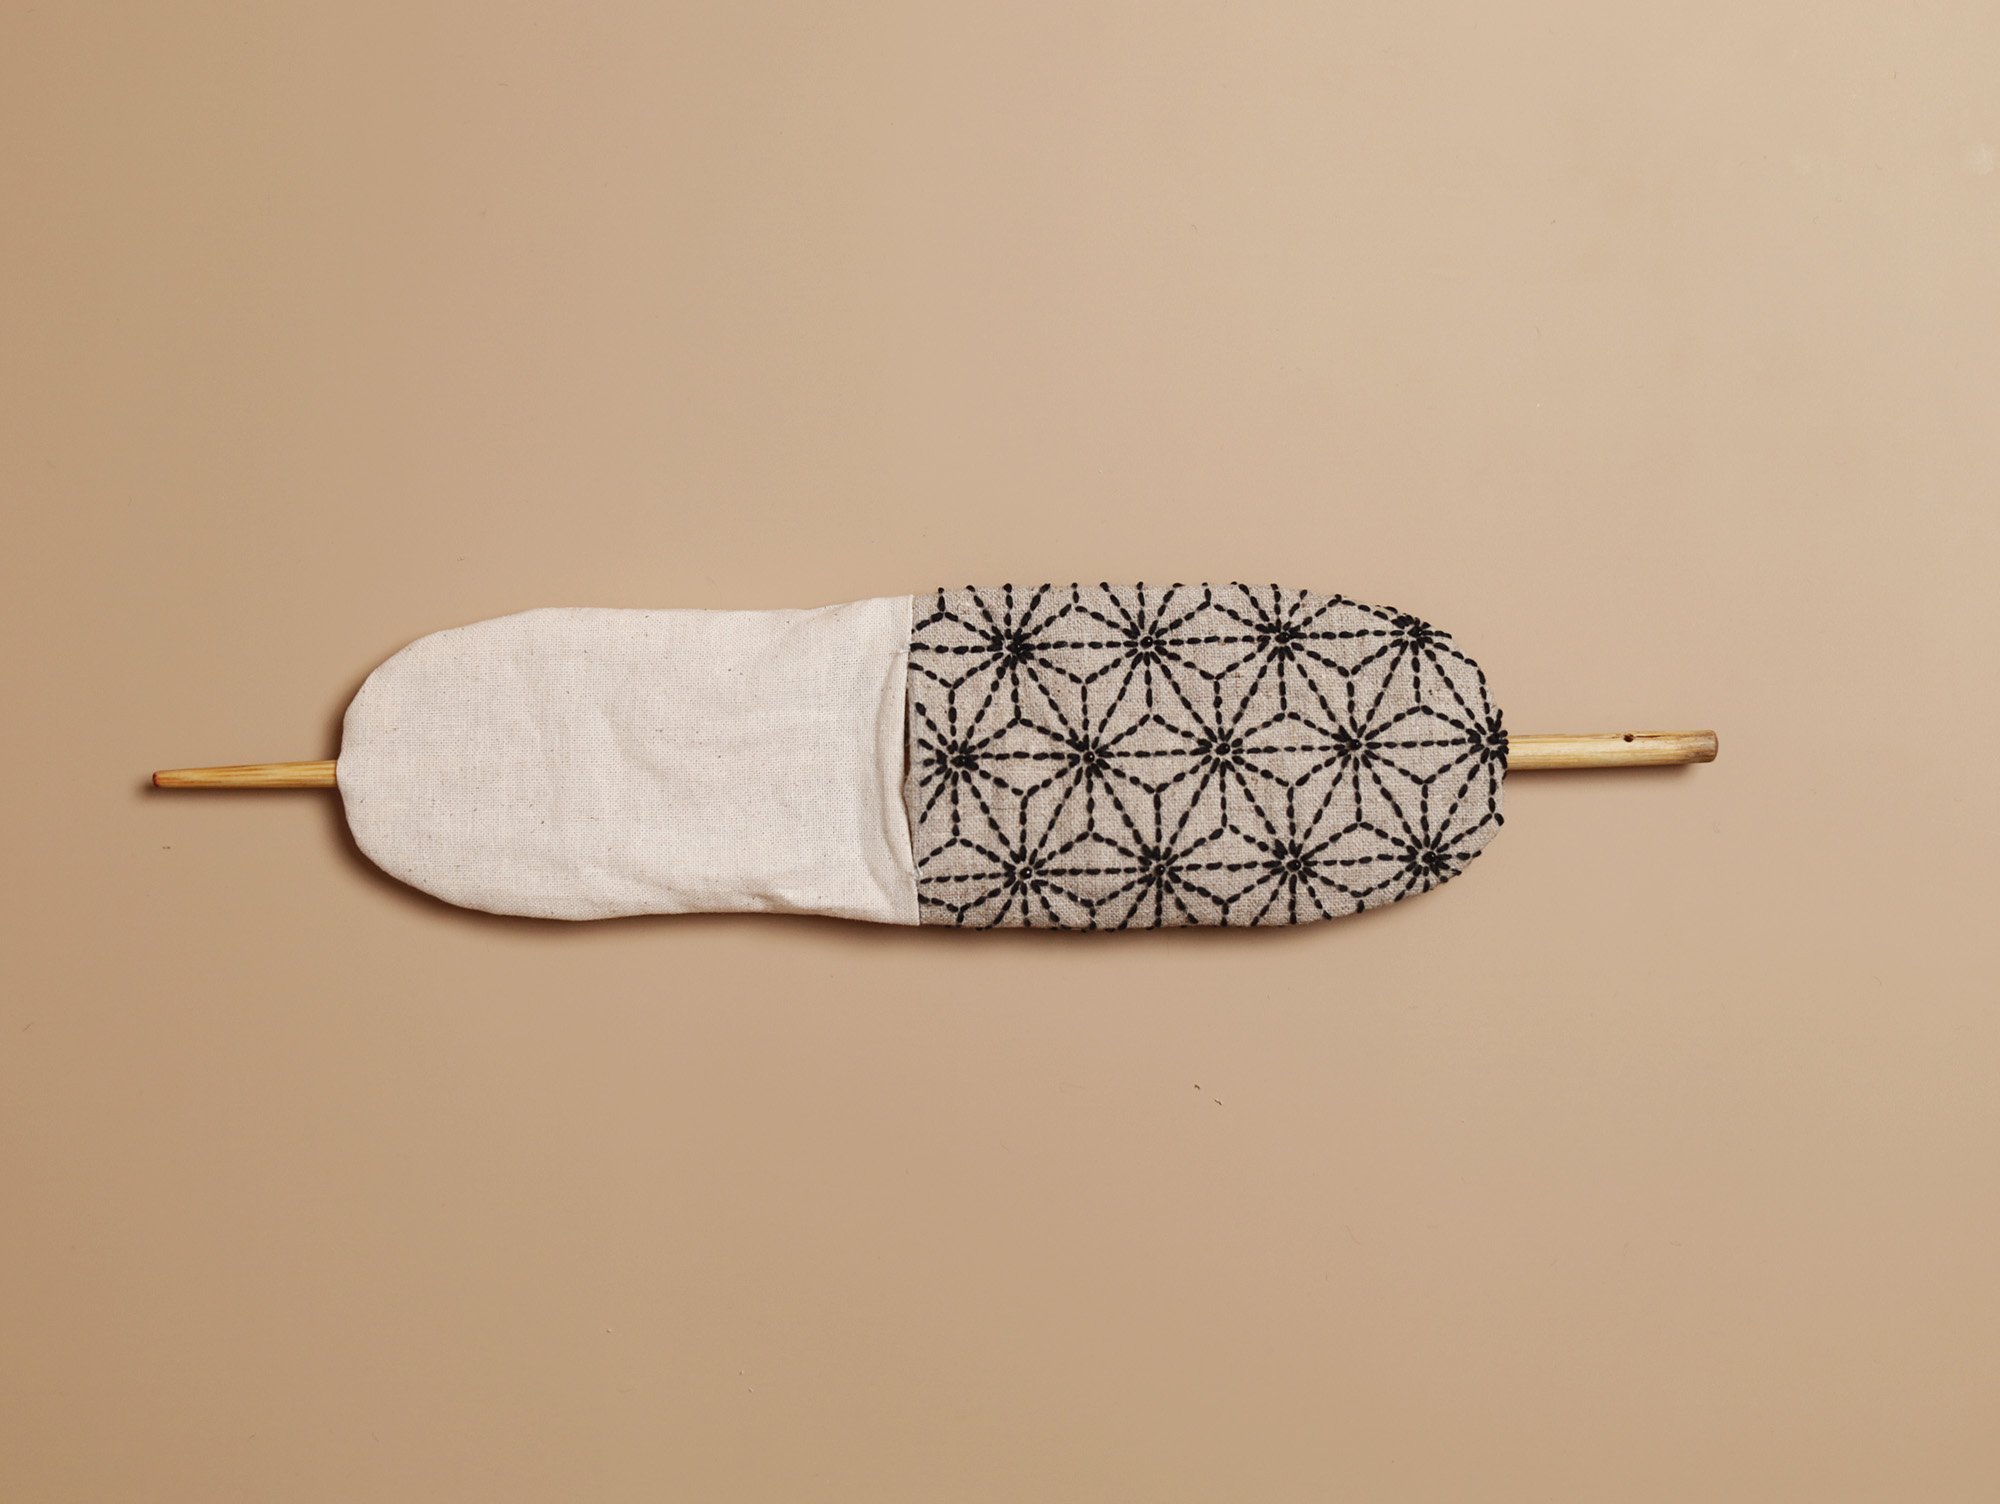
Turn the case right side out through the turning gap.
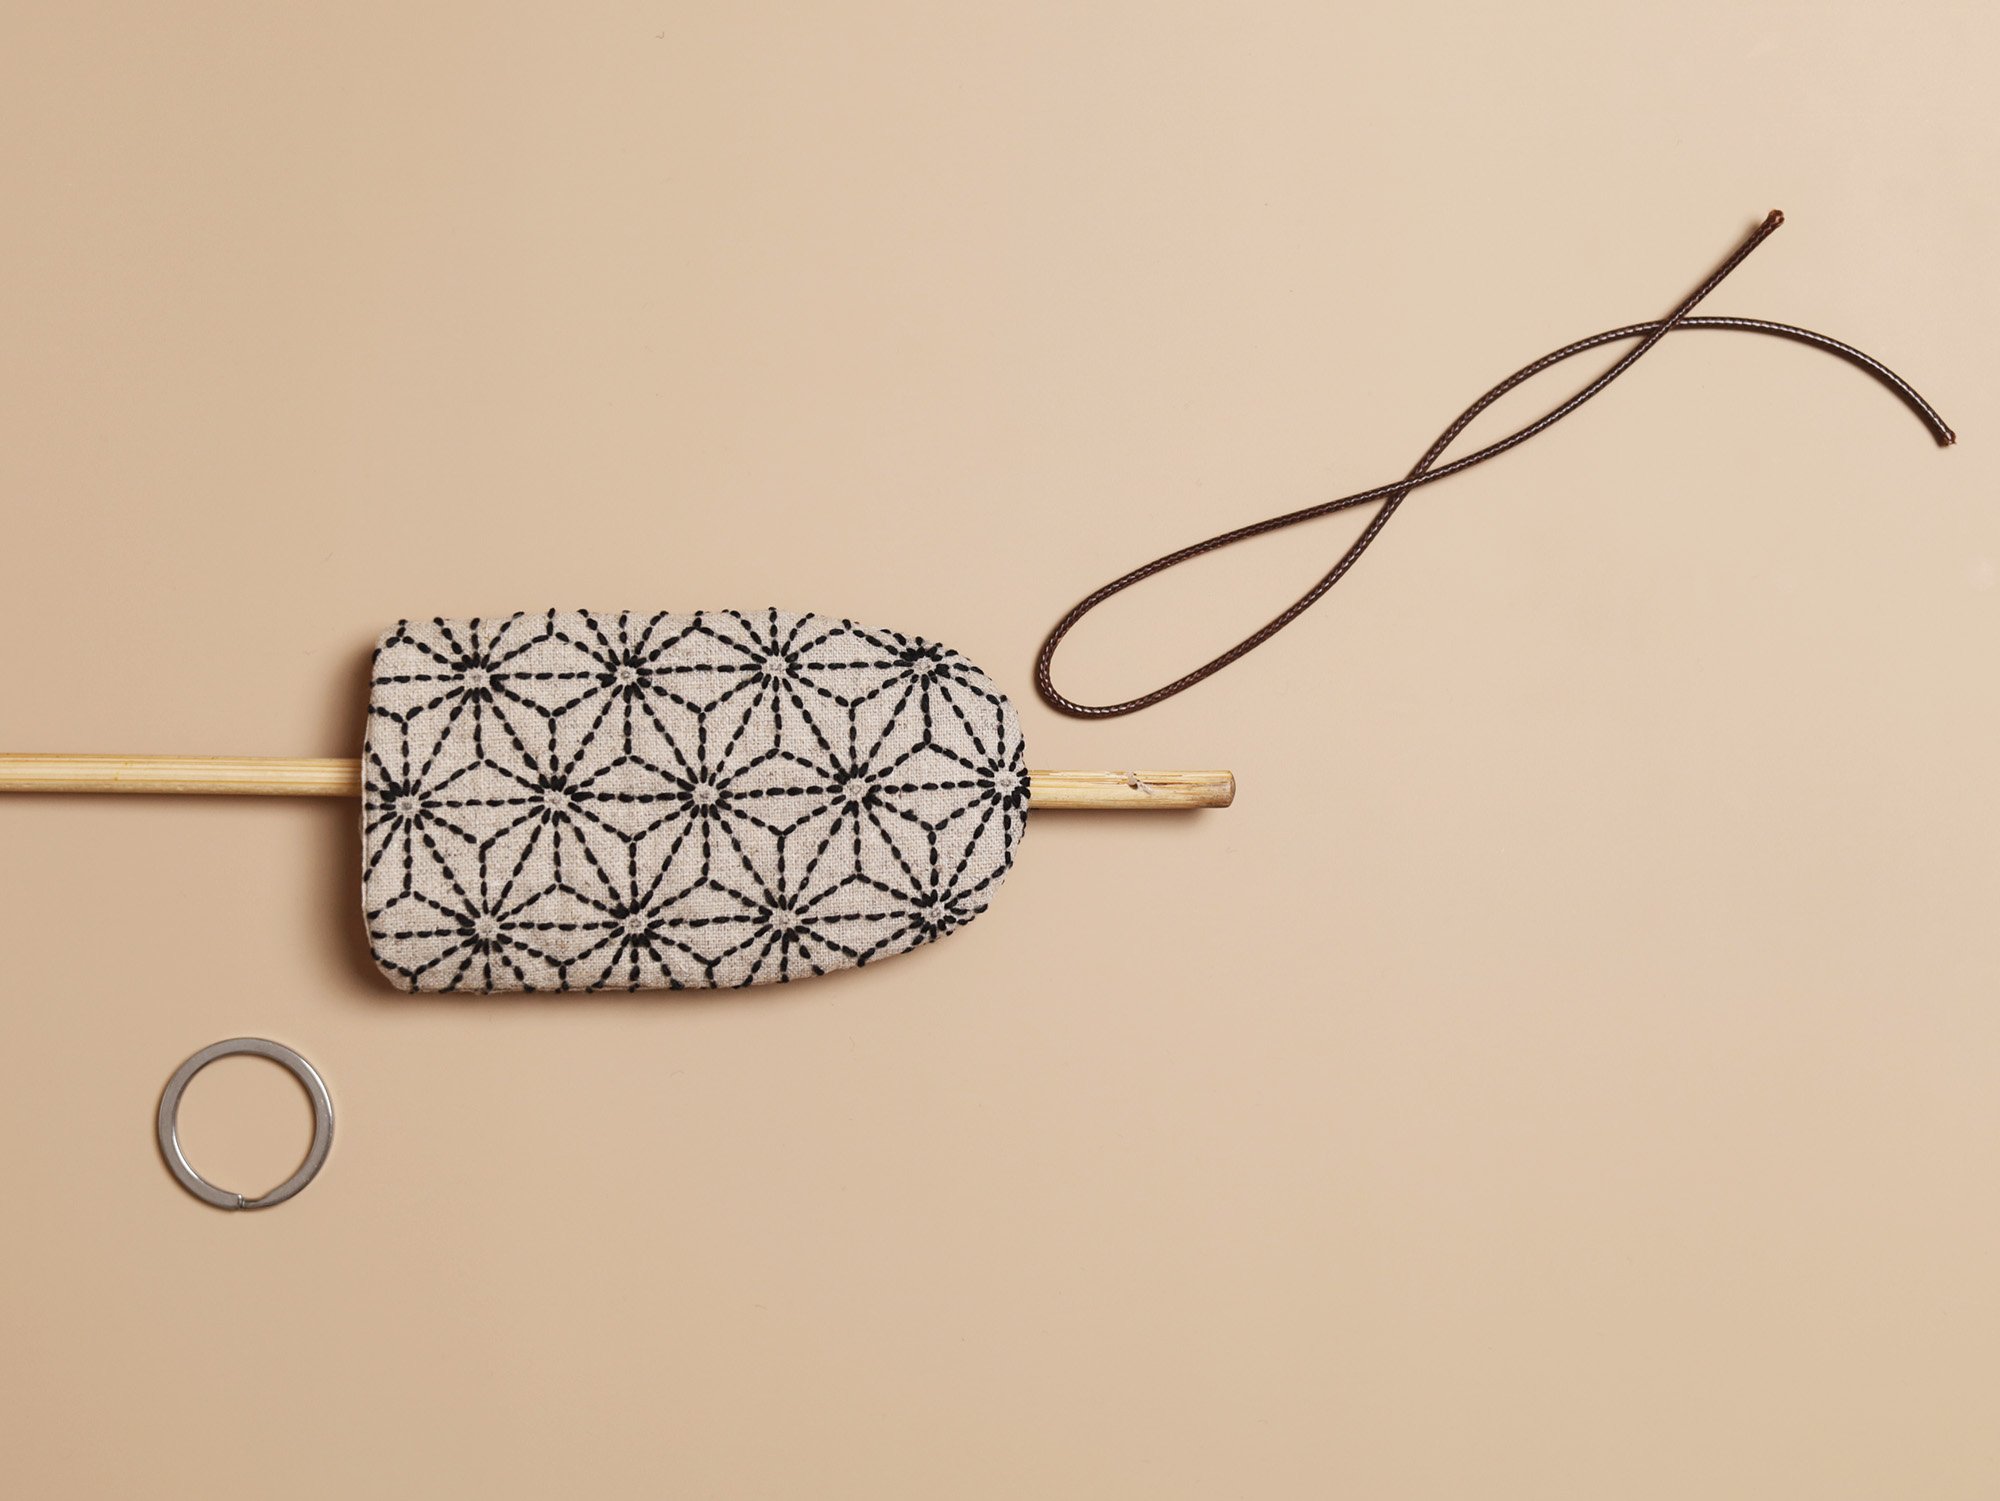
Use a long stick, such as a chopstick, to push through both top openings. Keeping the stick in place, push the lining into the case.
Carefully remove the stick, then immediately insert the folded end of the waxed cord while the two openings are still aligned.
Attach the key ring by passing the folded end of the cord through the ring, then passing the ring through the loop.
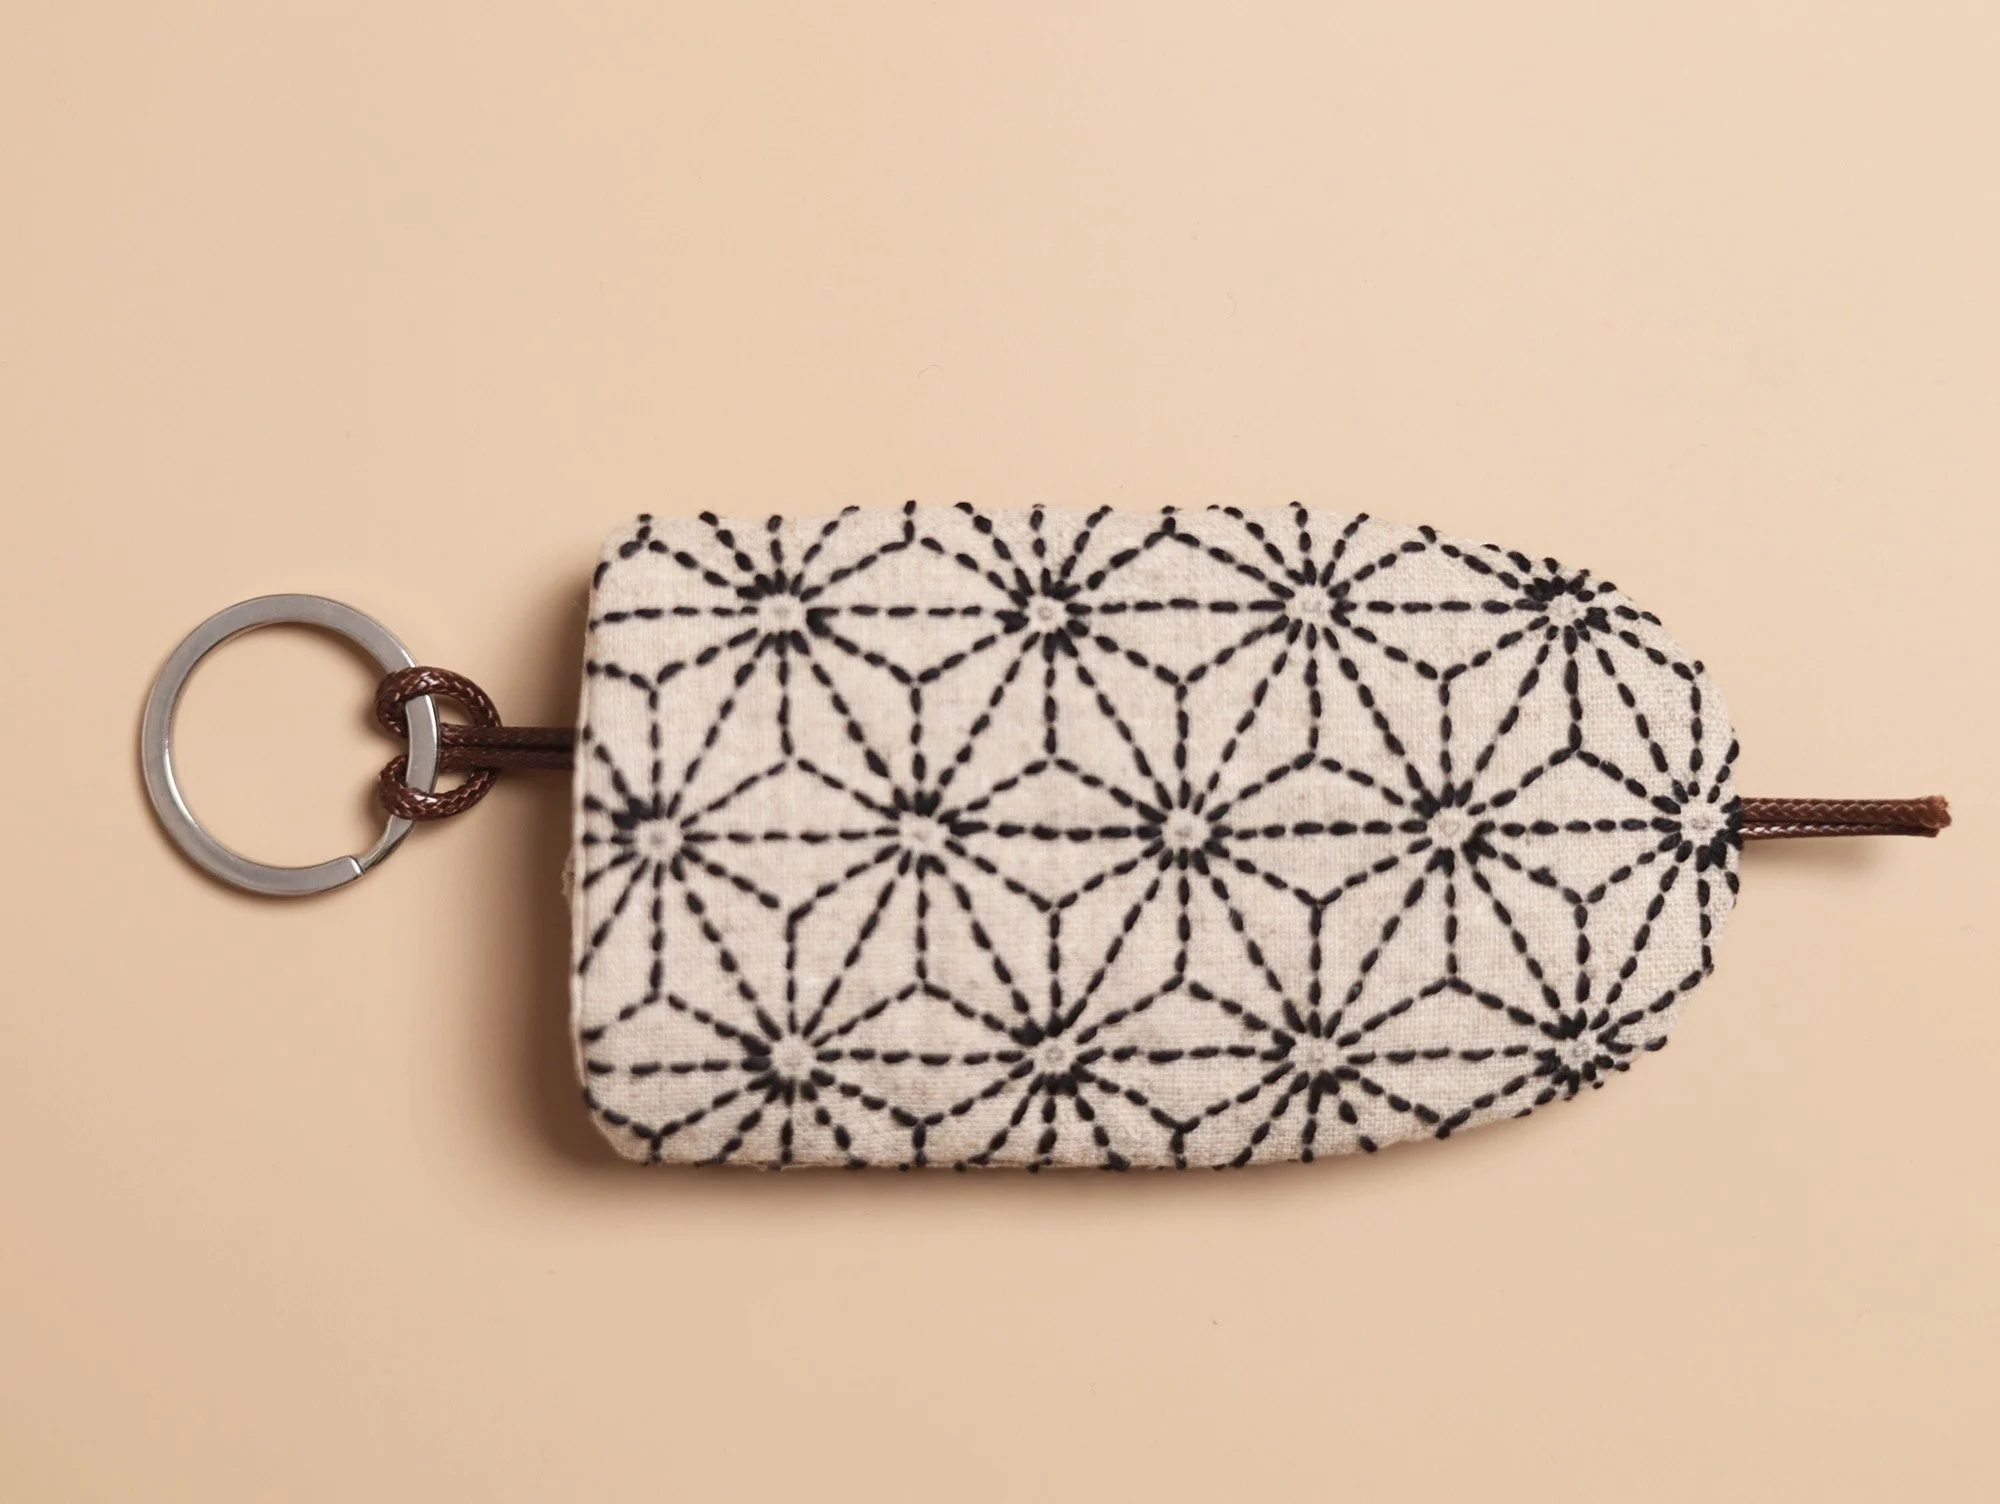
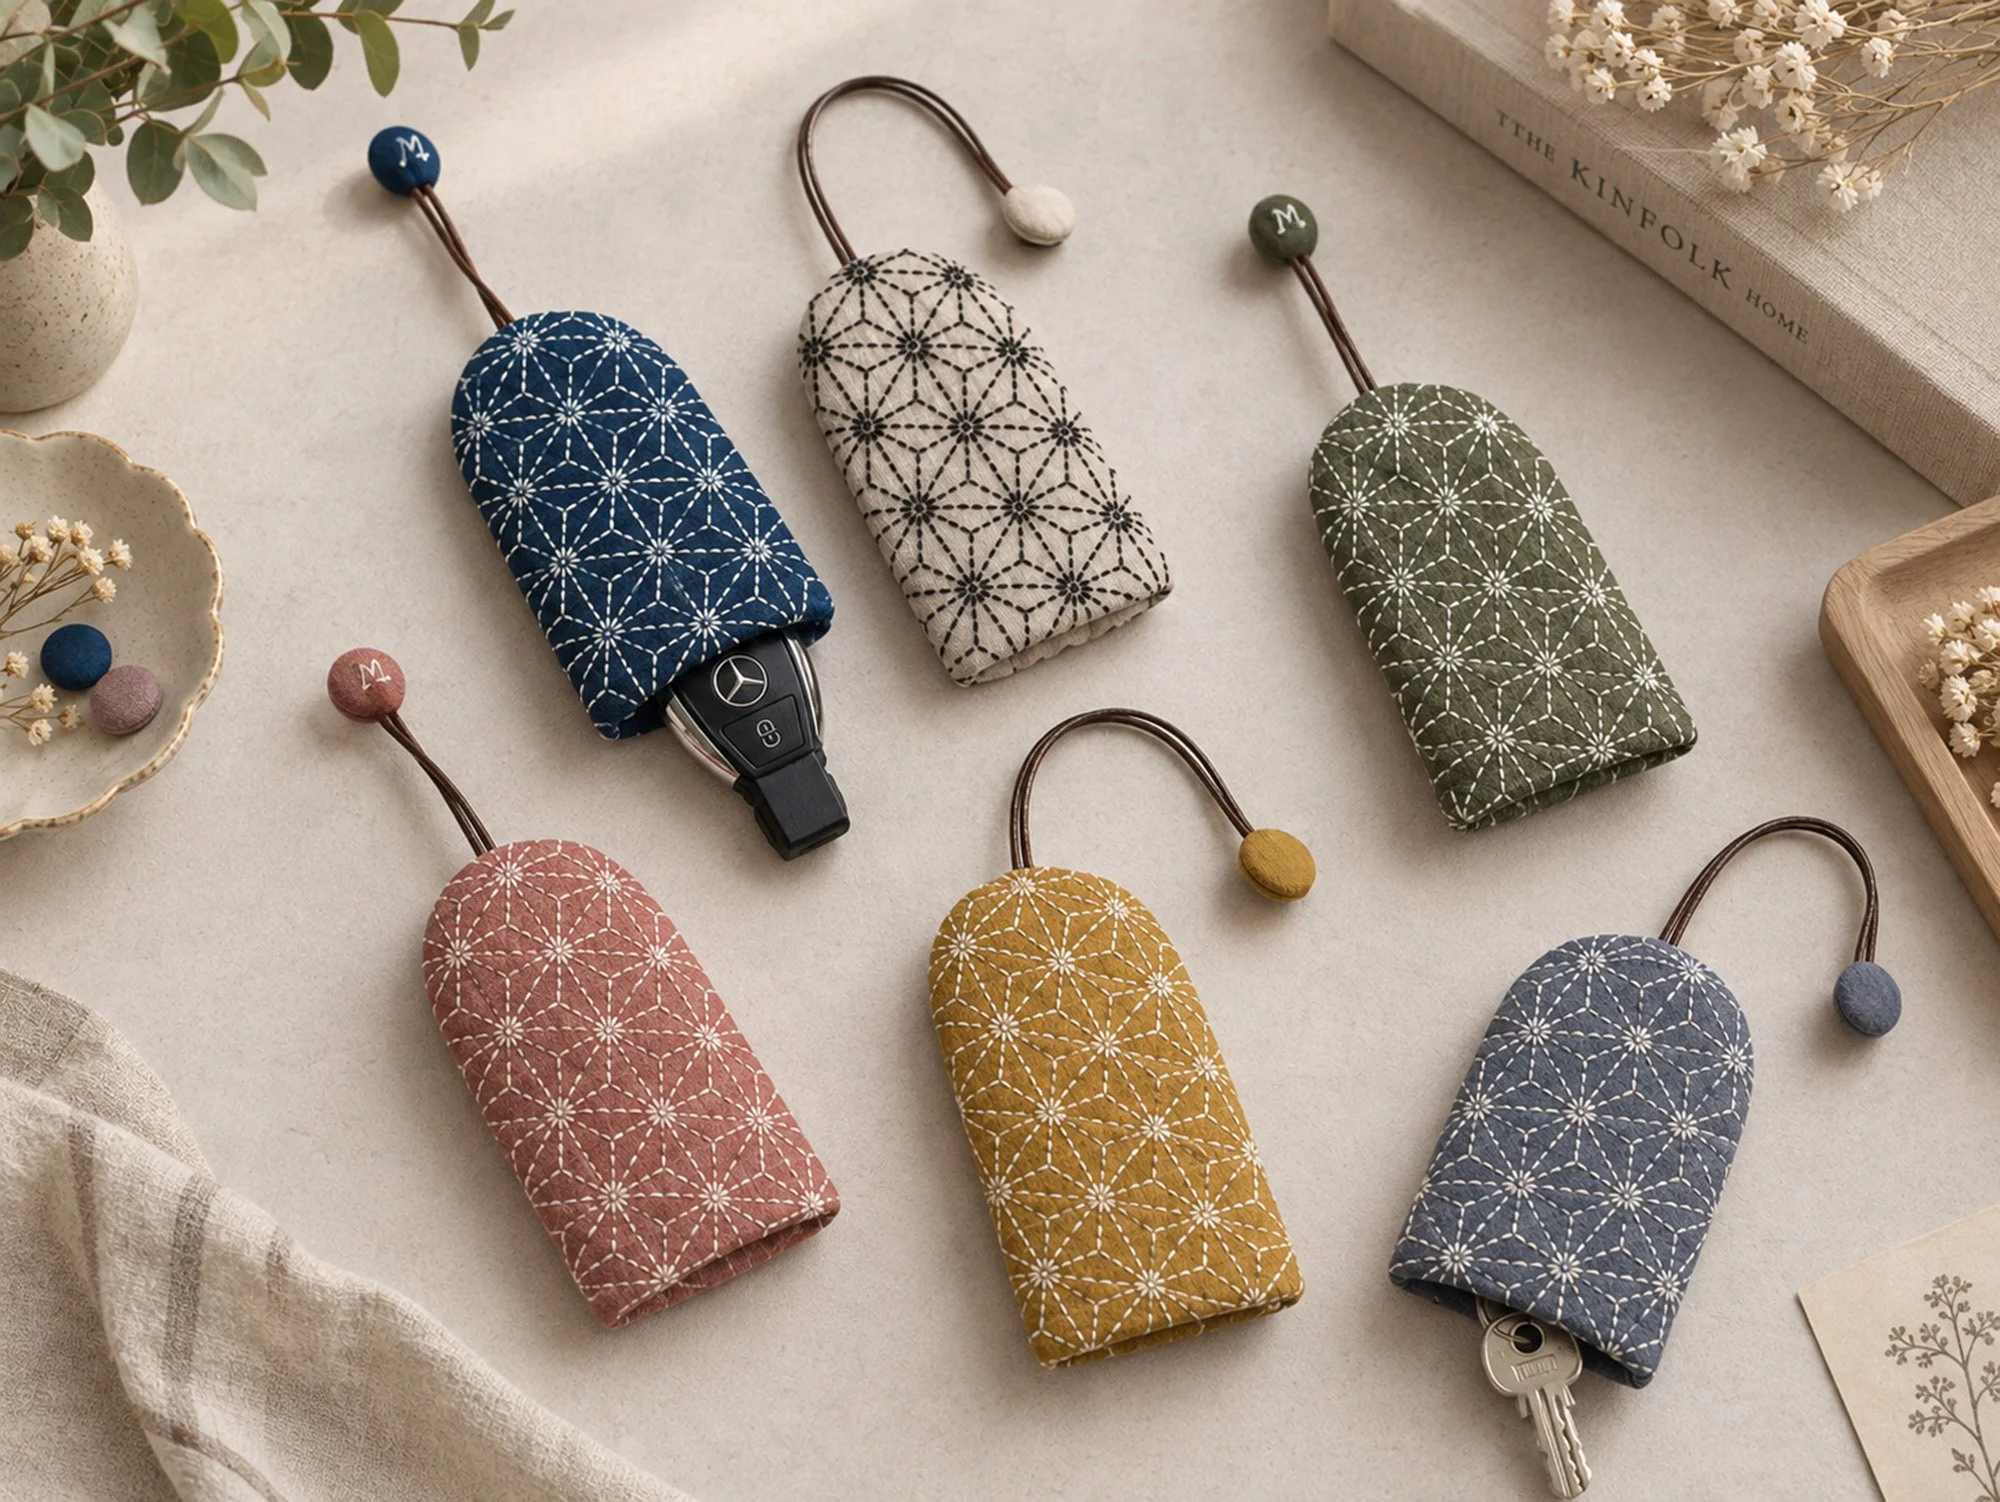
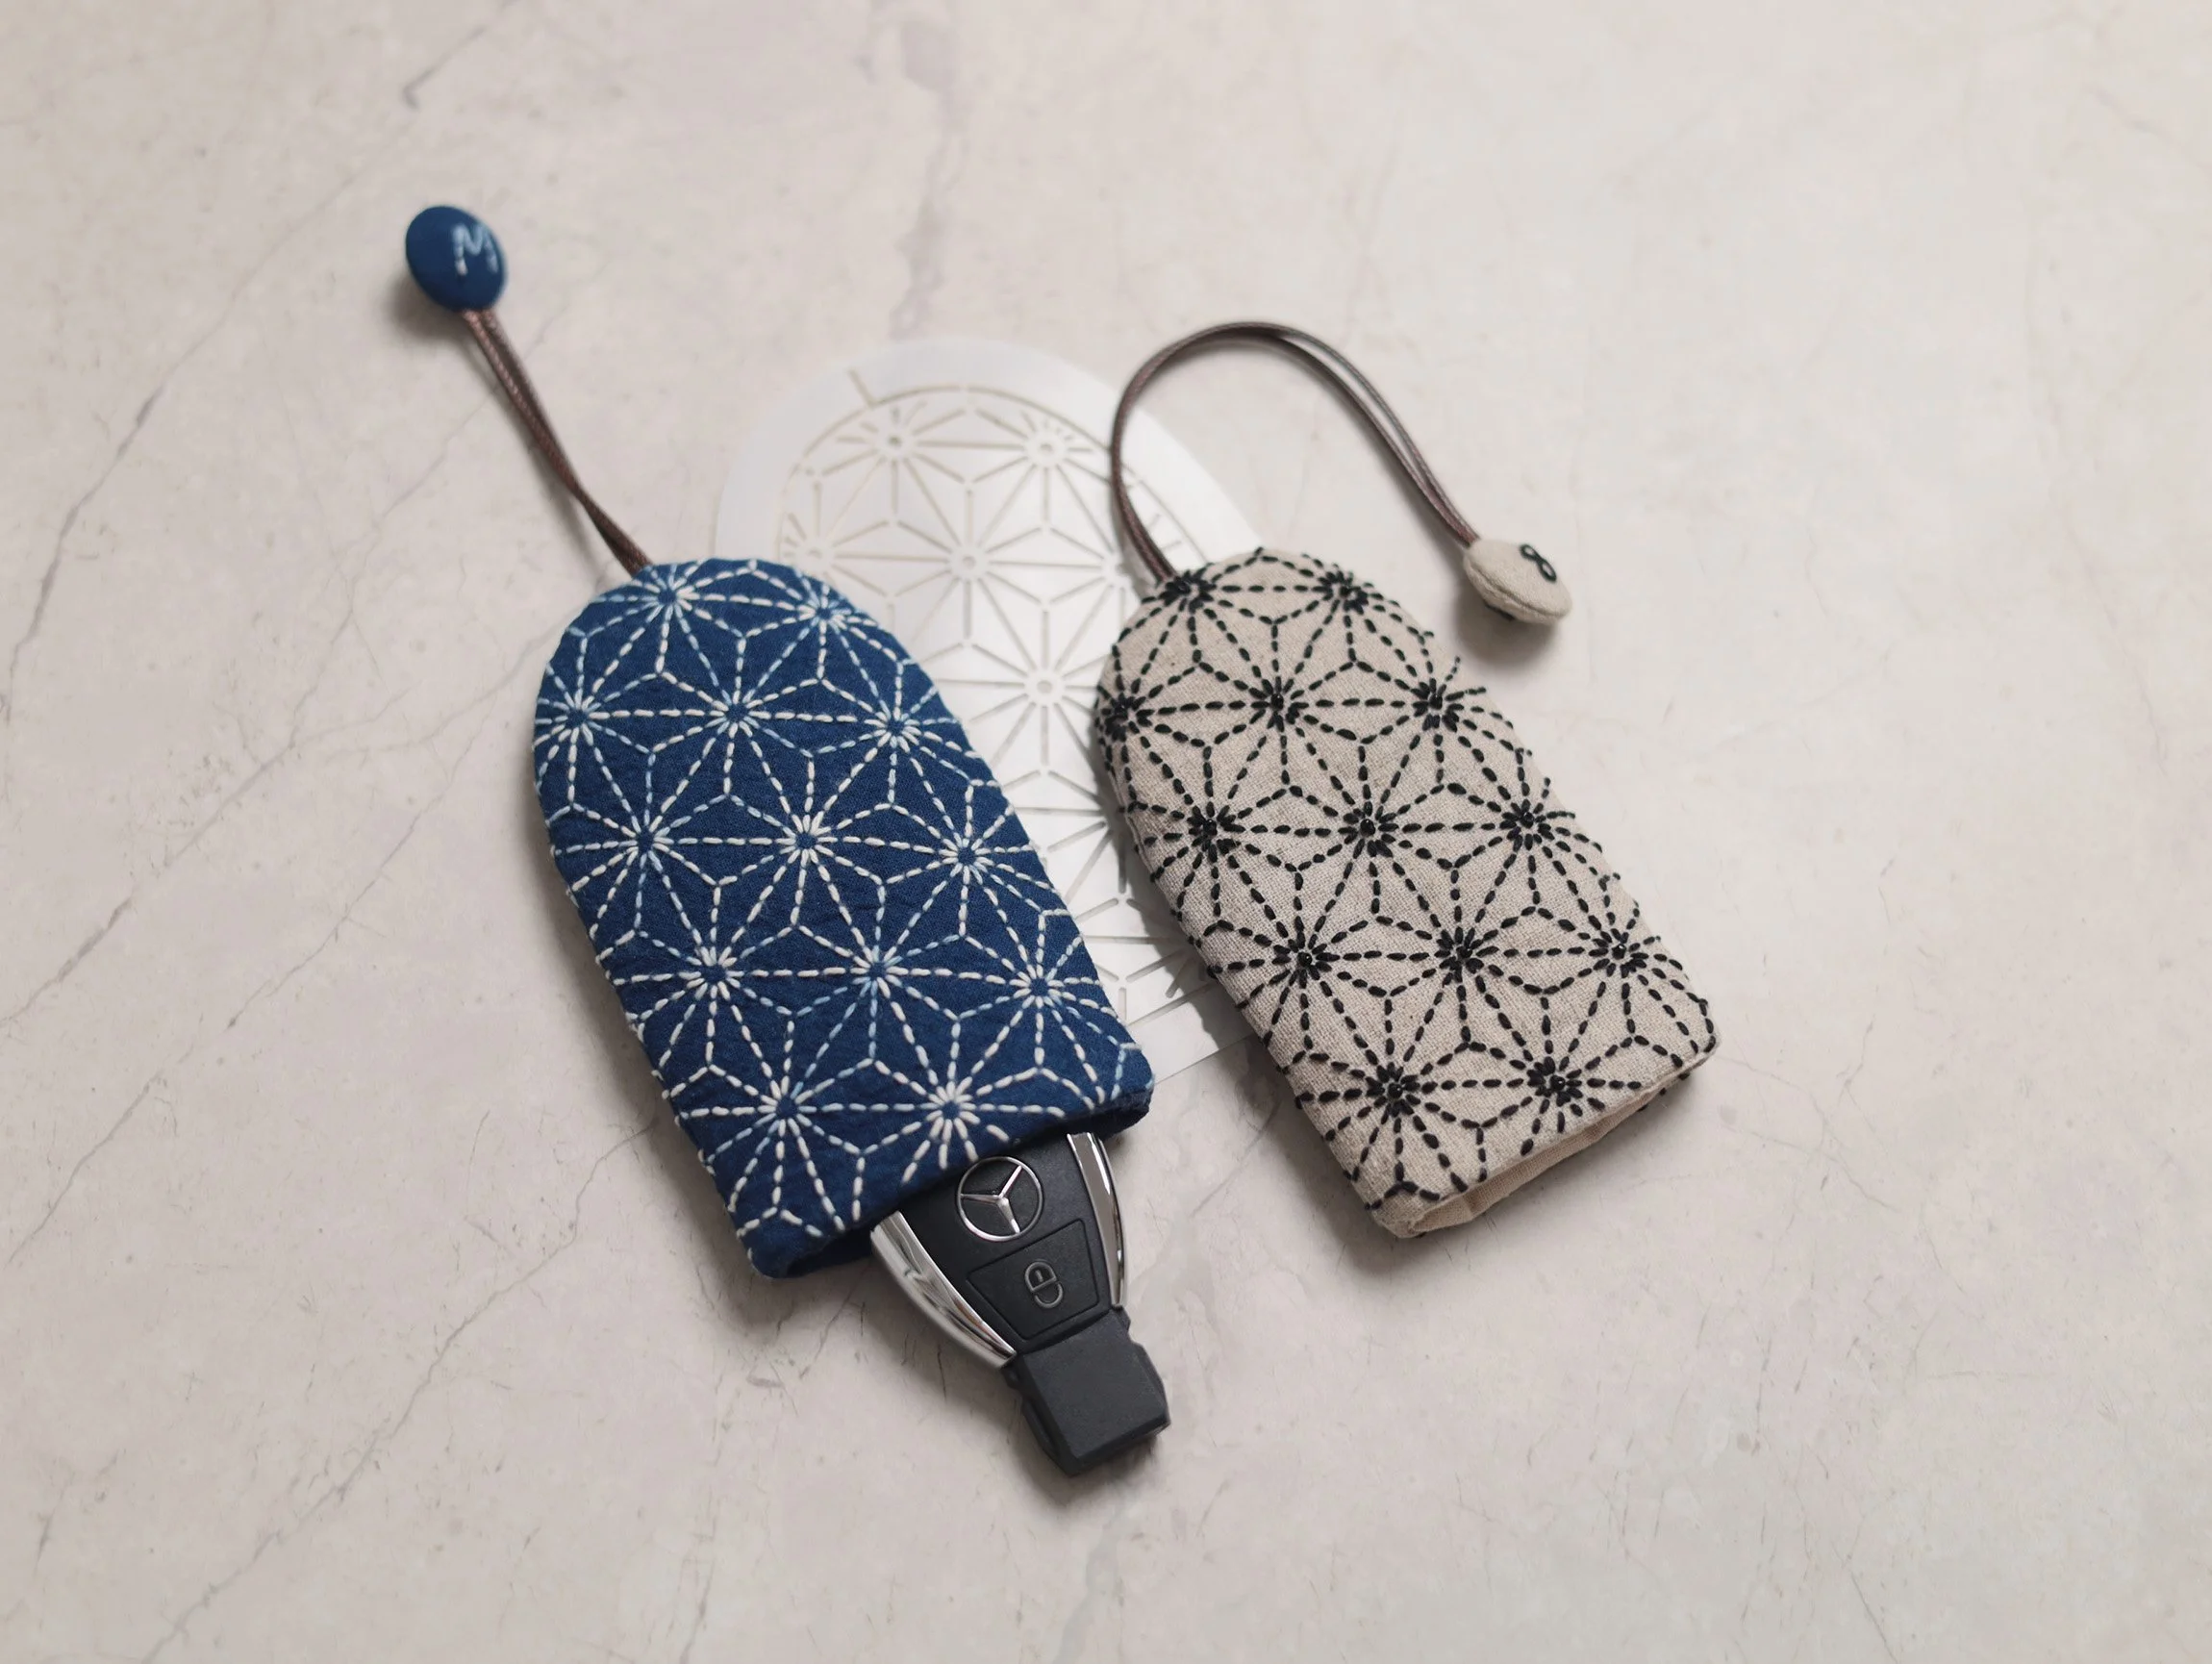
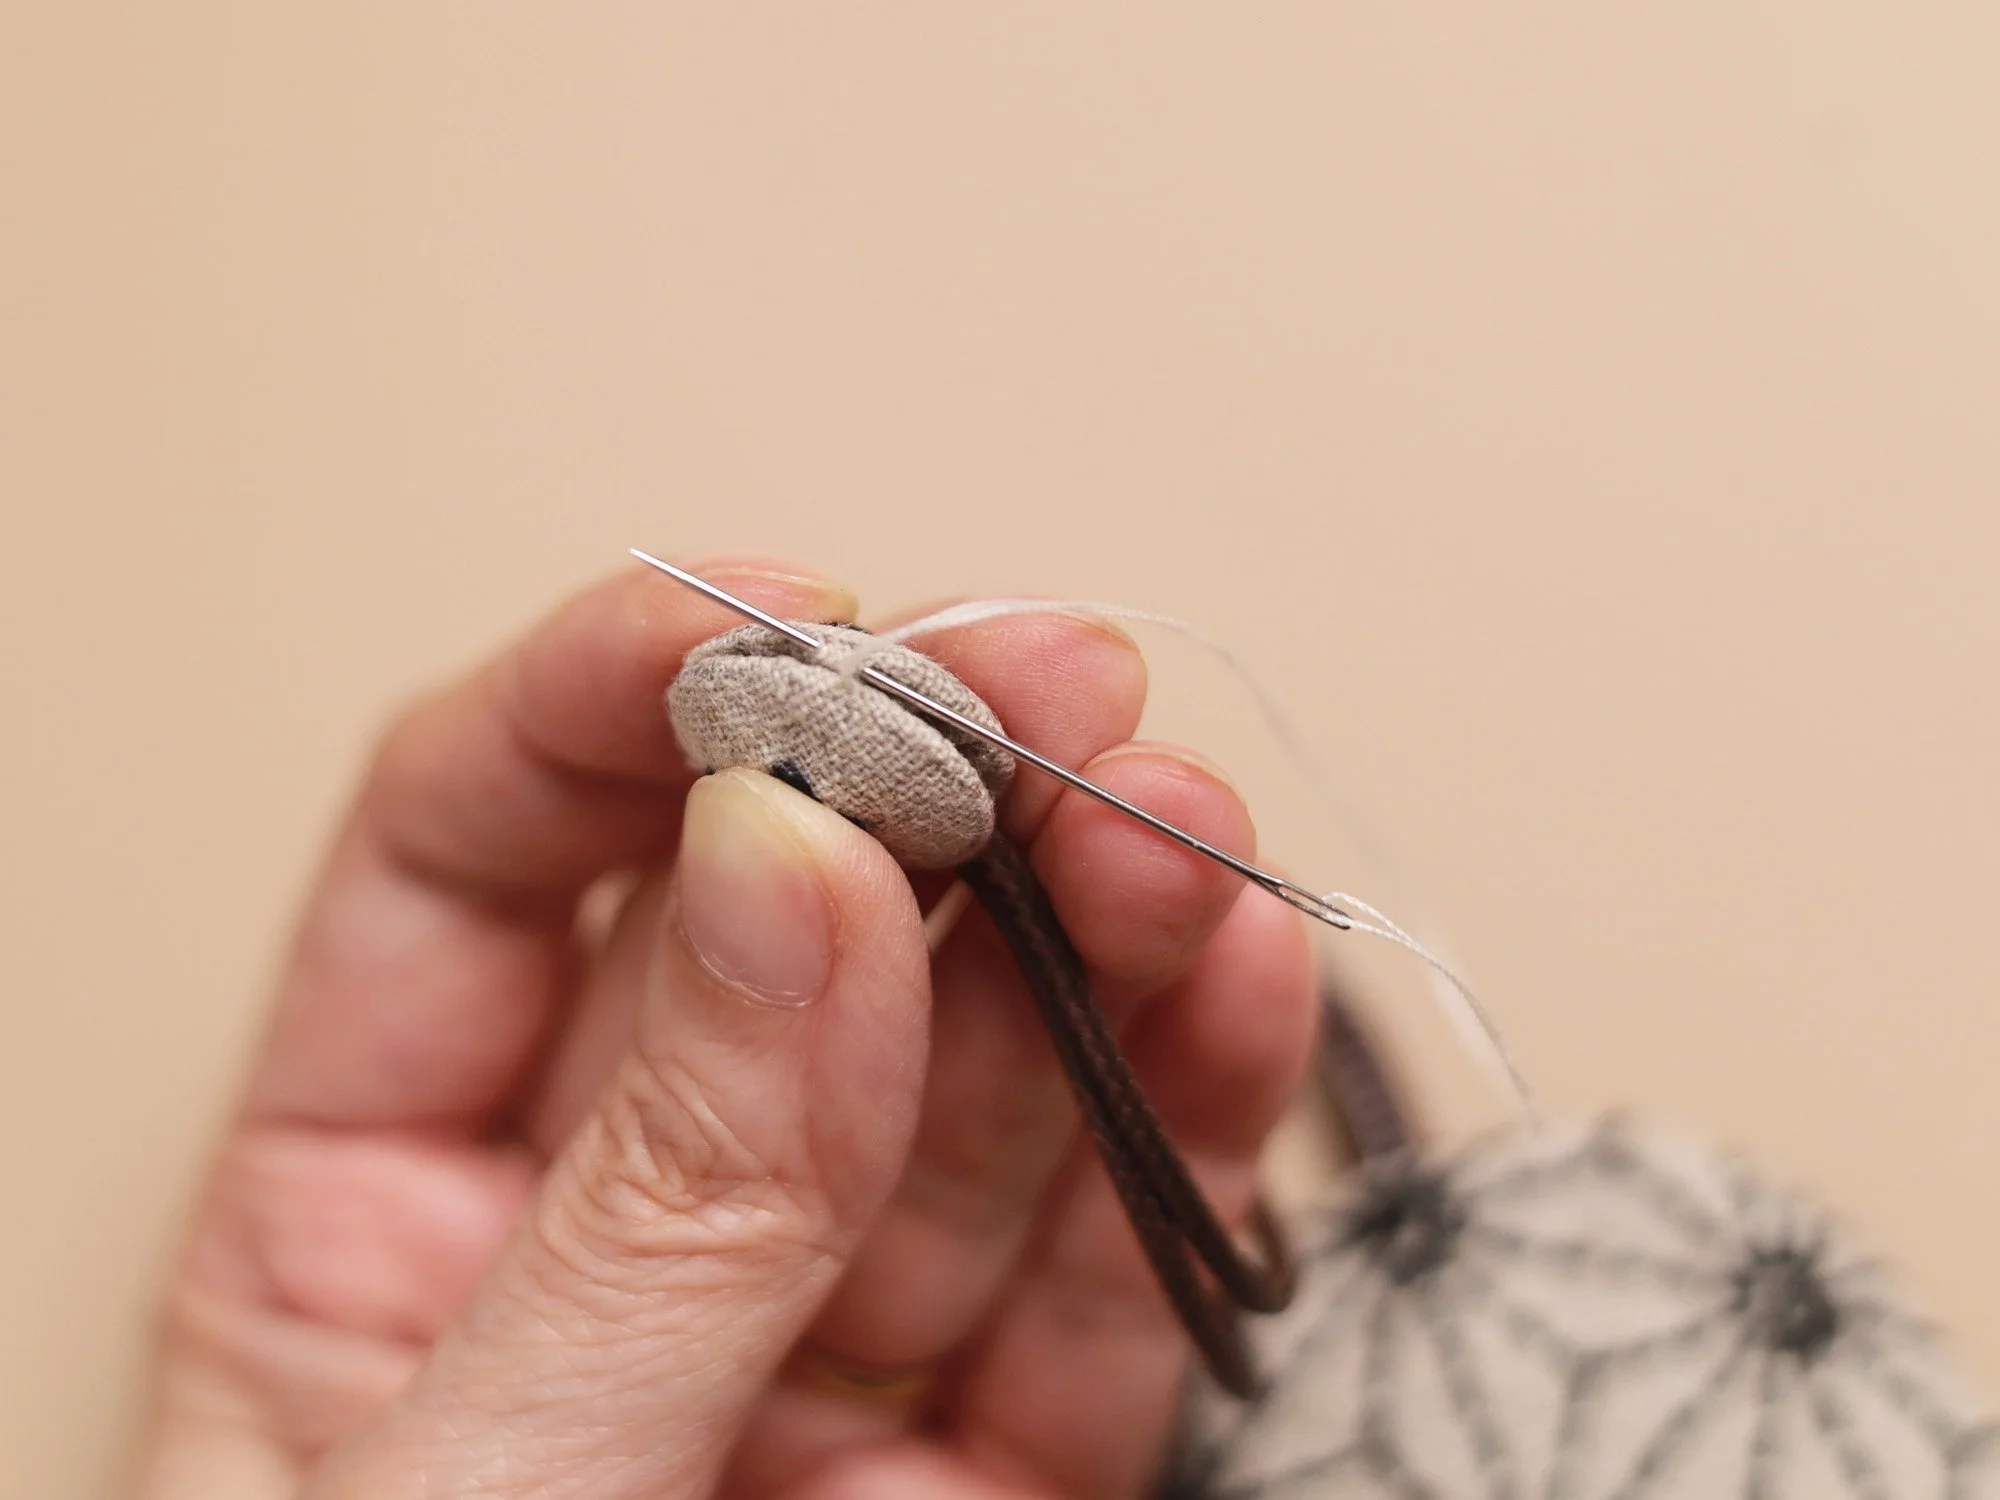
For the loose end of the cord, simply tie a knot, or decorate it with a bead or fabric-covered button cap.
For the button caps:
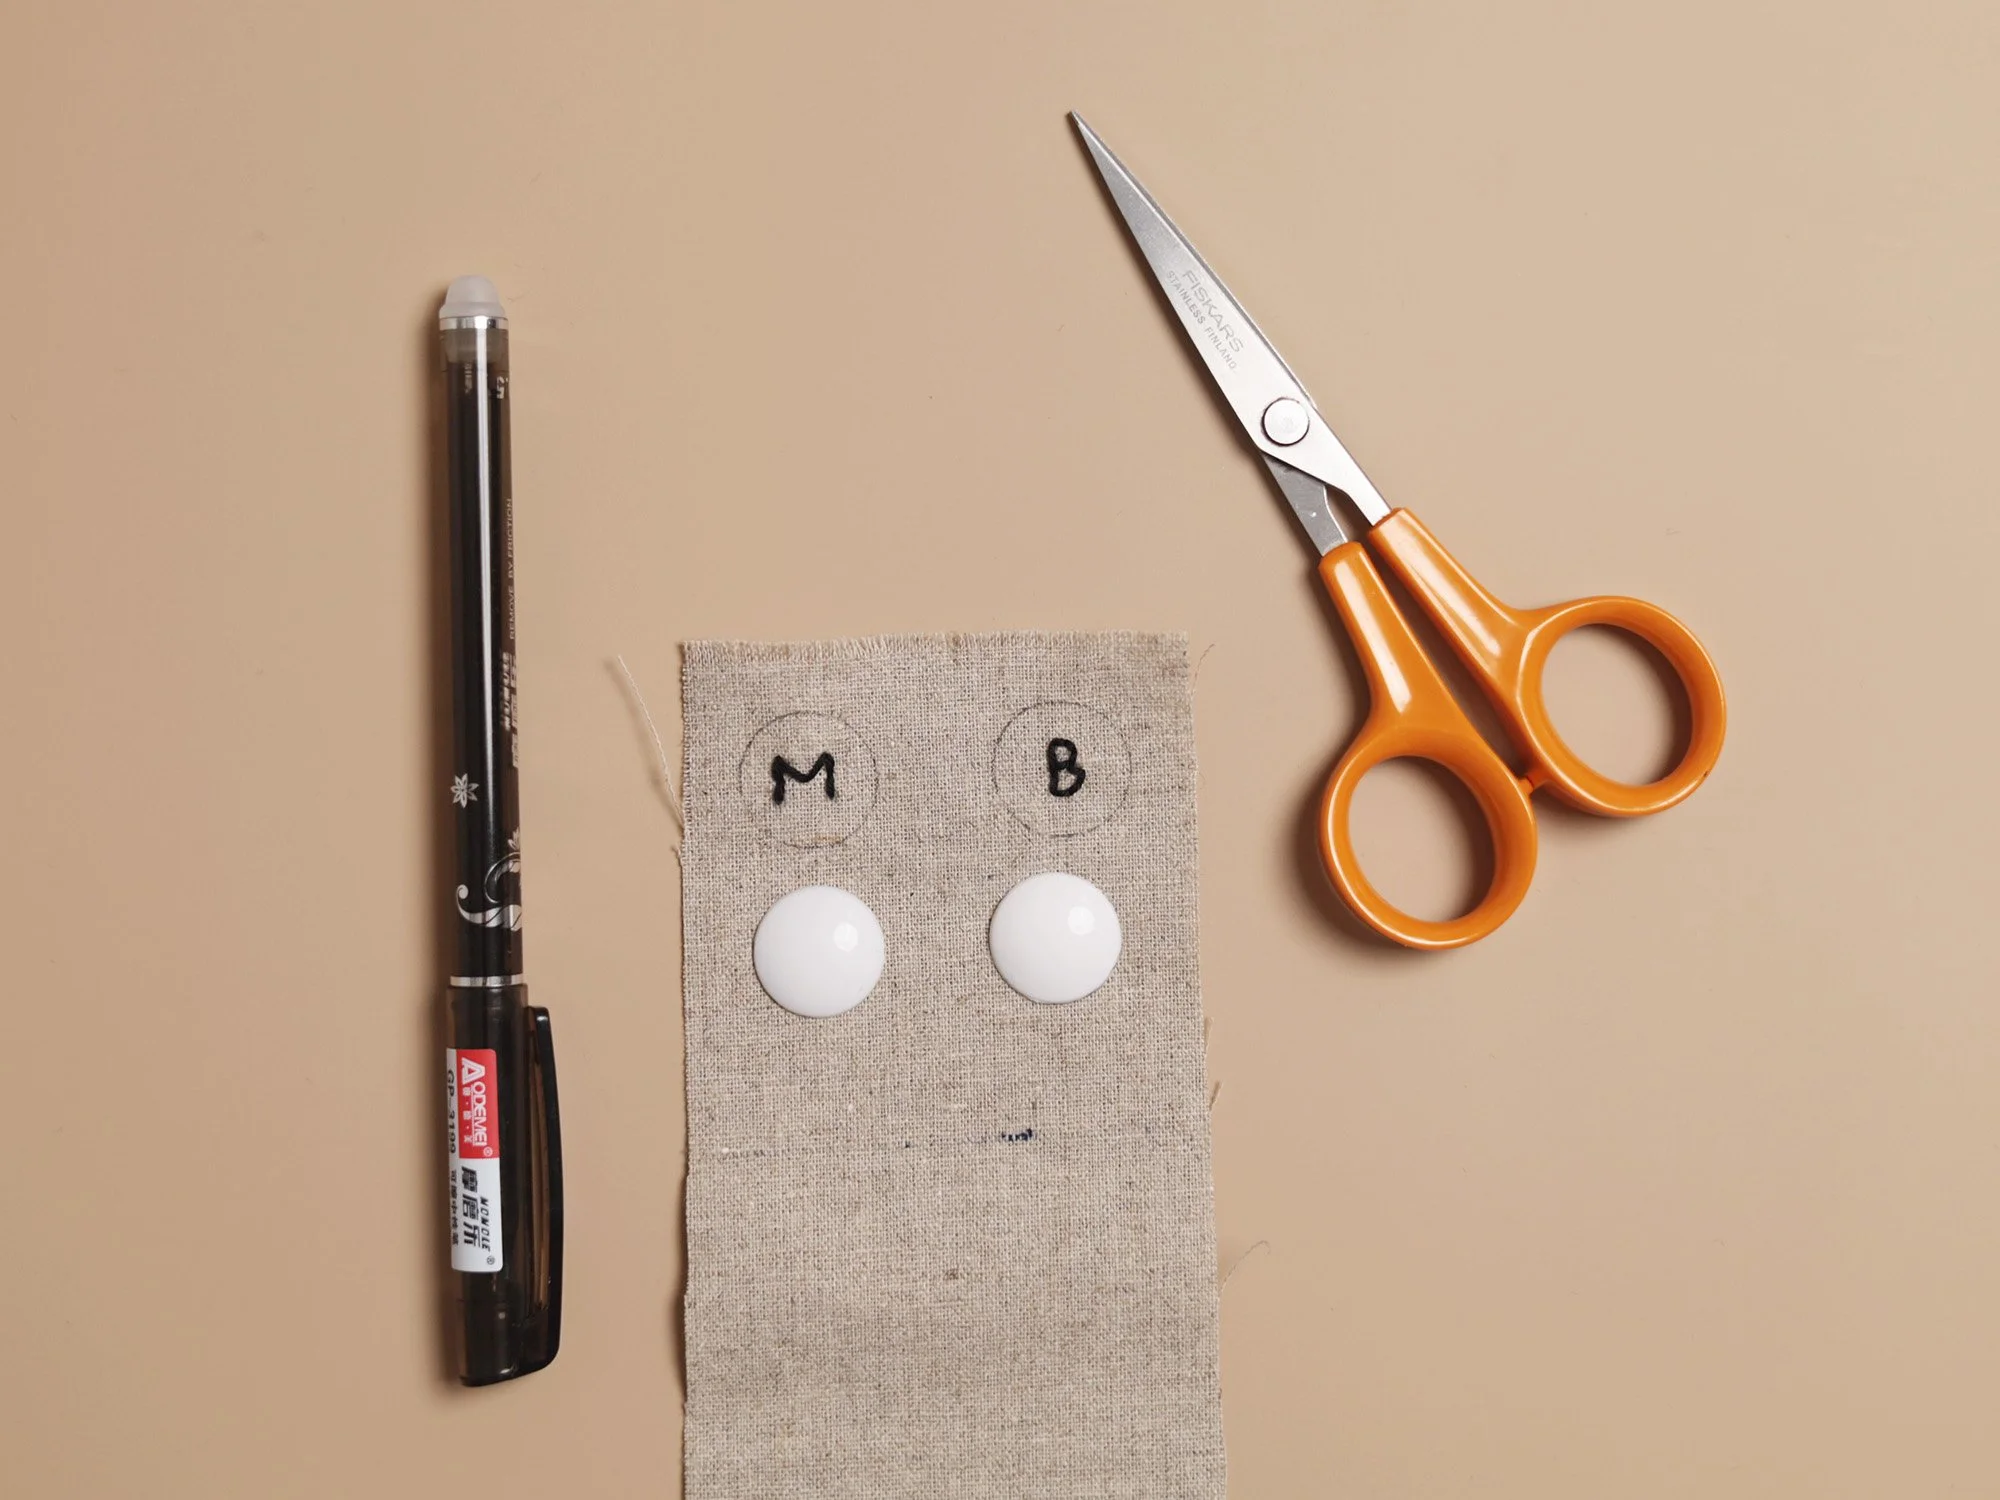
Place a button cap on the right side of the fabric and trace around it with a heat-erasable marker.
Cut out the circle, leaving an 8–9 mm seam allowance. Cut another fabric circle in the same way for the second button cap.
Stitch your initials in the centre of each circle on the right side of the fabric.
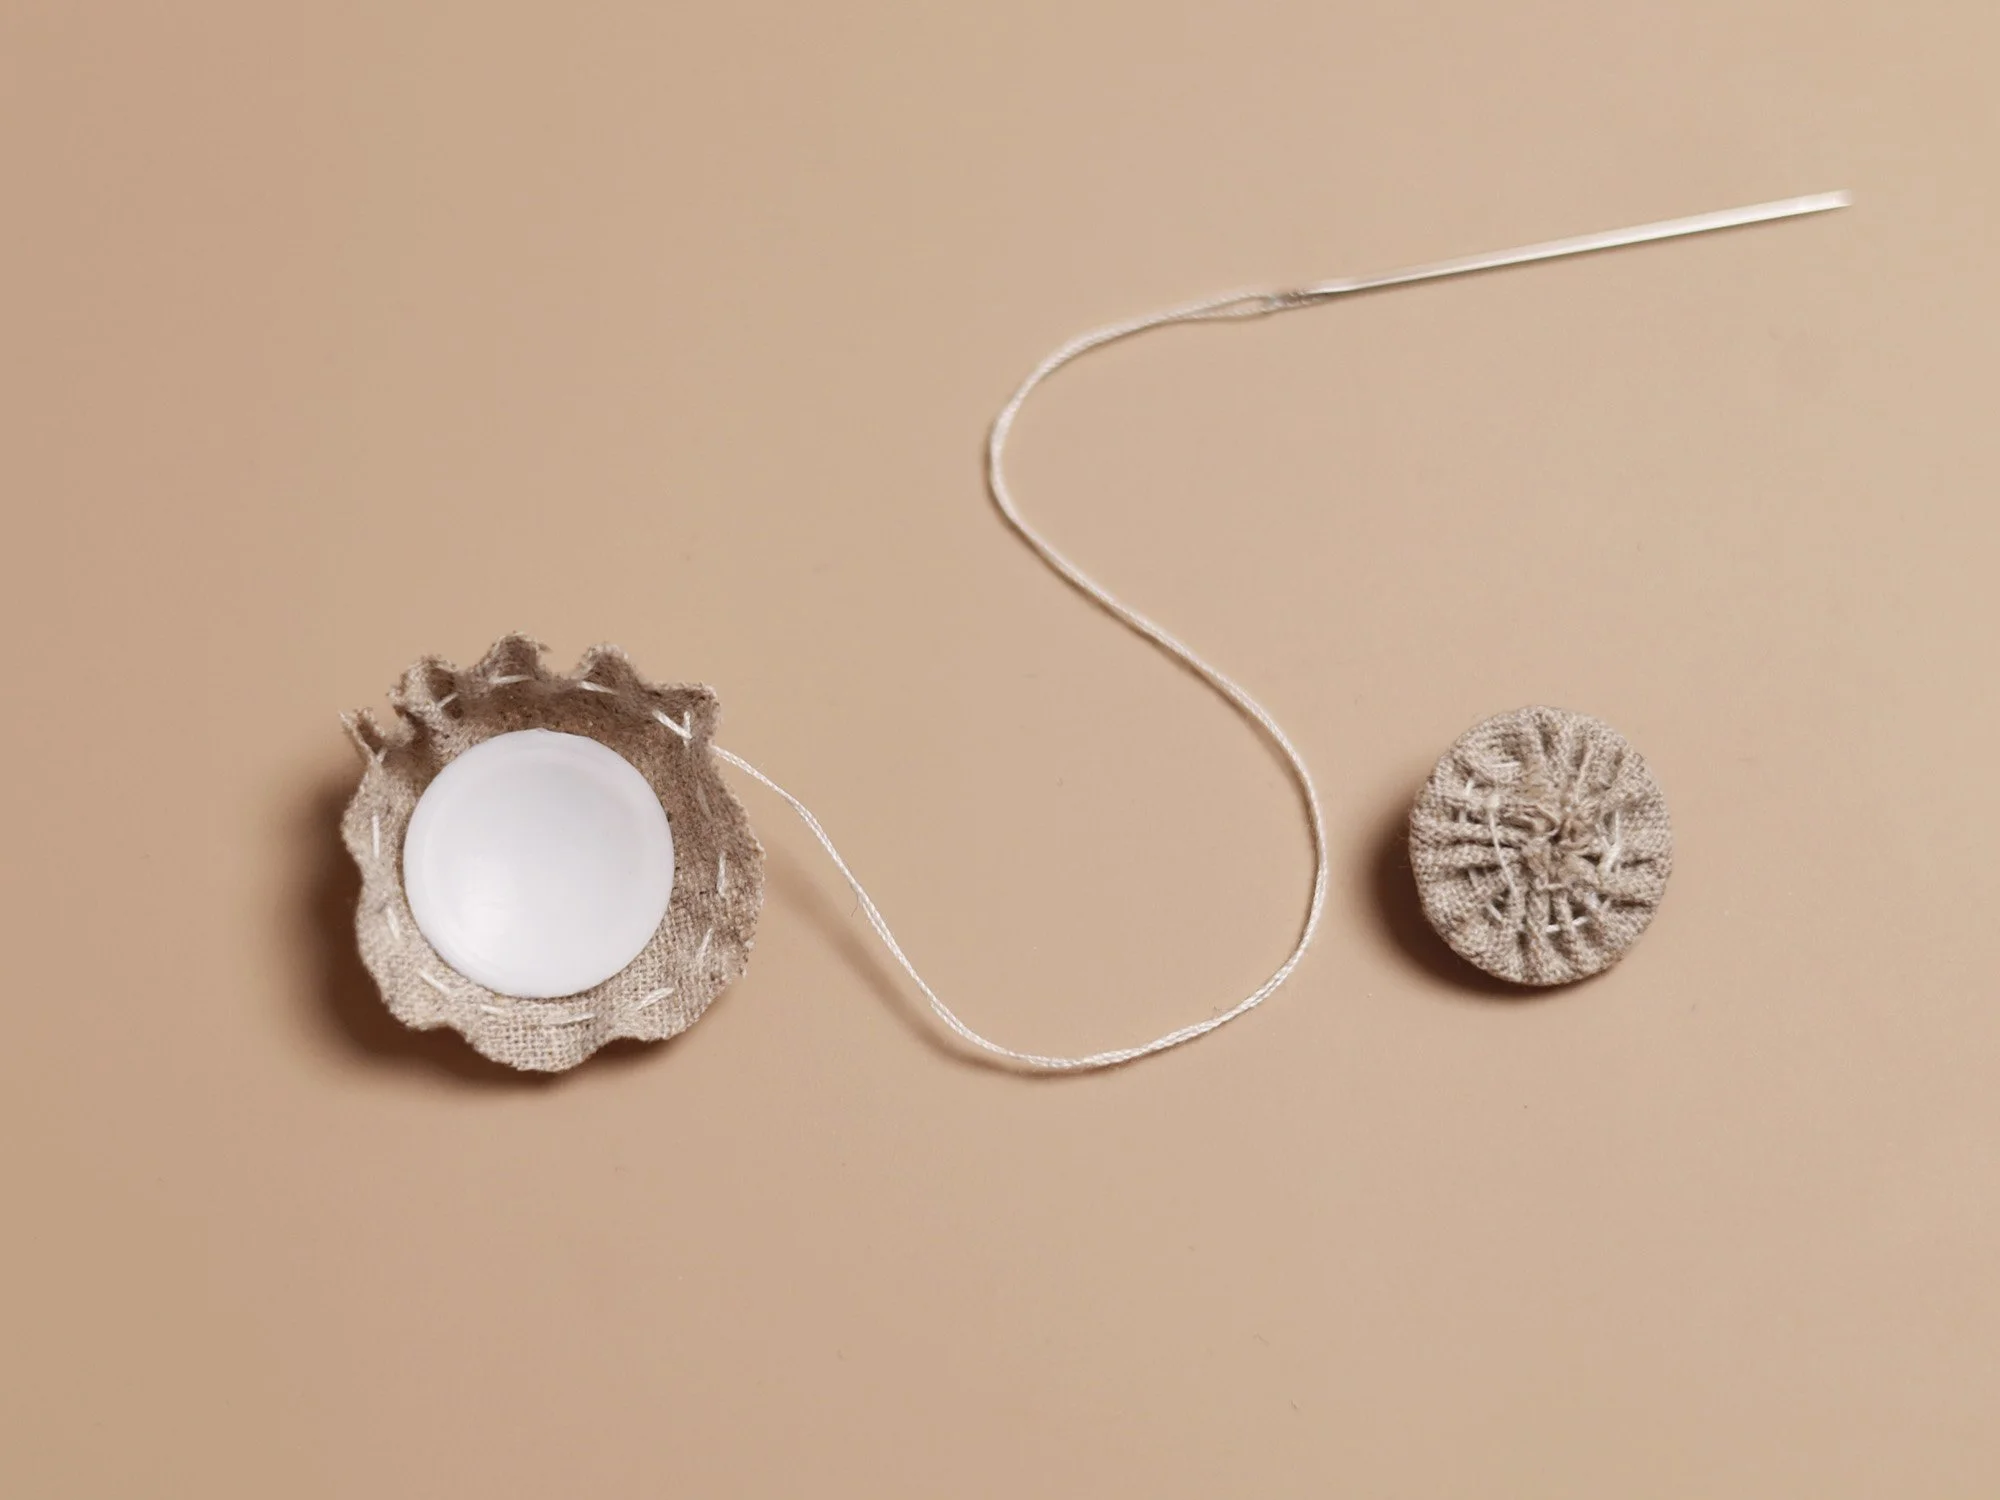
Using doubled sewing thread, stitch around the circle with a running stitch, approximately 2–3 mm from the raw edge.
Place a button cap in the centre of the fabric on the wrong side. Pull the thread to gather the fabric around the button.
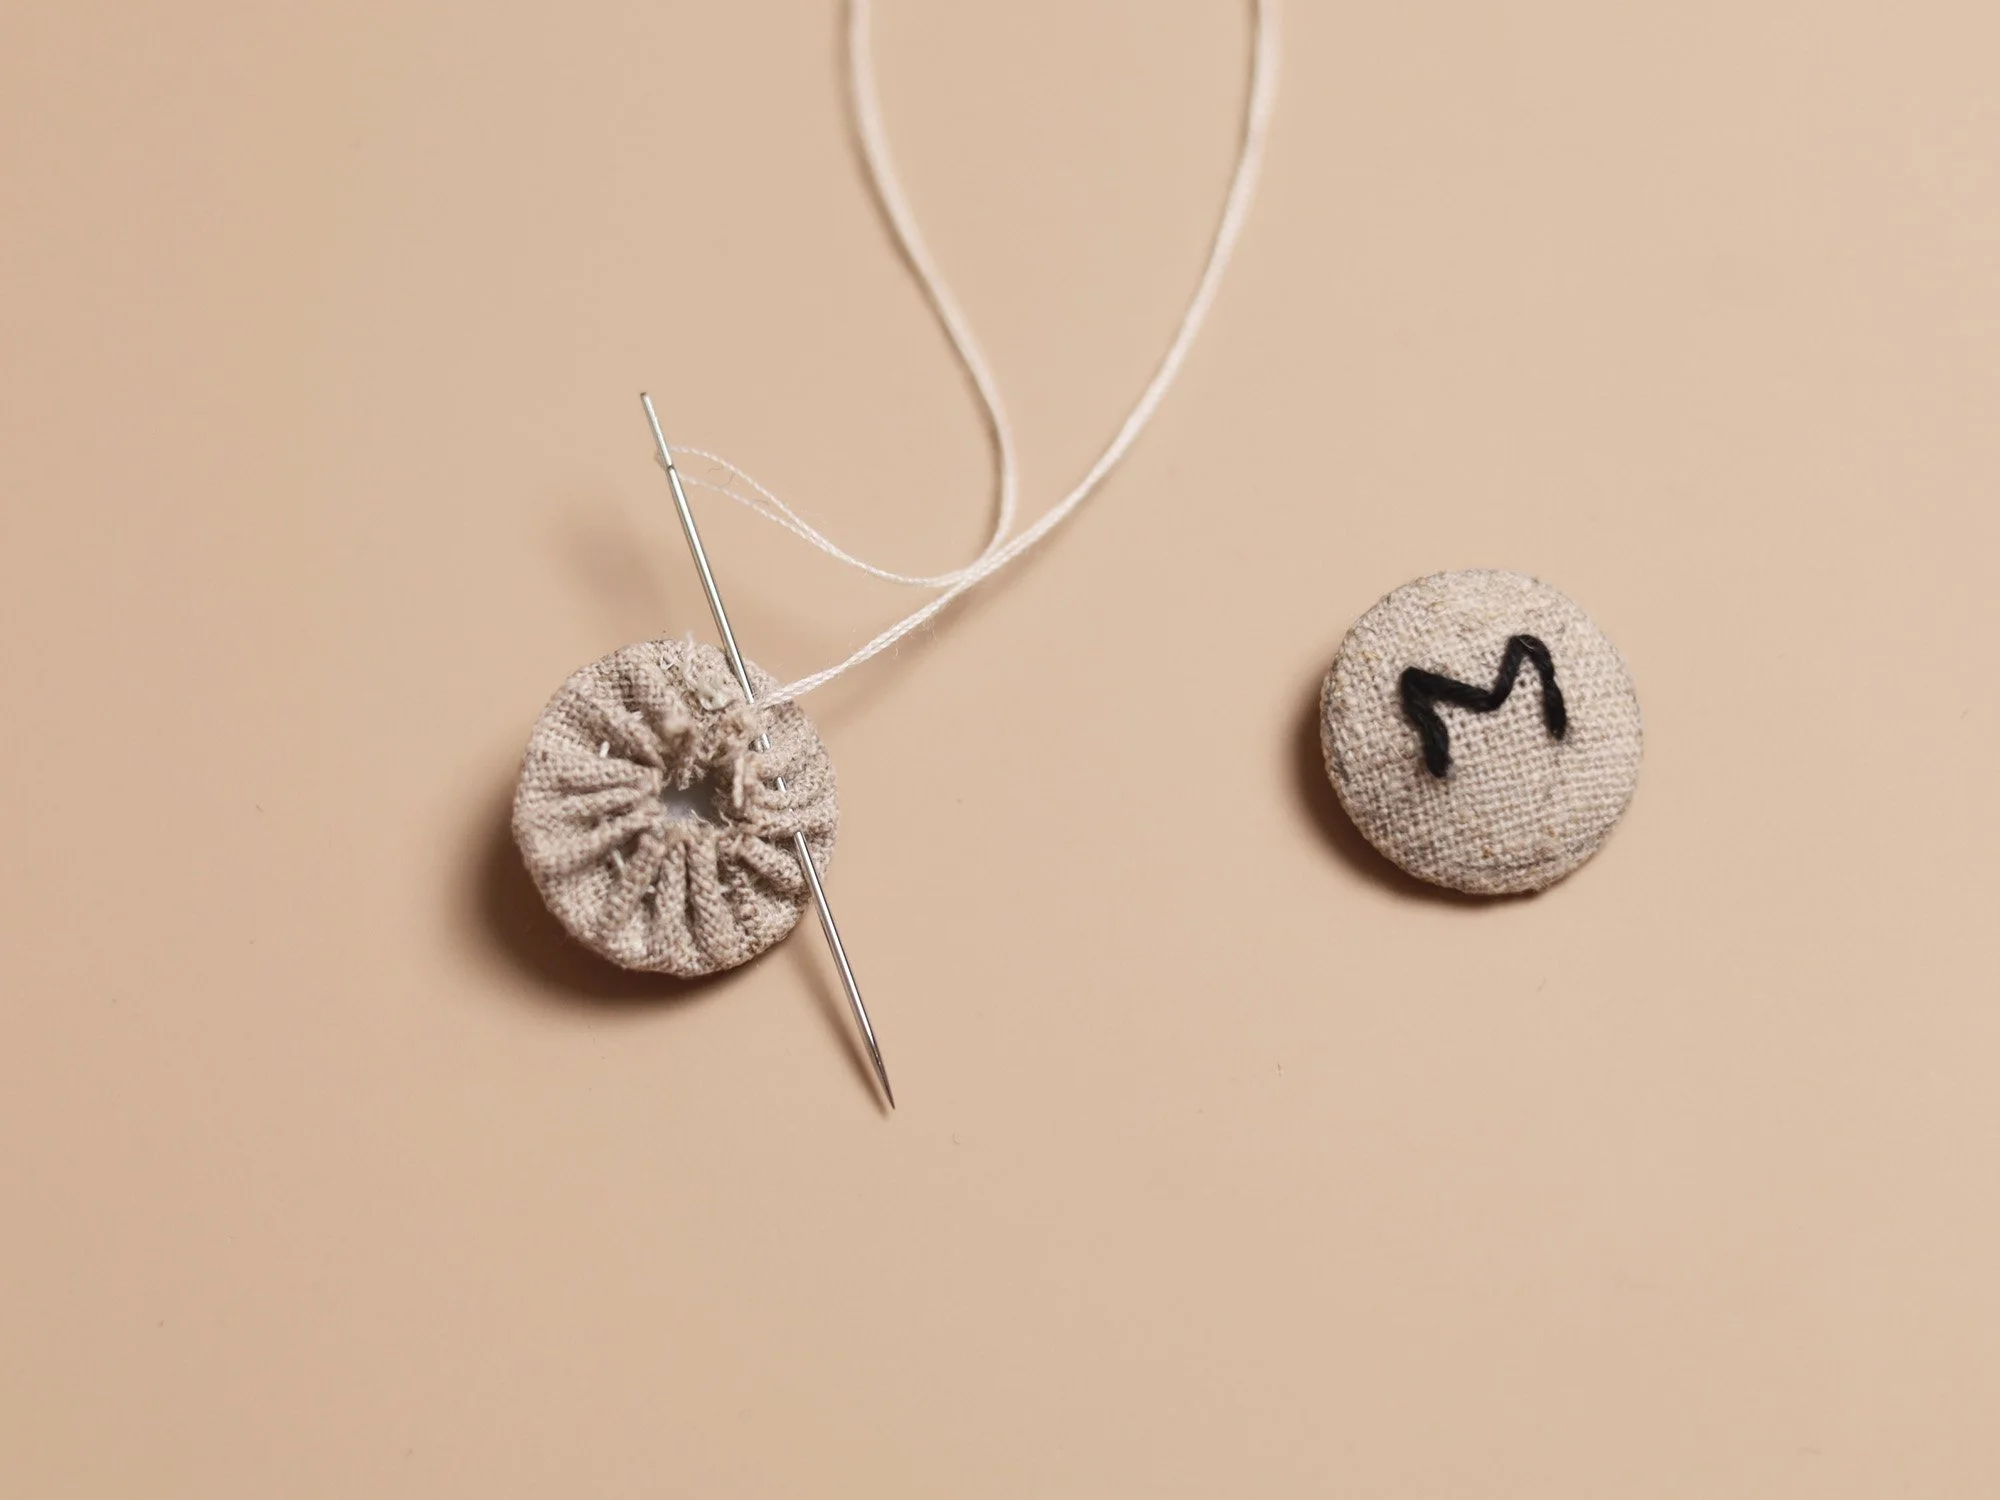
Stitch around the seam allowance again with large running stitches, tightening the thread after each stitch to secure the fabric around the button.
Repeat with the other half-button.
Place the two fabric-covered button caps together with the wrong sides touching. Sew the edges together using an invisible (ladder) stitch. Leave a small gap to insert the loose end of the cord, then close the gap with the same stitch.
Remove the marks on the fabric using a hot iron or hair dryer.
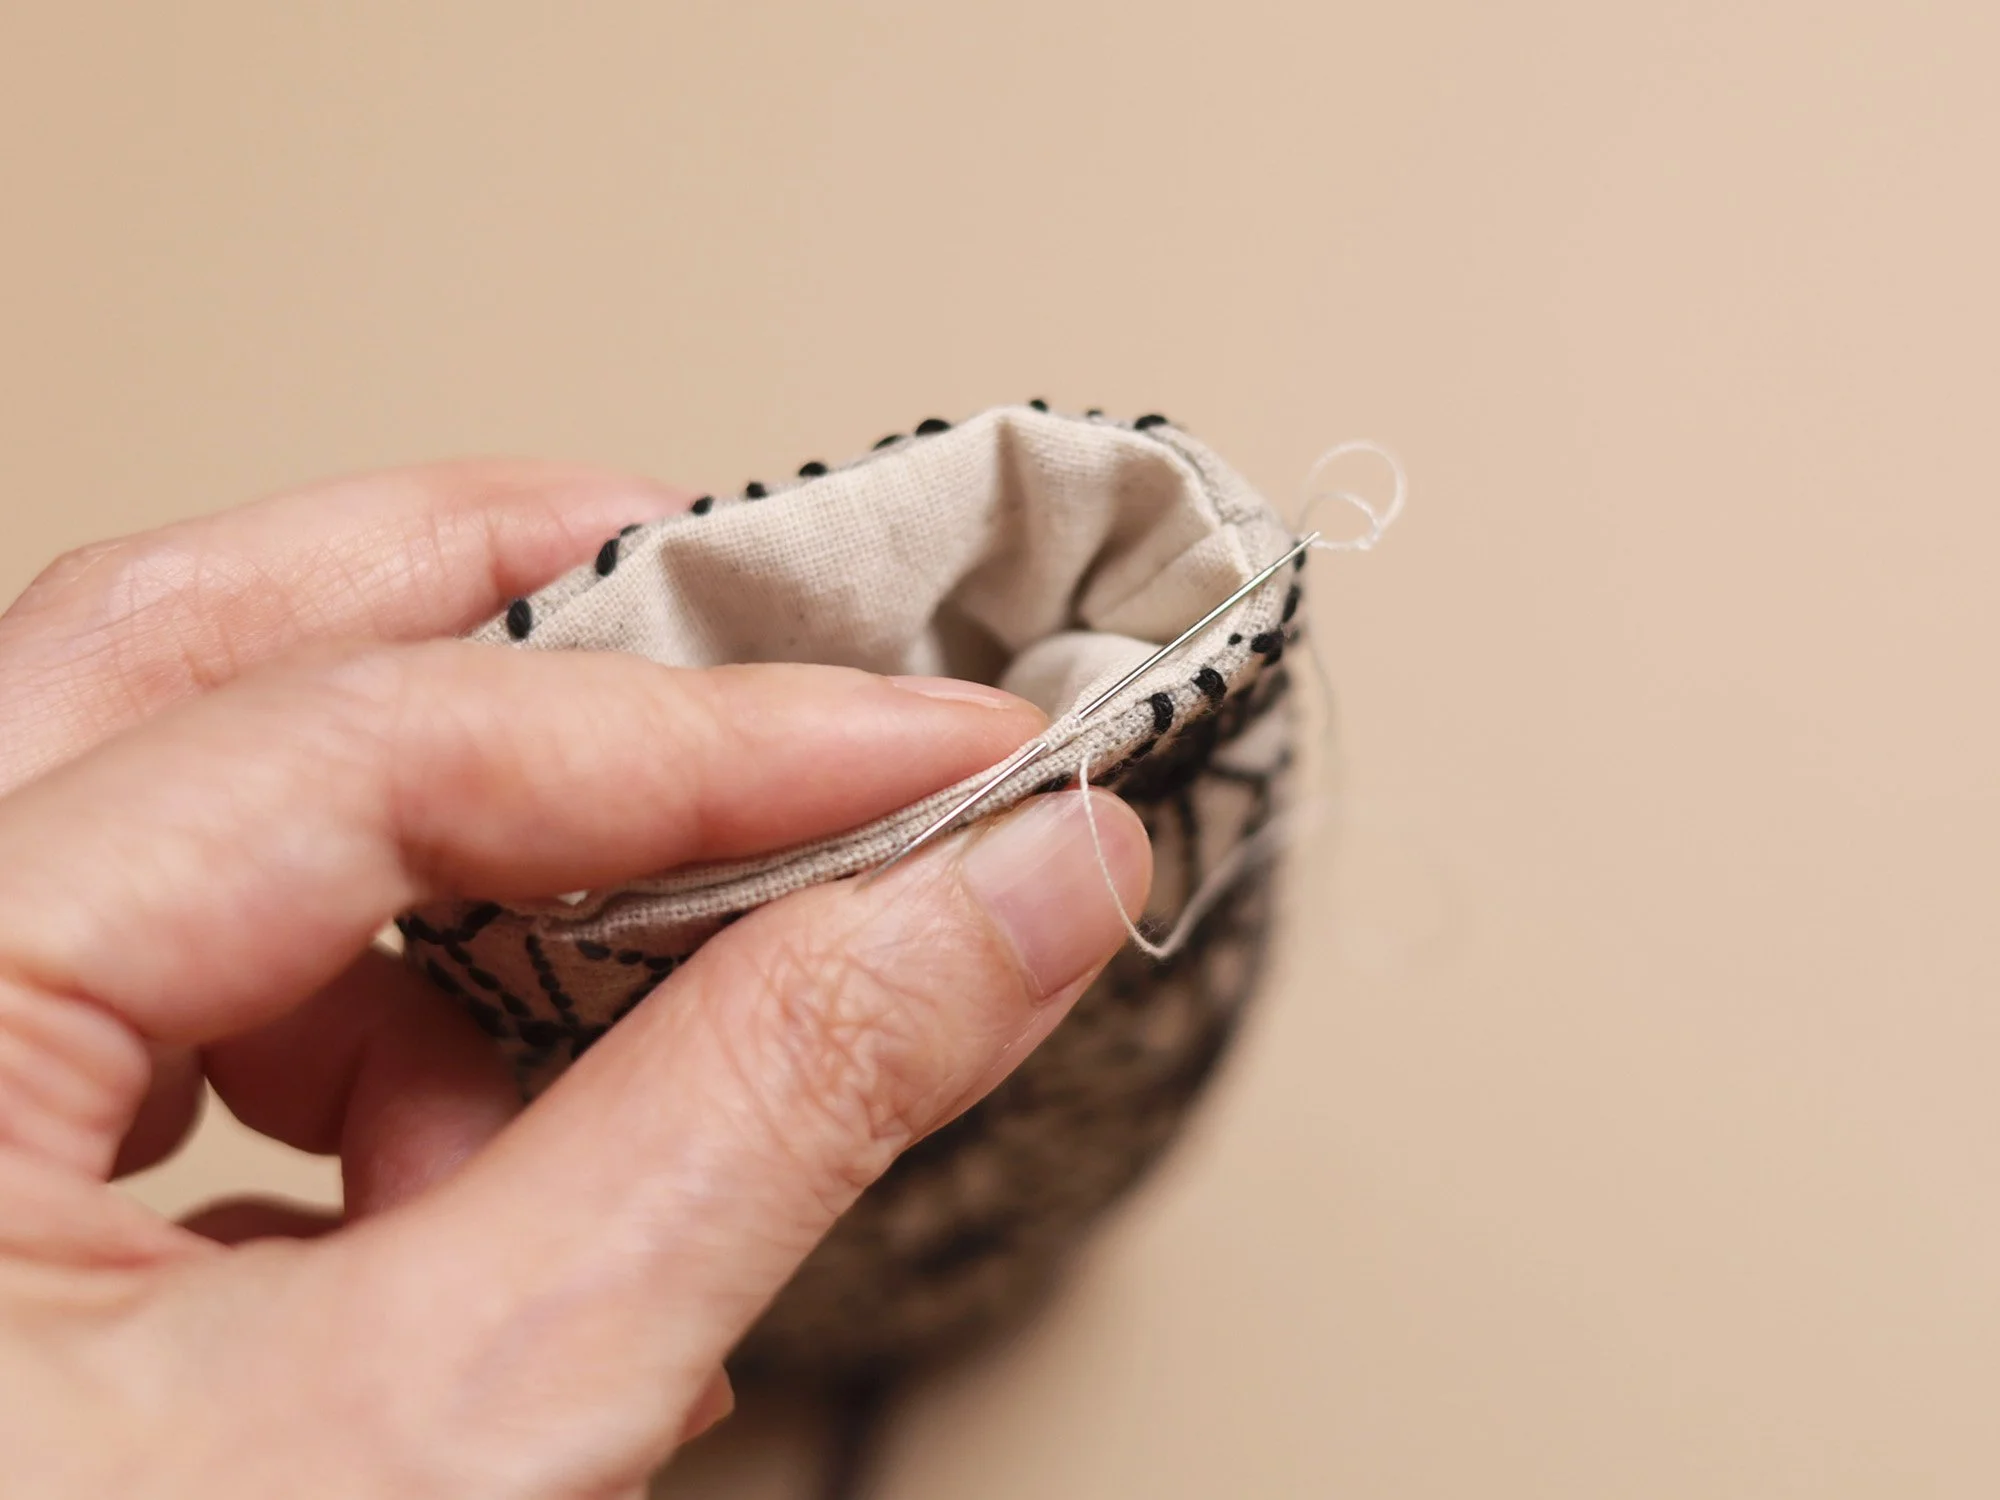
Close the gap using an invisible (ladder) stitch.
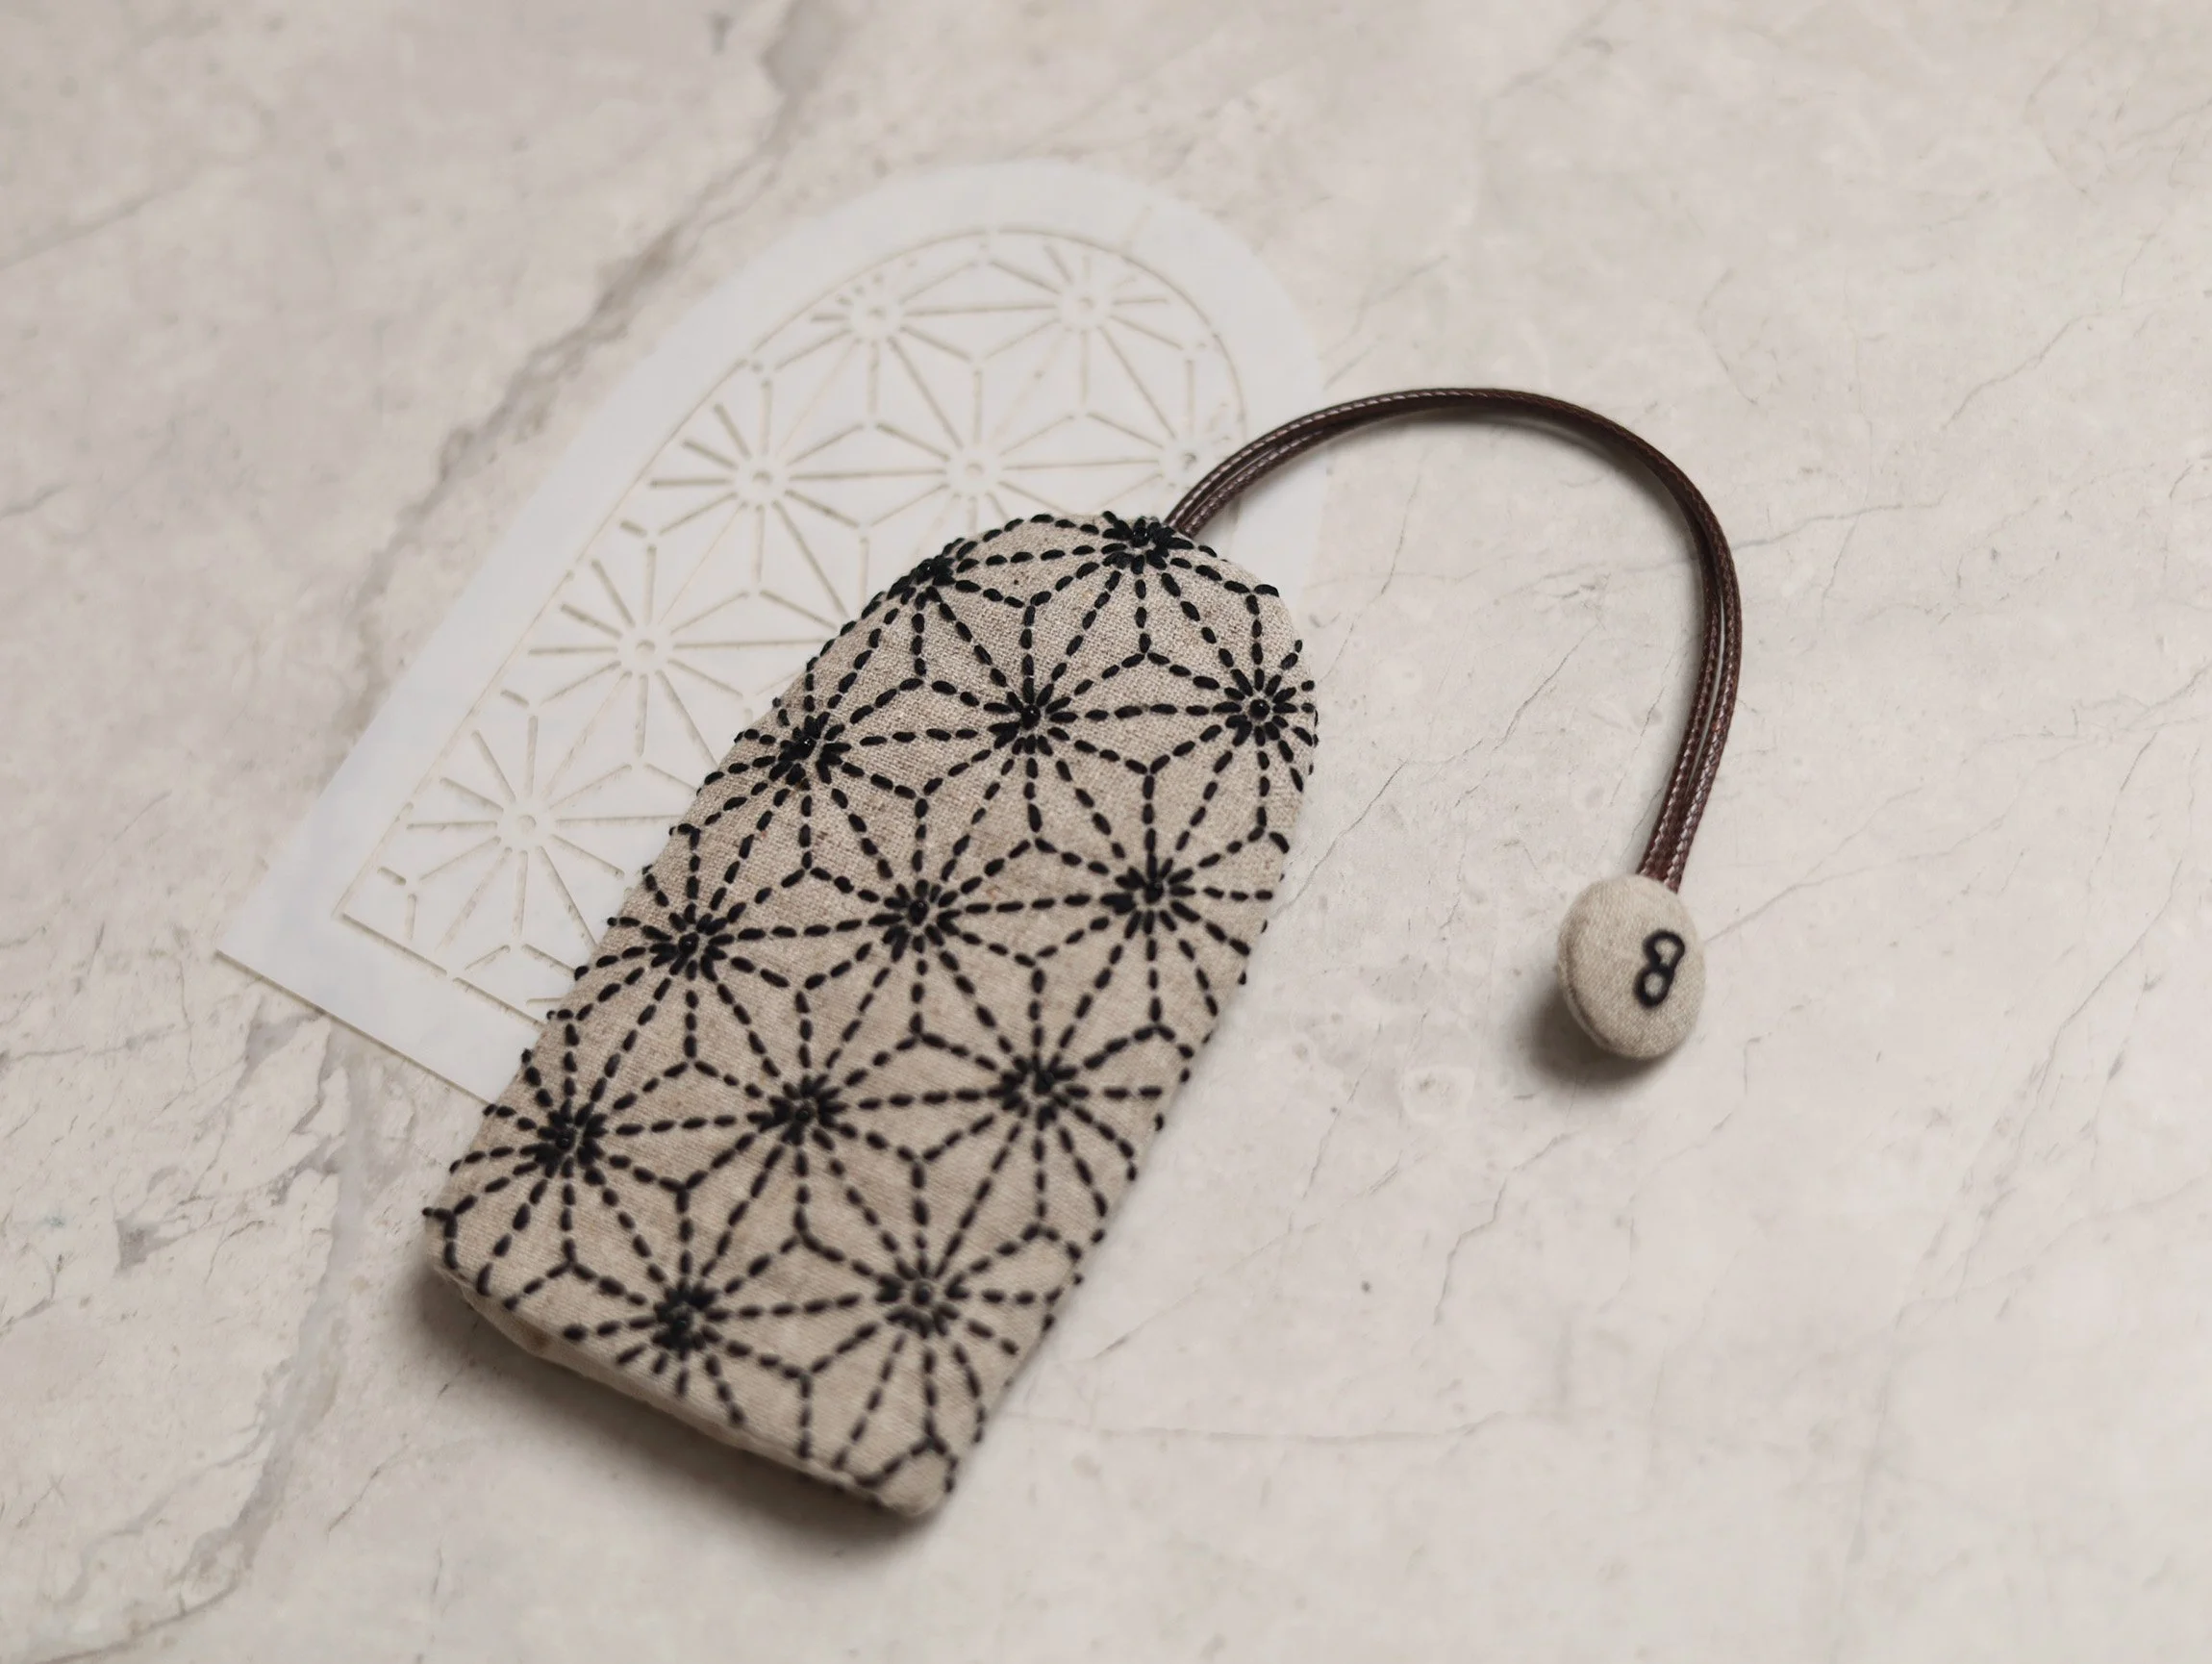
Congratulations, your key keeper pouch is now complete!
Visit our website www.montbleu.co.uk for more fun craft projects.
If you spot any mistakes in this tutorial, have suggestions for improvement, or would like to share your finished projects, please don’t hesitate to contact us.