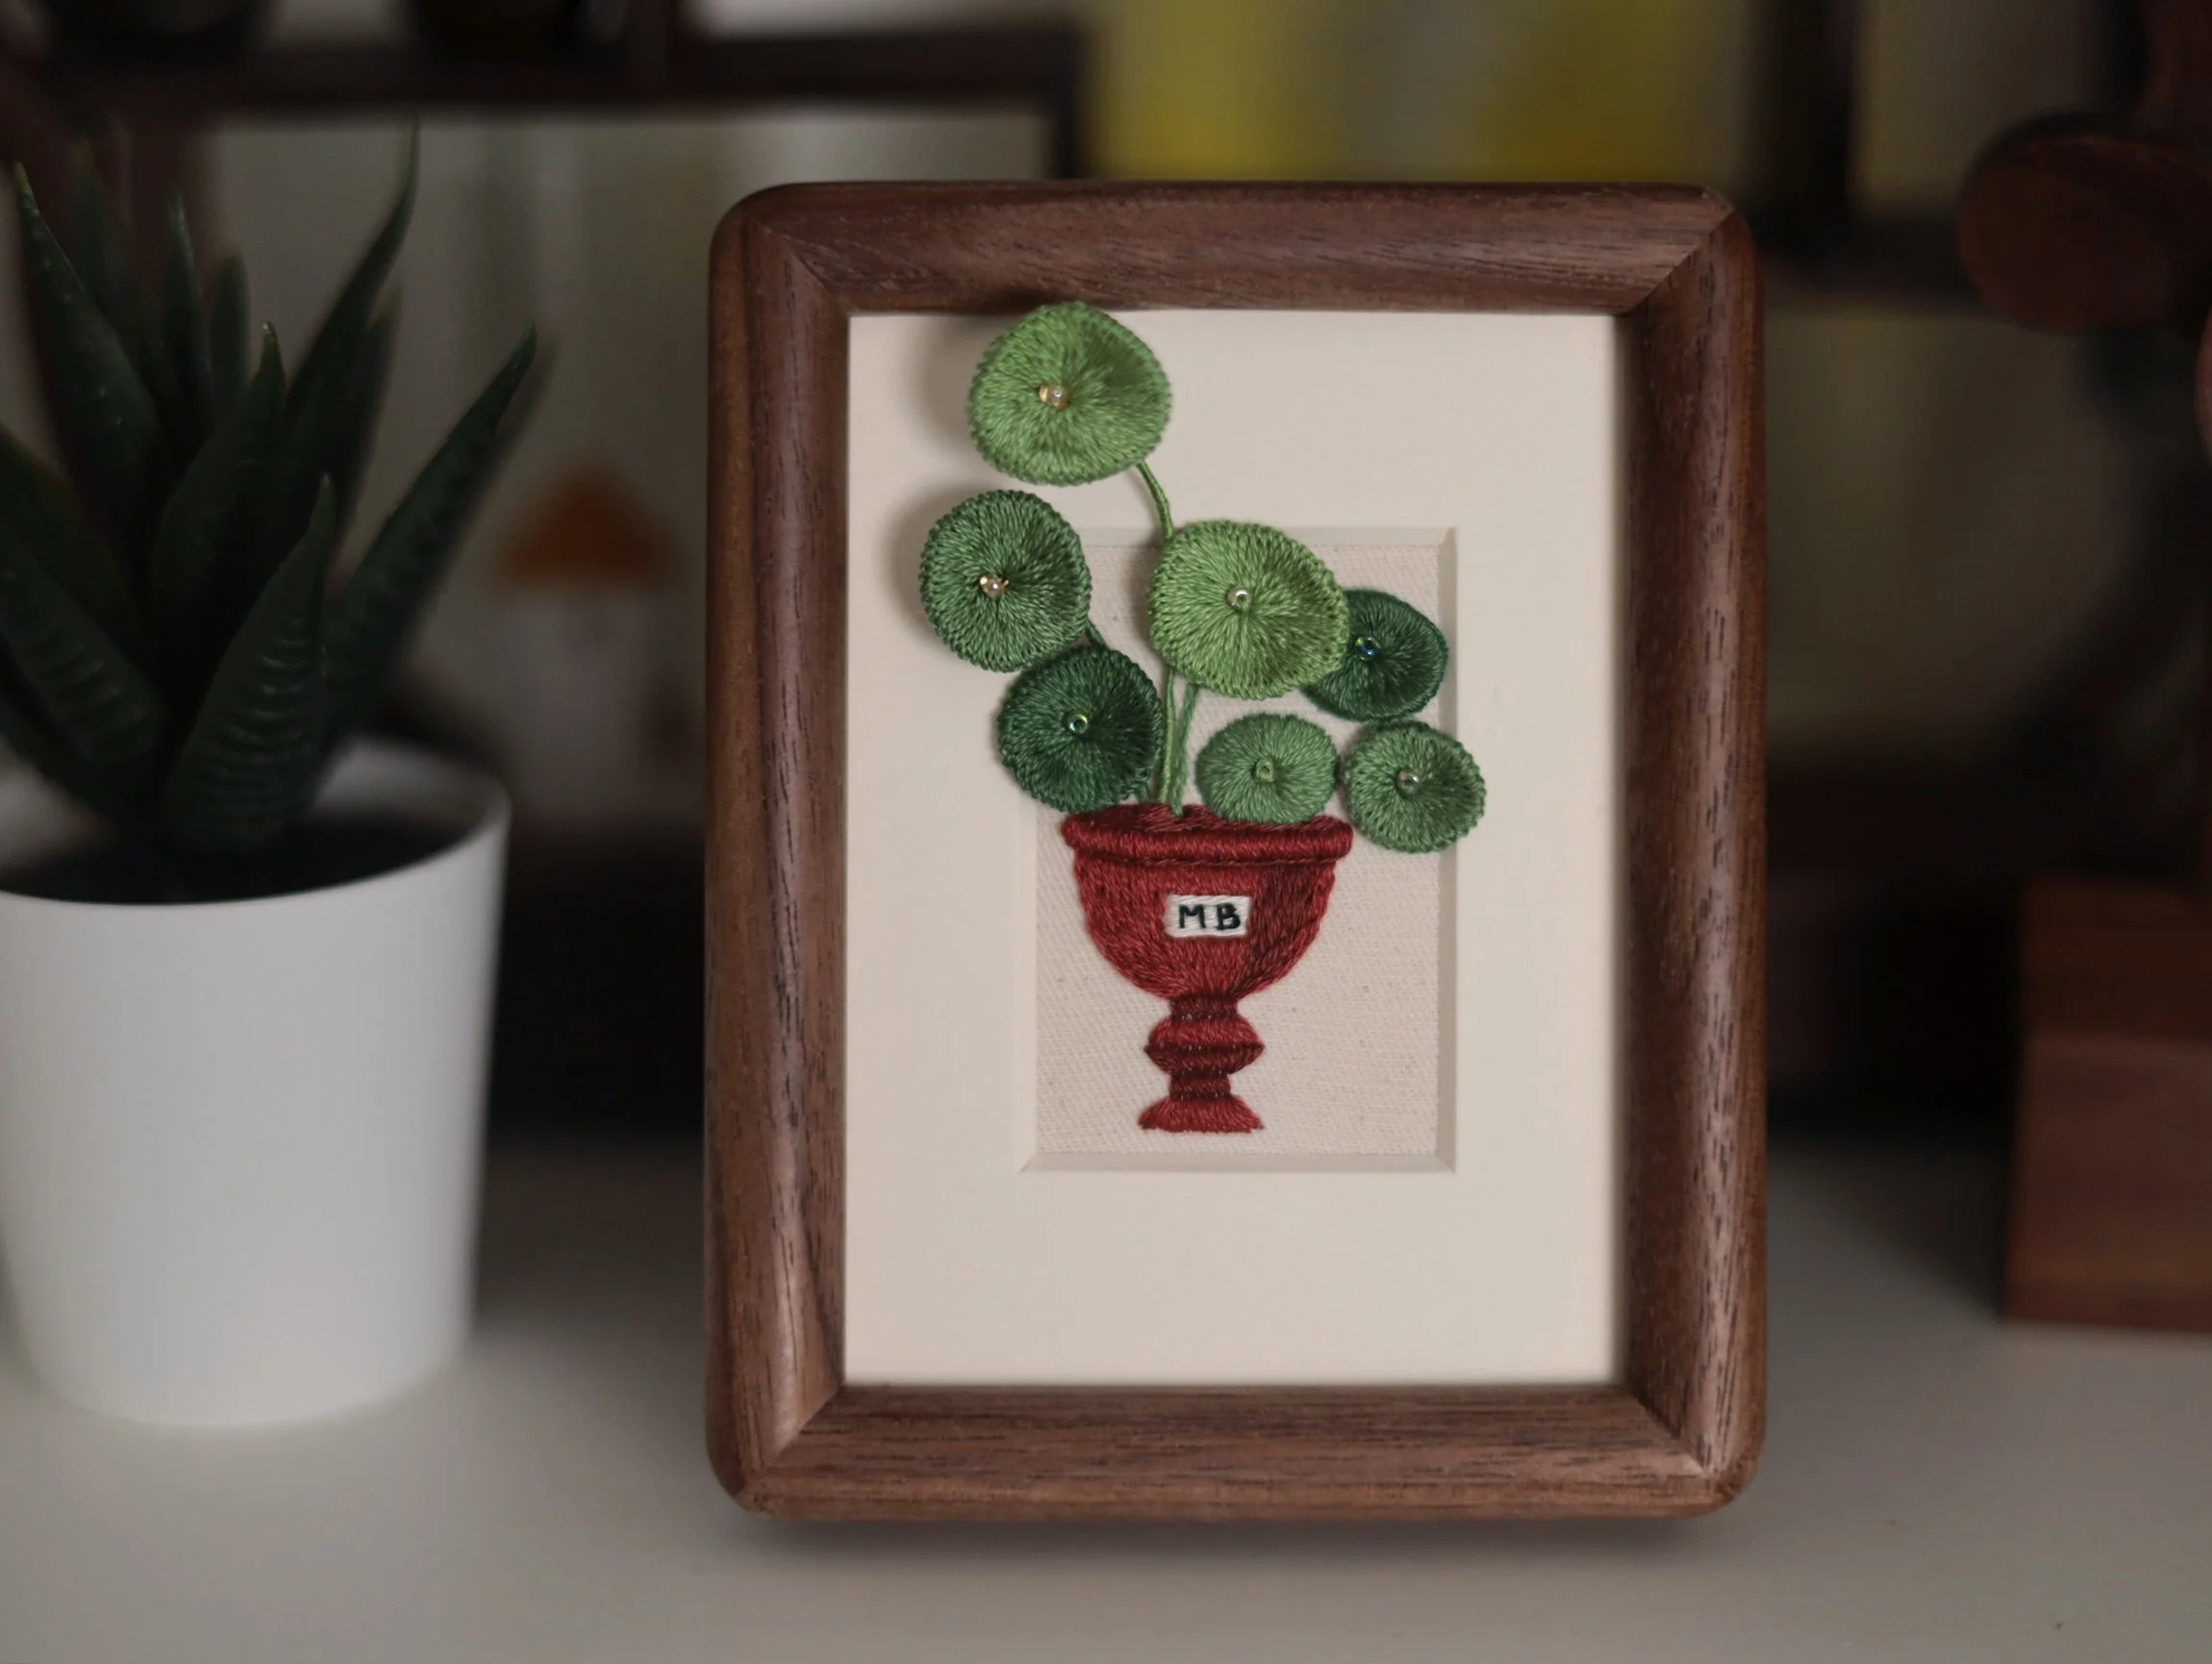
3D Chinese Money Plant Embroidery Kit
- Full Embroidery & Assembly Tutorials
Embroidery Tips for Beginners
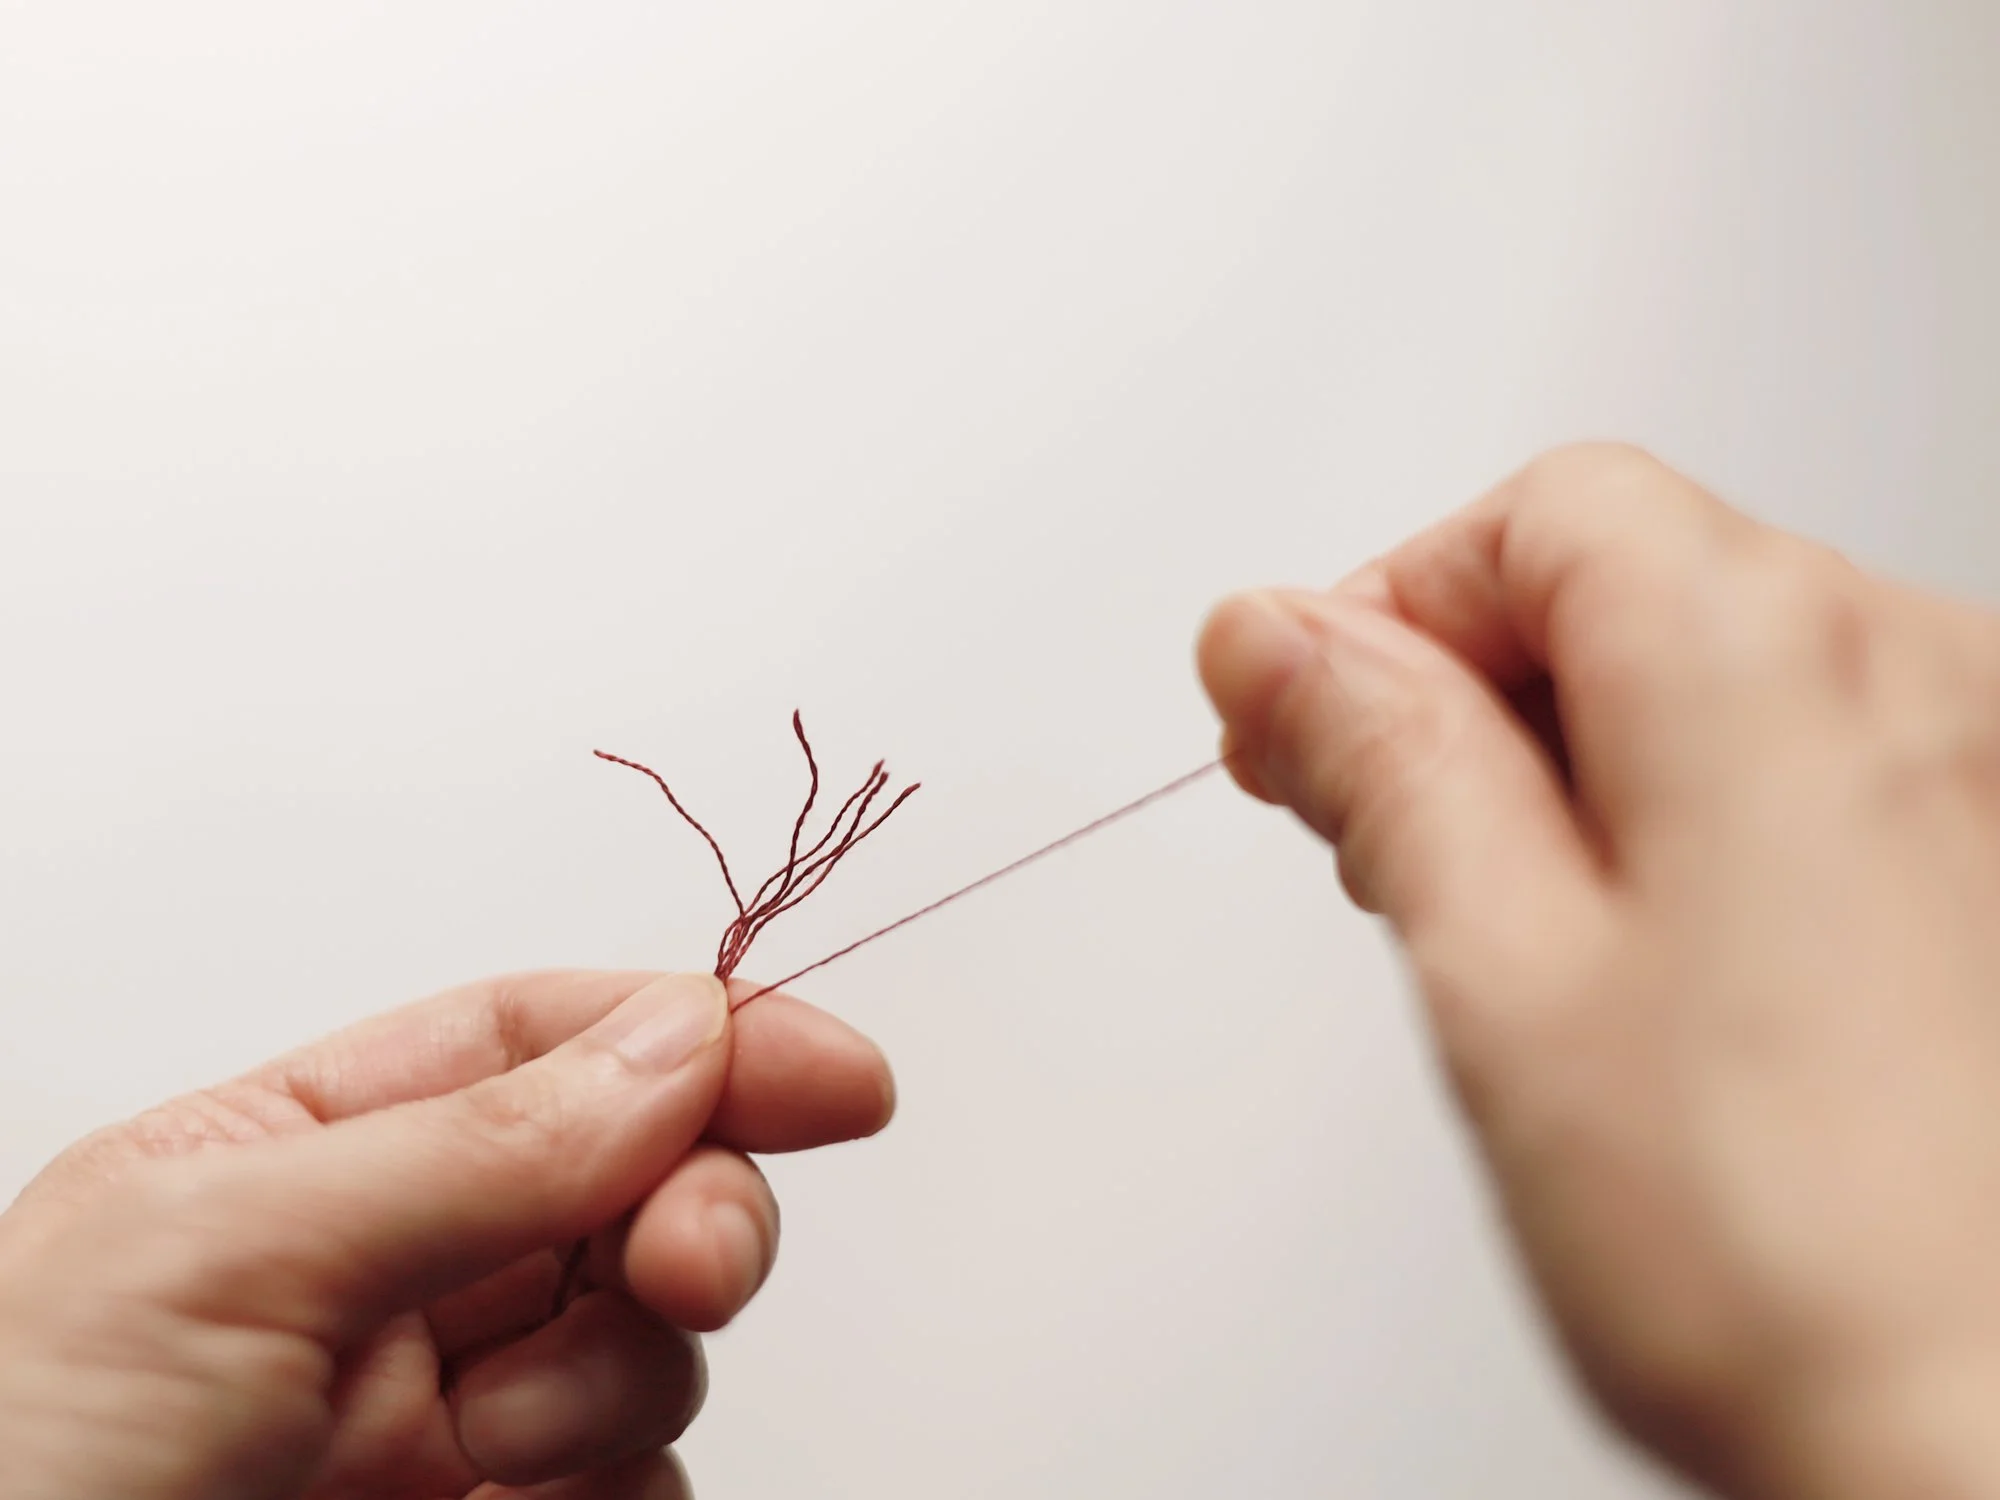
The standard stranded cotton embroidery thread has six strands of fine threads twisted together into a big one (main thread). The instructions in our DIY kits and patterns will clearly indicate how many strands you will need to use for each part of the embroidery.
No matter how many strands you use, you will always need to separate each strand from the main thread first. Cut the thread to the desired length, hold it in one hand, and pull the strand out one by one until you have the required number. Gather them into a single bunch for stitching.
Use one of the illustrated methods to thread the needle. Method A can be used for any number of strands, while Method B is suitable only for an even number of strands.

Embroidery Tutorial 1 - Base Embroidery
Tutorial 3 - Brooch | Car Vent Clip Assembly
The process is exactly the same as the 3D monstera kit.
For fridge magnet, simply remove the paper back on one side of the double-sided sticker, and stick it to the magnet. Remove the paper back on the other side and stick it to the back of the wooden base. If needed, please watch the video tutorial 4 of the 3D Staghorn Fern from 3:08.
Embroidery Tutorial 2 - 3D Embroidery
Tutorial 4 - Framing
The framing process is exactly the same as the 3D monstera kit.