
Repair Bag Corners with Leather Patches
Our Leather Bag Corner Kit is ideal to protect or repair the four corners at the bottom of bags (such as Longchamp Le Pliage and many others with similar structure).
The four patches in the kit are made of top-grain leather, with pre-punched stitching holes all around. This tutorial provides detailed instructions on sewing the patches onto a large Longchamp Le Pliage bag. The same method applies to other sizes or other bags of similar styles.
A. Preparation - Open the Bottom Seams
1. Turn the bag inside out. Remove the two bindings at the bottom of the bag using a seam ripper.


B. Sewing on the Leather Patches - Saddle Stitch
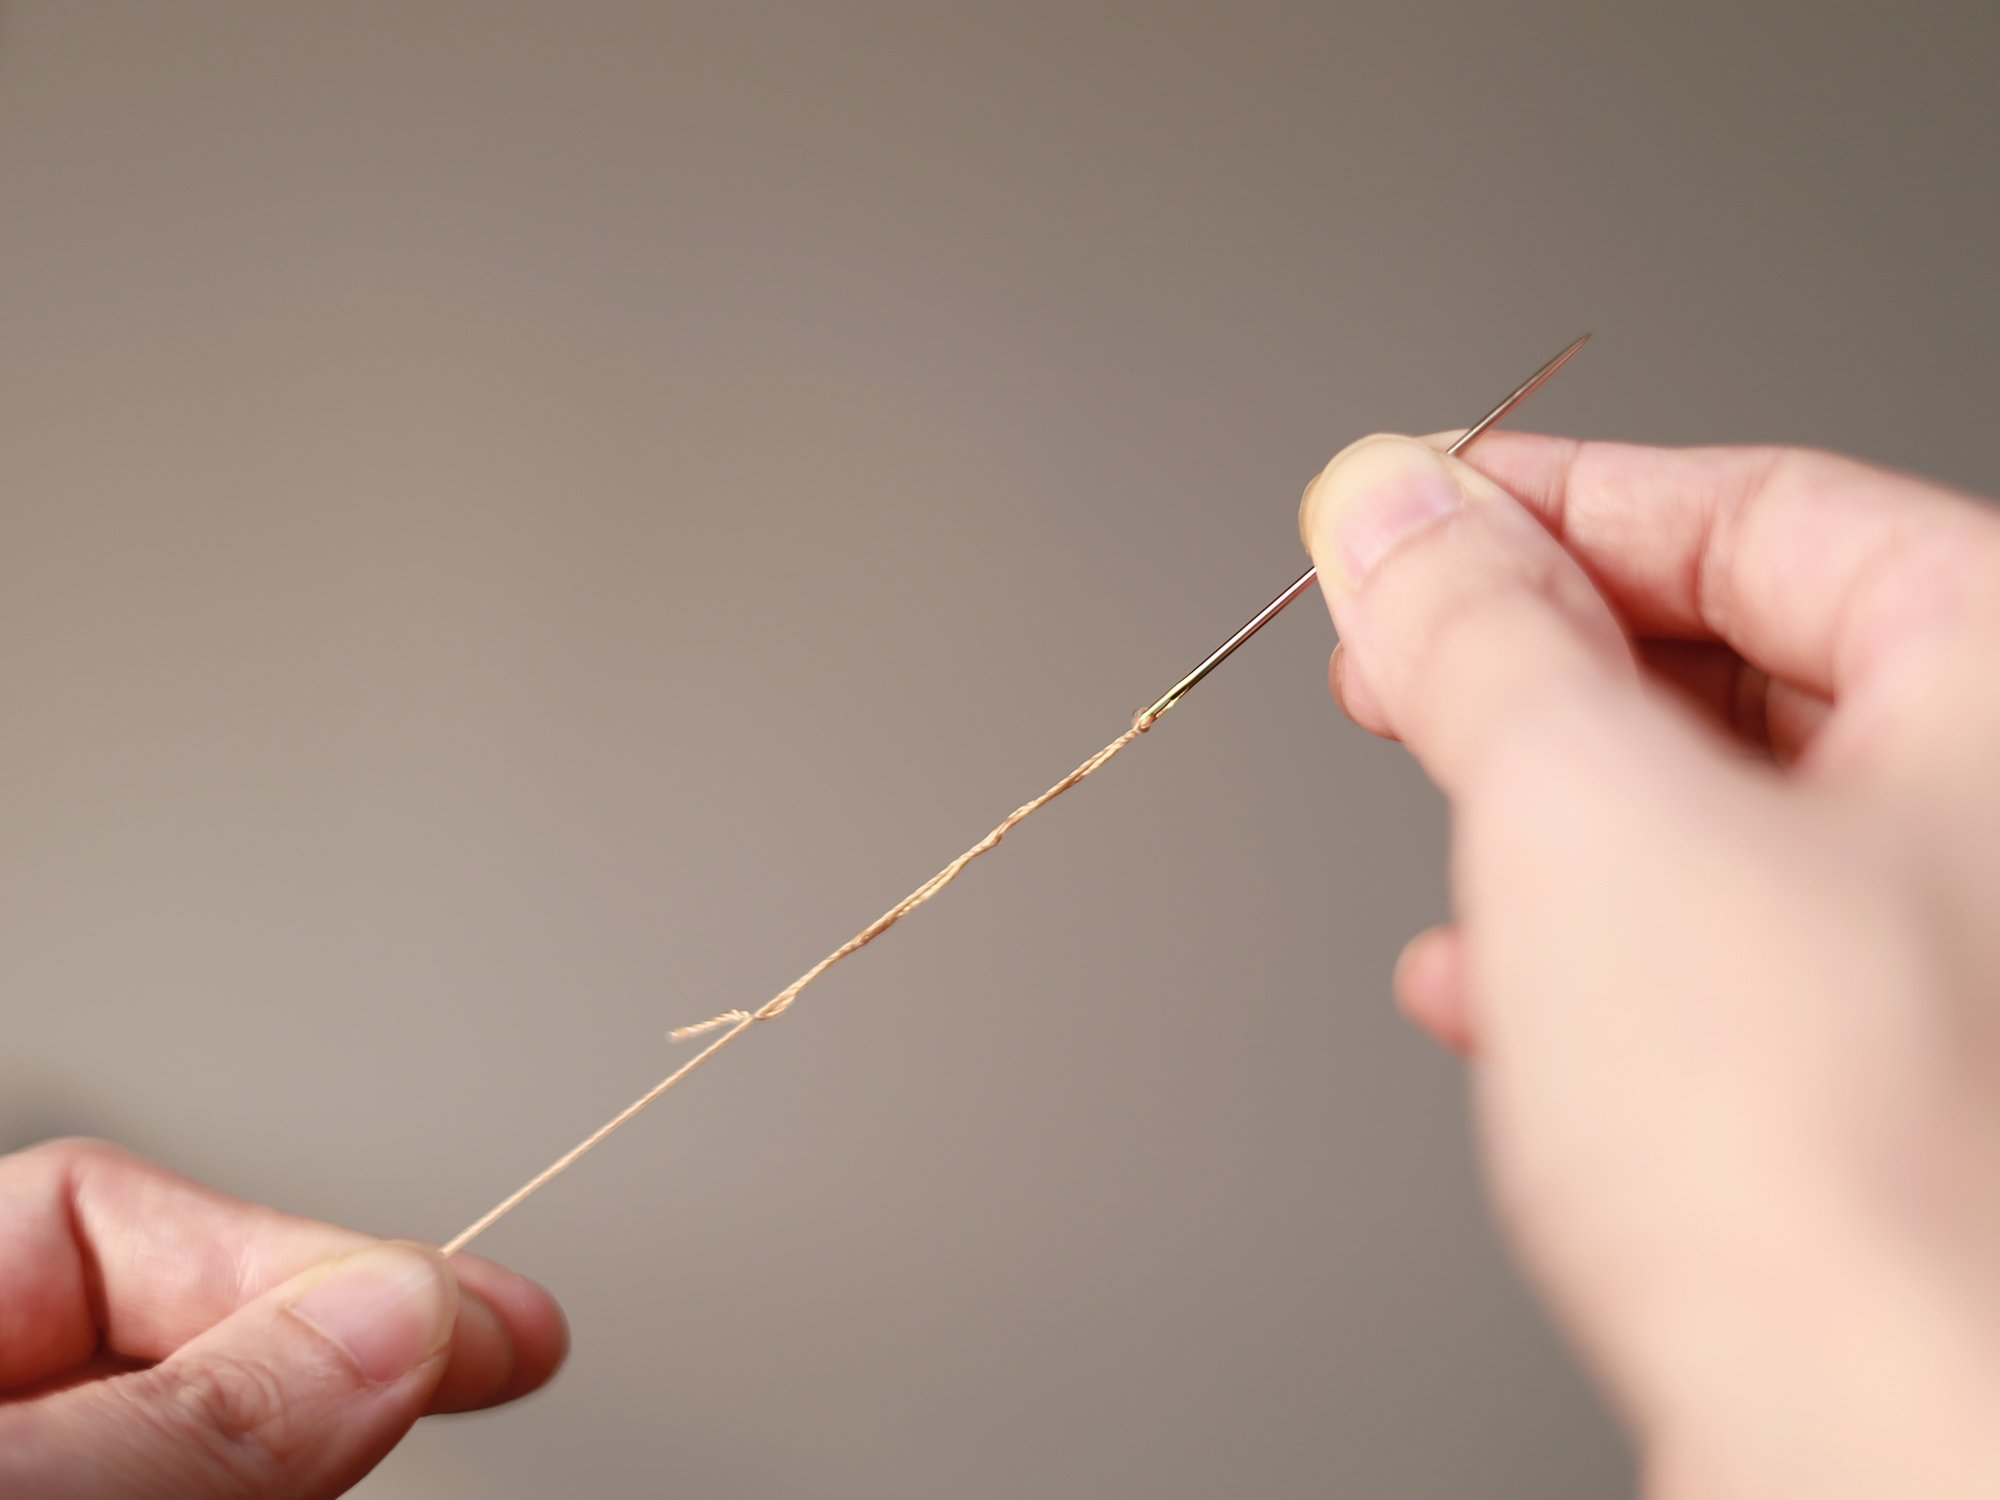
1. Thread the needles. Cut a length of 90cm from the leather sewing thread in the kit. Thread a needle, pulling roughly 10cm of the thread through. Take the shorter thread in one hand and the needle in the other, pierce through the thread with the needle. Repeat this two or three more times.
Push the thread down the needle to be with the long thread on the same side. Pull the long thread until it locks the needle onto the thread. Repeat with the other end of the thread with another needle. Now you should have one thread with one needle on each end.

2. Turn the bag to the right side. Take one piece of leather patch and place it on one of the corners with its right side facing up. The two straight raw edges of the leather patch should be aligned with the raw edges of the bag corner. Clip to secure.
Starting stitching from one end of the curved edge. Insert one needle in the first hole from the right side and the other needle in the second hole from the right side. Pull both needles to the wrong side with more or less the same length of thread on each needle.


3. On the wrong side of the bag, take the needle behind (i.e. the one from the first hole) and insert it though the second hole to the right side. (Note: it is recommended to pull the other thread to keep the tension while inserting the needle at the same time.)
Pull the needle out to the right side. Pull both threads tight in opposite directions at the same time to set the first stitch.


4. On the right side of the bag, insert the needle into the third hole to start the second stitch, and pull it through to the wrong side. On the wrong side, take the needle behind, insert it to the third hole from the wrong side, and pull it through to the right side. Pull both threads tight to set the second stitch.
Repeat in the same way to finish all the stitches on the curved edge of the leather patch.


5. Once reaching the end of the curve, sew backwards one or two stitches. With both threads at the wrong side, tie a knot three times.


To secure it even more, you could also pass the needles through the next stitches a few times and knot a few times again to finish. Cut the threads close to the knot and melt their ends with the knot using a lighter. (The second photo below was taken after the bag was finished. It was added here to show the melted knot finish.)


6. Sew the other three leather patches on in the same way.

C. Sewing and Binding the Bottom Seams
1. Turn the bag inside out. Align the raw edges of the bottom seam as shown in the photo - the two straight raw edges of each leather patch should be aligned with right sides touching.

2. Thread the needles with around 50cm leather sewing thread. With the same saddle stitch, sew along the straight raw edges of the leather patch.
Tips:
• Go through each layer one by one and through the pre-punch holes;
• Use a pair of small pliers to pull the needle -it is much easier than using your fingers


Once reaching the last hole on the leather patch, continue to sew two more stitches before finishing off.
Repeat the same steps for the other three leather patches.

3. With strong heavy duty sewing thread in matching colour of your bag, sew along the bottom seams between the two leather patches by hand or machine. If using all purpose sewing thread, sew along twice to reinforce the seam.

4. (Optional) Fold the binding strips that you previously removed from the bag in half lengthwise to cover the seams and sew large running stitches to secure them in place.
Note: This is probably the most difficult step as it requires sewing through many hard layers. Use an awl to poke through the layers before inserting needle, push the needle with thimble, and pull the needle with pliers. This step is only to cover the seams for a nice finish and hence you can use large stitches to reduce the work or skip this step completely if preferred.


Turn the bag to the right side and push out the corners. Congratulations! You have now given a new look and much longer life for your bag!


