Mini Cats
Make a collection of super cute mini Cats - each with its own unique embroidery design. They can be used as brooch, keyring, bag charm, or hair accessories…
Embroidery Tutorial
This tutorial covers detailed embroidery instructions for beginners with step-by-step photos. The sewing instructions to make the cat are provided in the DIY kit.
A. Preparation
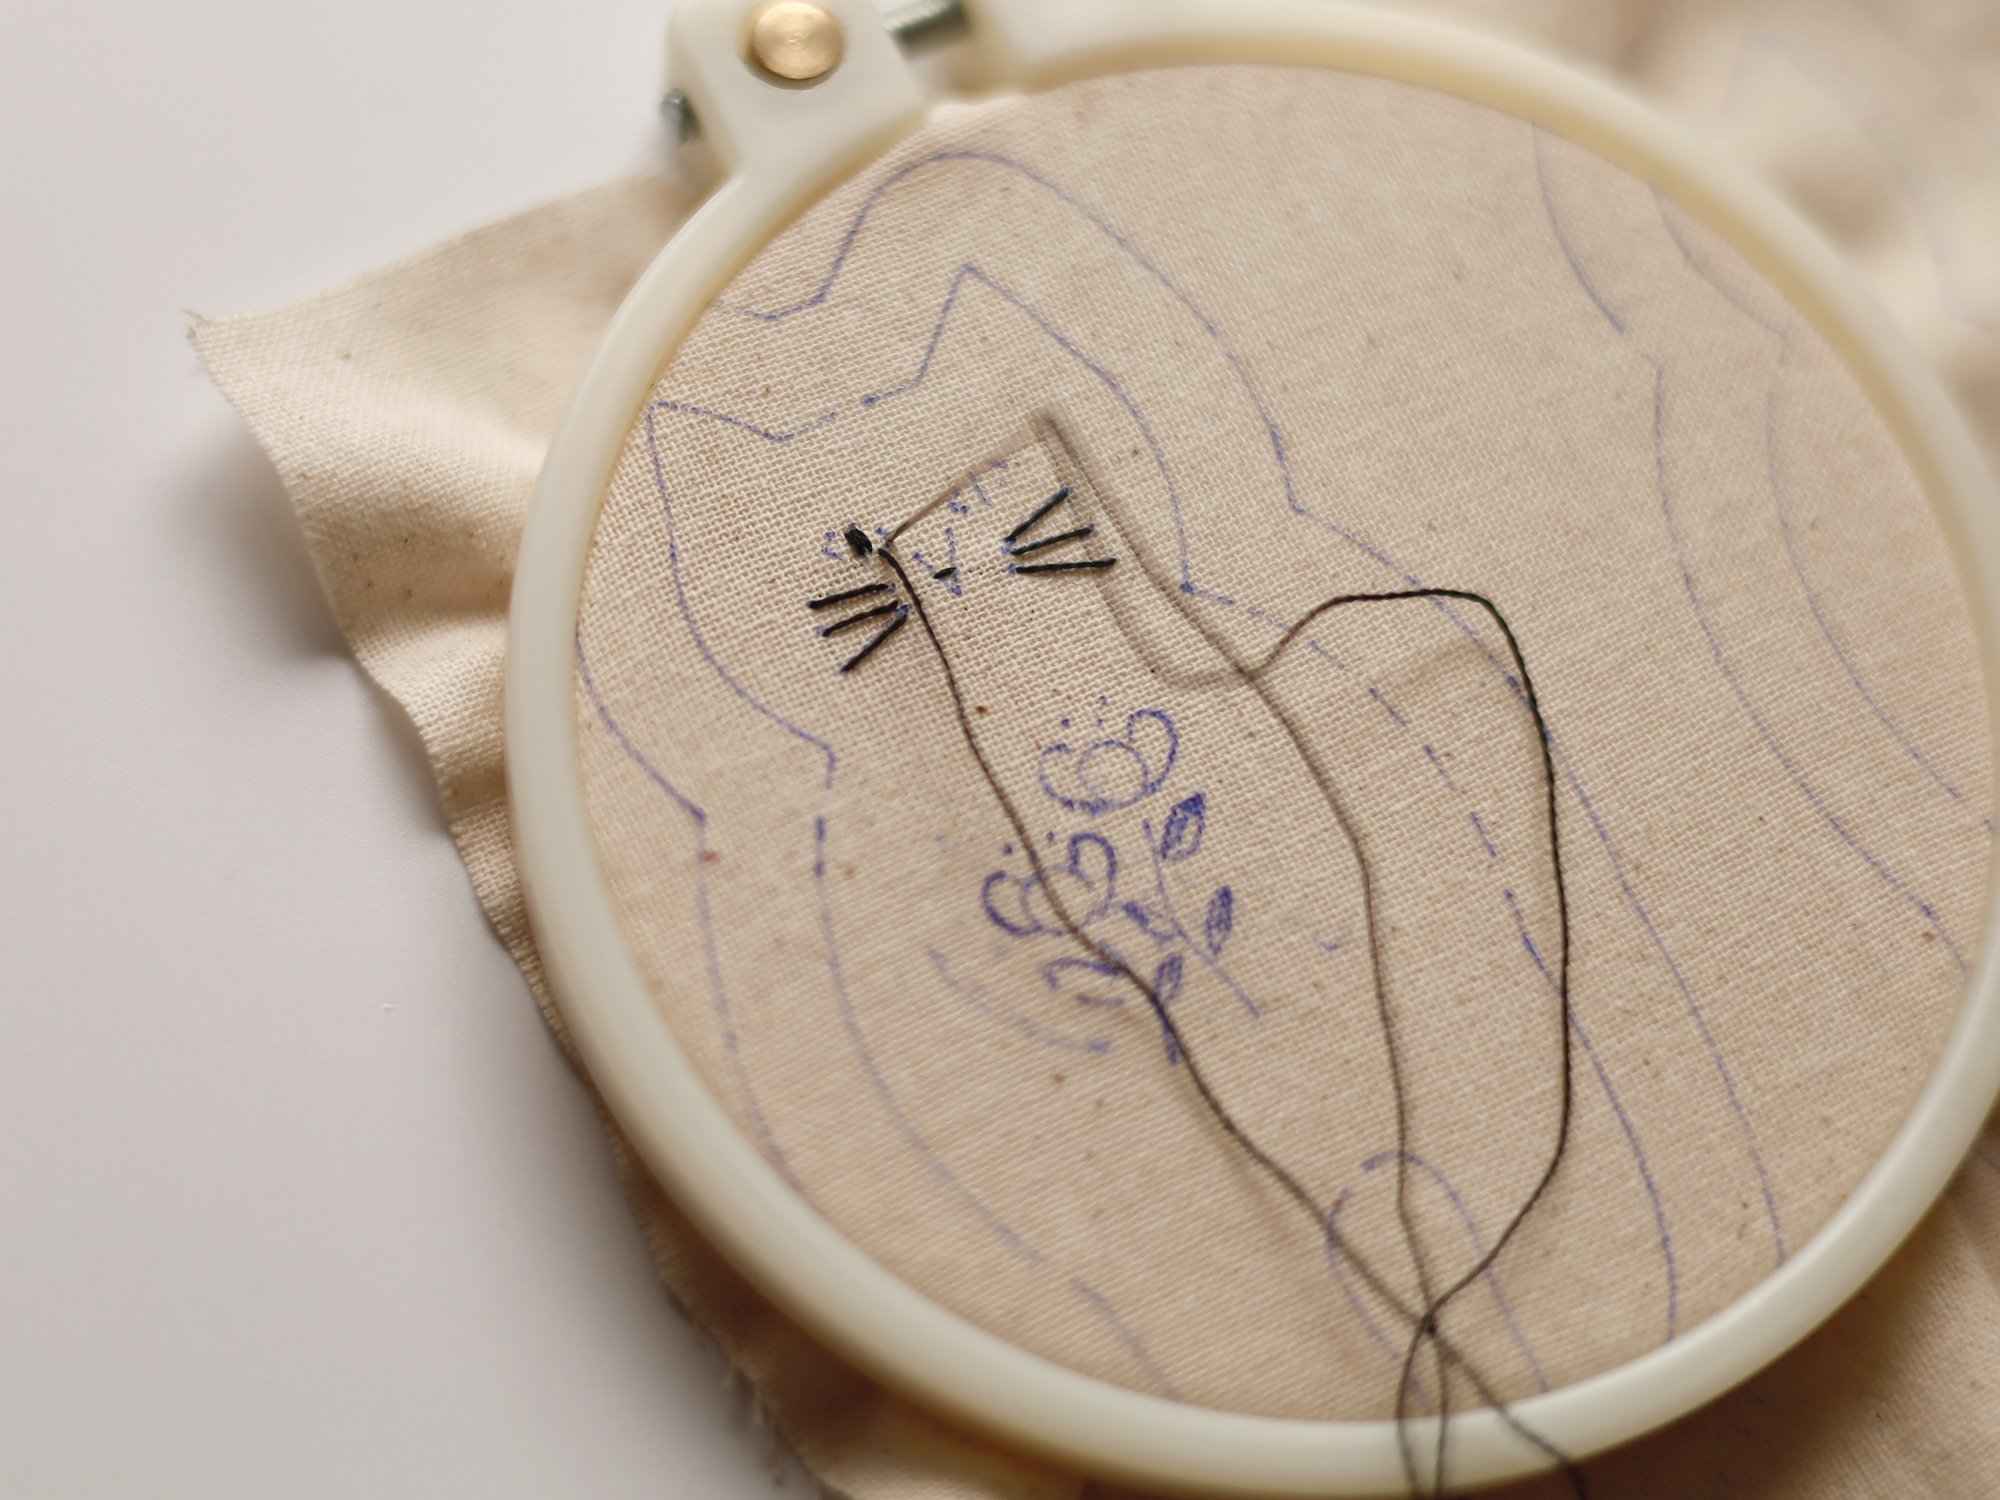
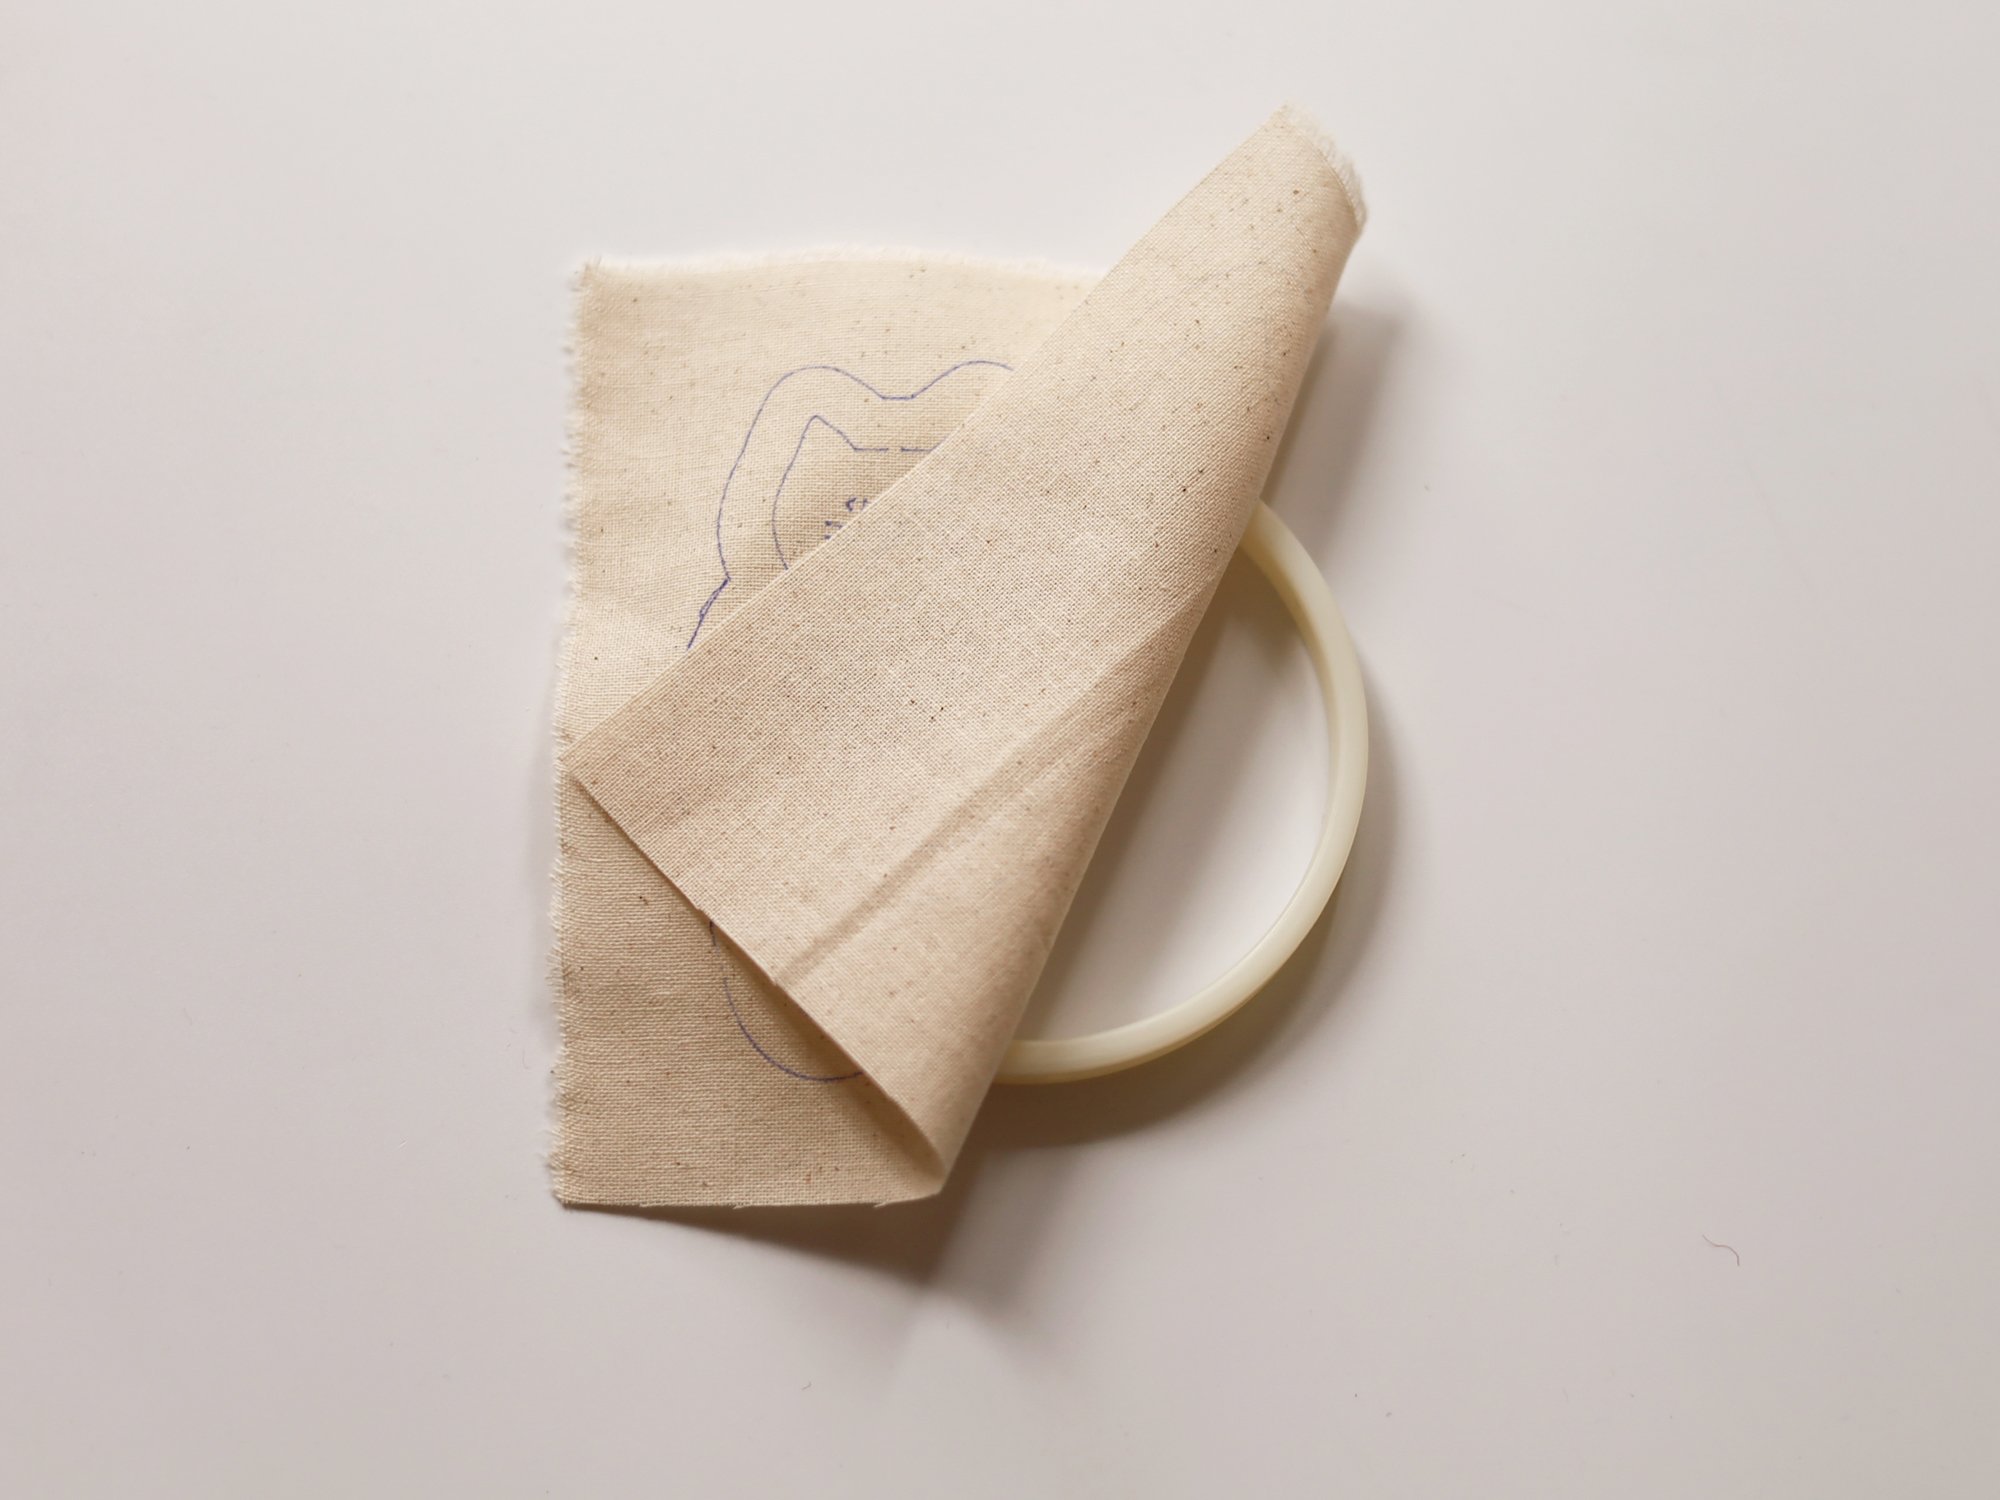
Place the fabric in the embroidery hoop: Turn the screw to loosen the outer hoop without unscrew it completely. Take out the inner hoop. Place the fabric with printed pattern facing up on top of the inner hoop. Make sure the face and the pattern on the body is within the circle. Place the outer hoop back on. Pull the fabric to adjust the tension. Tighten the screw once happy.

Cut the embroidery thread to desired length (normally around 1m). Take the number of strands required for embroidery one by one from the main thread. Combine the individual strands into one bunch and thread it. Tie a knot on one end. You are ready to stitch!


B. Face Embroidery
(1) whiskers, nose (the horizontal line), and eye pupils: Embroider with single strand black embroidery thread, using straight stitch.
• You can also embroider the line on the nose and pupils when embroidering the eyes and nose at the next step.
• Use 3~4 stitches for each pupil.


(2) eyes & nose: Embroider with single strand black embroidery thread, using back stitch. Make very small stitches and make sure they are connected without any gaps in between.