Heidi - Sashiko Frame Purse
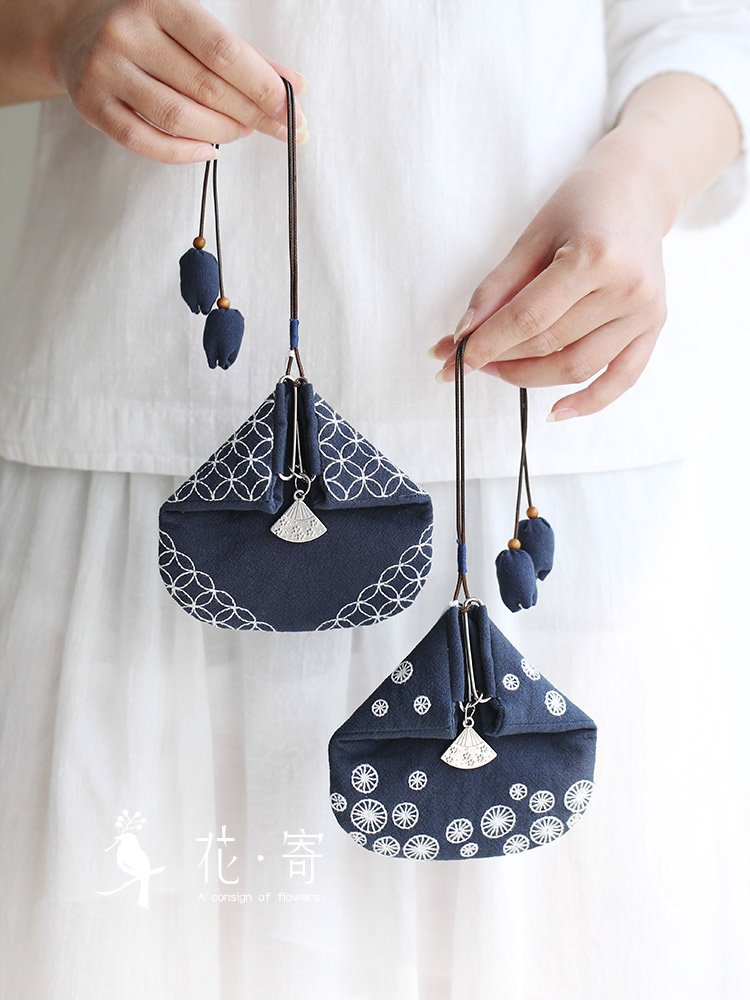
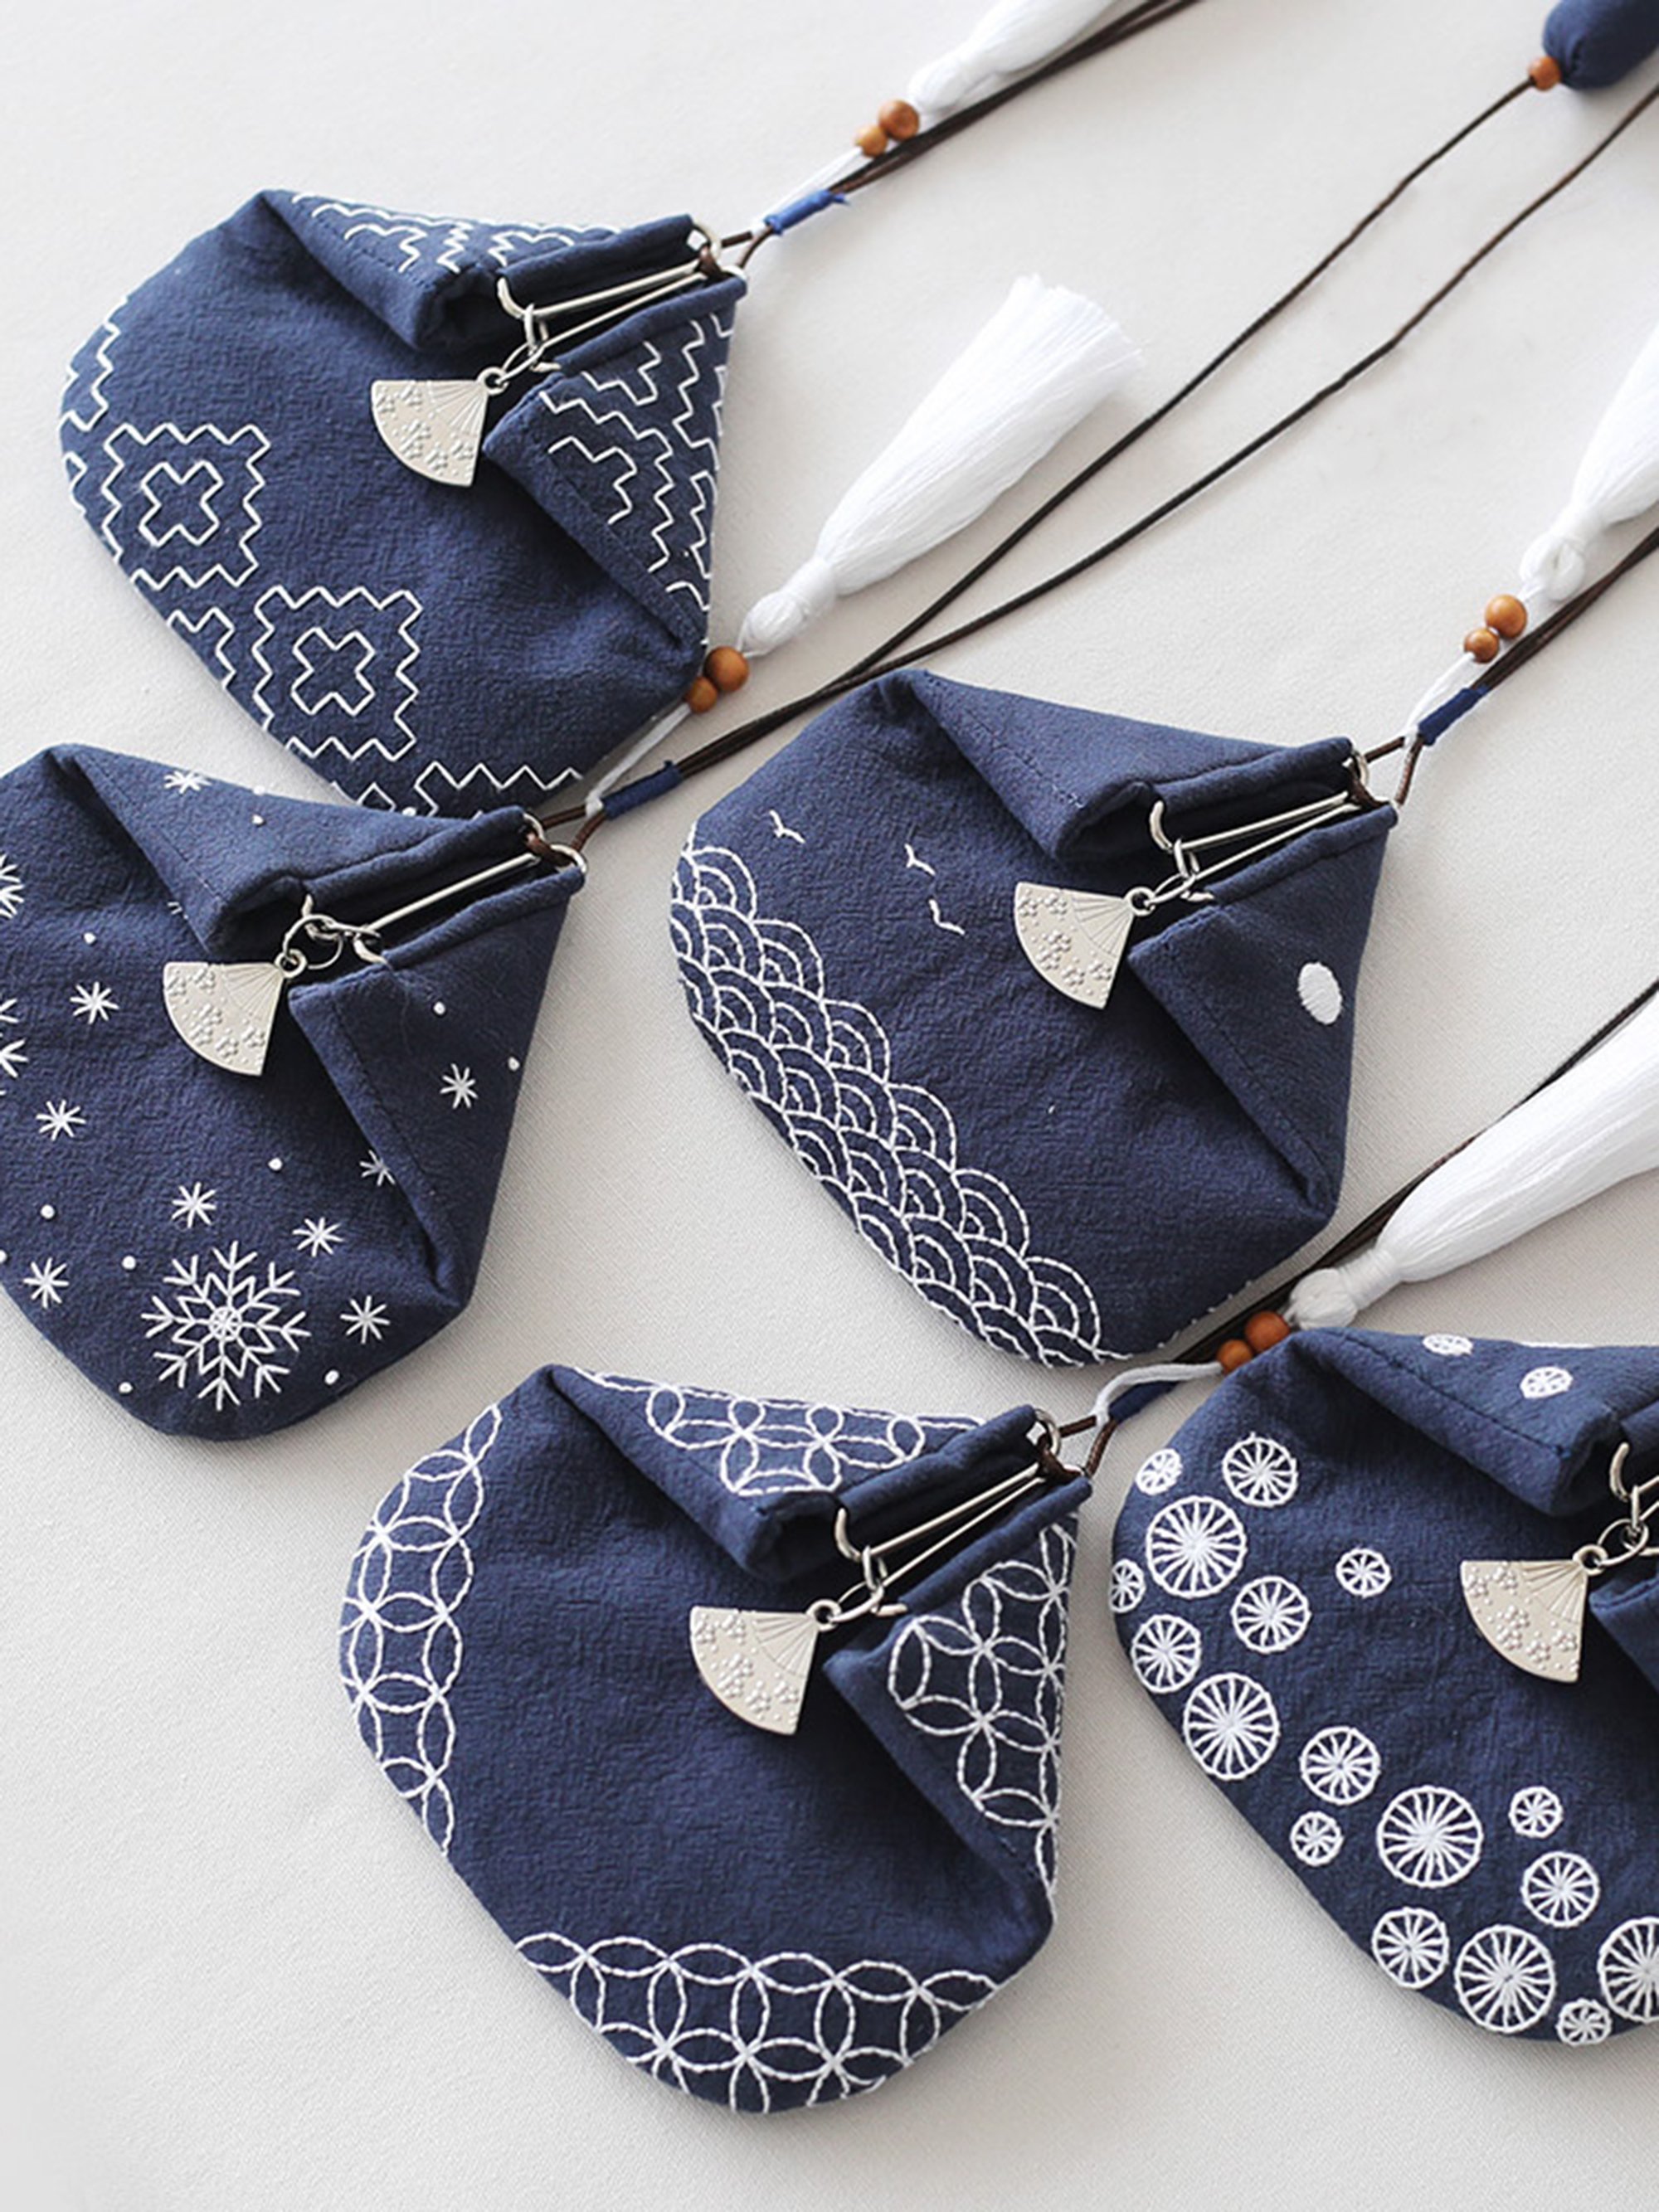
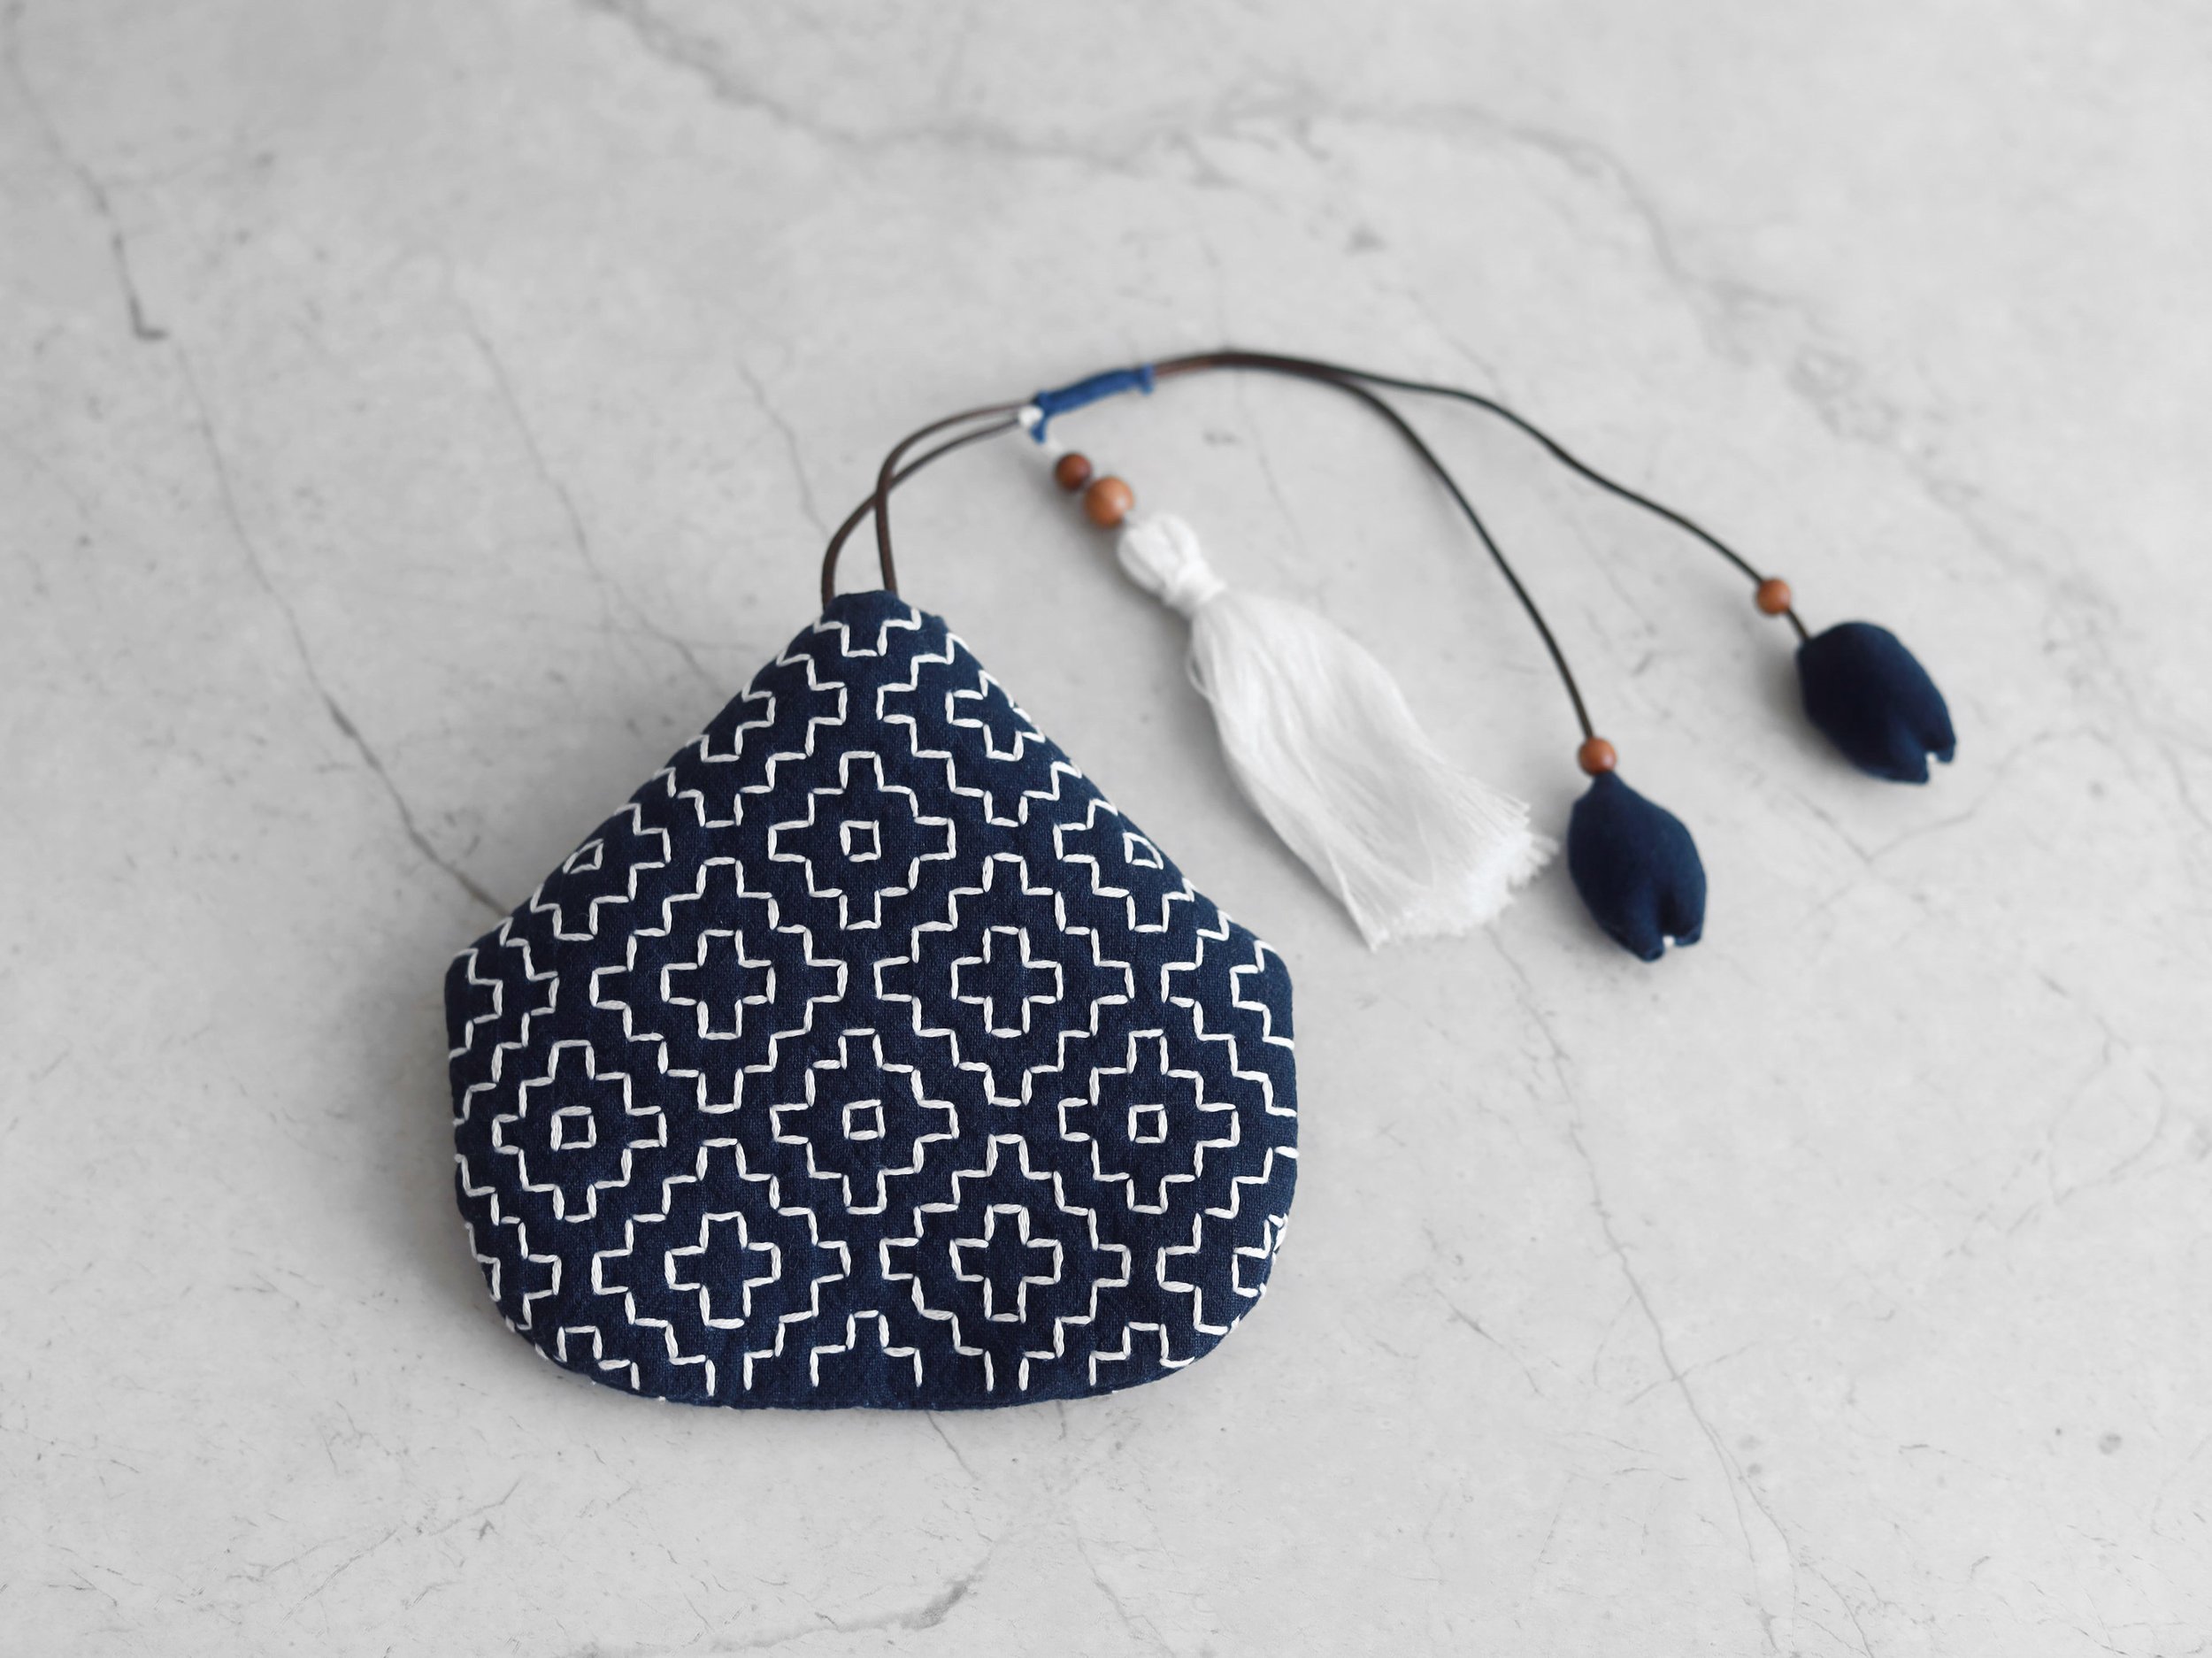
Heidi is a cute little coin purse with a magnetic fan closure and beautiful sashiko style embroidery. It comes with five different patterns. You can also use your creativity to design your own pattern.



Sewing & Embroidery Tutorial
All seam allowances (SA) are 0.7cm (¼”) unless otherwise stated.
1. Cut interfacing pieces:
Trace the pattern twice onto the fusible fleece and cut out both pieces. (Trace the bag outline /stitching line only — do not include the seam allowance. )
Important tip: When cutting fusible fleece interfacing, trim slightly inside the traced outline.
For lightweight, thin fleece: cut about 1.5~2 mm inside the line.
For mid-weight or thicker fleece: cut about 2~2.5 mm inside the line.
Leaving a small gap between the interfacing edge and the stitching line helps reduce bulk and creates a cleaner, neater finish.
Cut fabric pieces:
Trace both outlines with and without seam allowance onto the wrong side of the main fabric using a fabric marker that is not heat-erasable. Cut it out. Cut a second piece of main fabric in the same way.
Cut two pieces of lining fabric in the same way. (You can place two layers of fabric together and cut both pieces at once.)
Apply interfacings to fabric pieces:
Place one fusible fleece piece on the wrong side of one main fabric piece and check whether it overlaps any of the stitching lines. If necessary, trim away the excess so the fleece sits approximately 2 mm inside the stitching lines all the way around. With the fleece centred inside the stitching line, cover it with a scrap fabric and press to attach. Flip over and press on the right side to attach the fleece securely. Repeat with the other fleece and main fabric piece.
Tip: If using thick fleece, trim its edges at 45° to reduce bulk. This will give the seams a neat, clean finish once sewn.
2. Persimmon Flower Embroidery (Optional: skip this step if you are making fabric purse without embroidery)
Persimmon Flower is a classic traditional Sashiko pattern. We recommend using a heat-erasable marker to draw the pattern or your own design on plain sashiko fabric. (If you have our stencils, applying heat-erasable cream with a toothbrush will help you quickly transfer the pattern onto the fabric.)
The 1:1 embroidery patterns (without SA) for the front and back of the purse are included in the pdf pattern for Persimmon Flower. You can use it to cut the fleece interfacing and draw the embroidery grid on the main fabric.
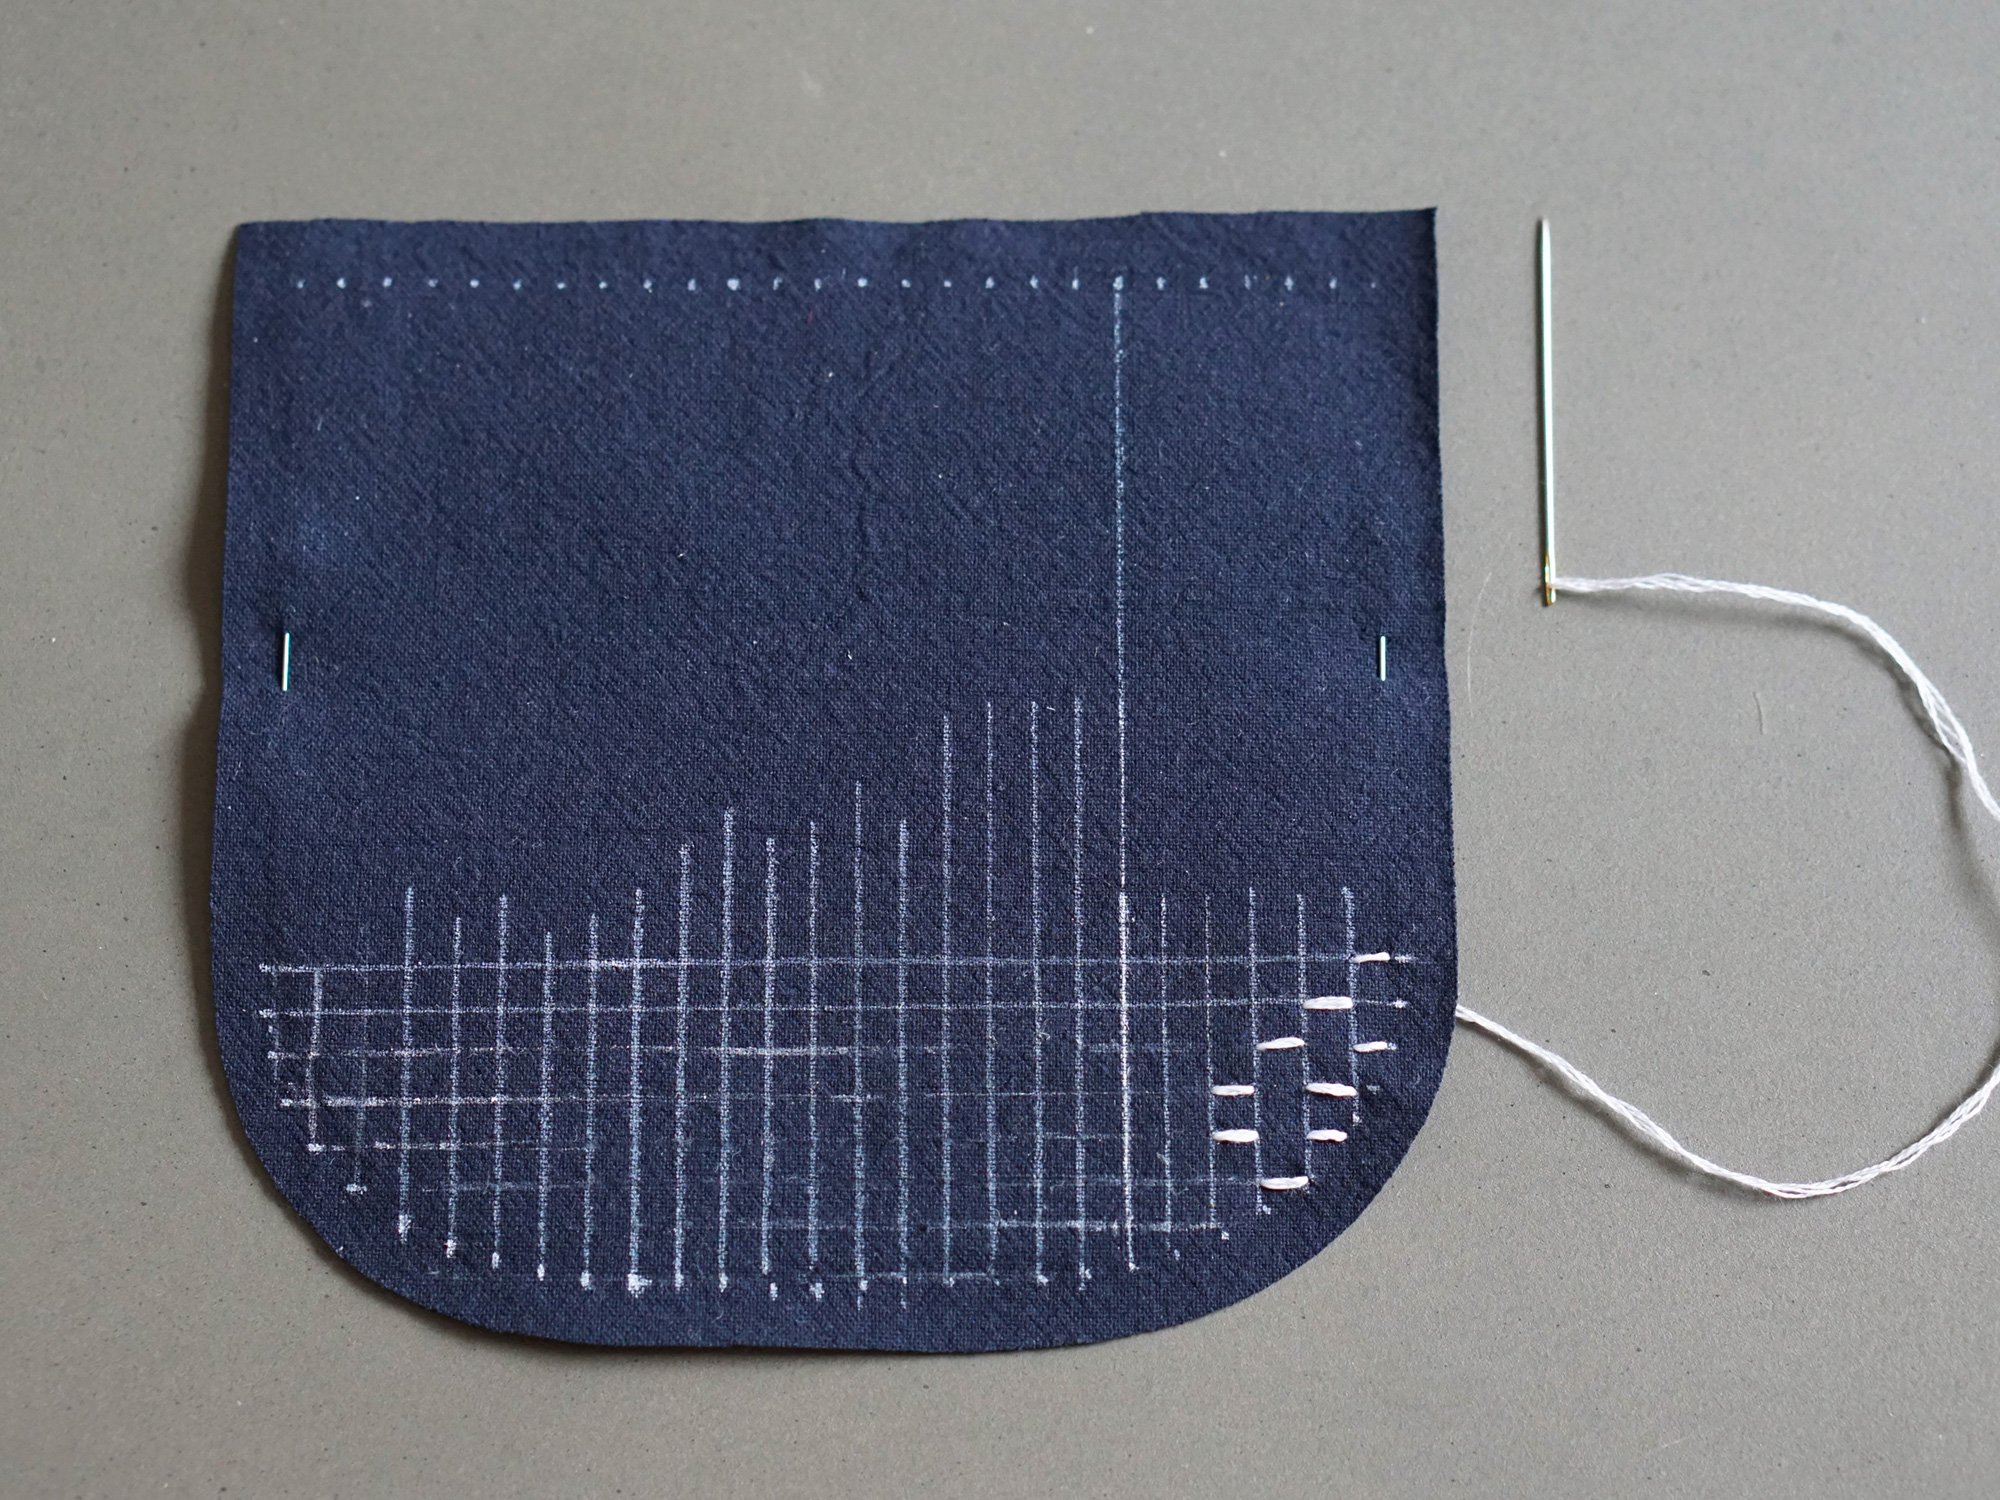
As shown in the pictures below, I pinned on the sewing lines on both main fabric pieces to mark the four sides on the right side. I then cut off the paper embroidery pattern, placed it on top of the right side of the main fabric pieces within the area marked by the pins, and marked the ends of the horizontal and vertical lines accordingly. I connected the dots with a ruler. Instead of using this method, you could also draw the grids directly on the fabric with a quilting ruler, each line is 5mm apart from the next one, and the grids are squares of 5mmx5mm.

Lay the paper pattern on the main fabric (right side)

Mark the ends of the grid lines

Connect the dots for grid lines
People say that sashiko is 70% drawing and 30% stitching. Once the grids are there, you can start enjoying the sashiko stitching! Traditionally, the vertical lines will be sewn all at once, and the same applies to horizontal ones, as shown in the pictures in our paper tutorial. (I did it for the back main piece as the pattern fills the entire space.) However, it really has no rules and as you can see from the pictures below, I stitched freely from one flower to anther for the front main piece as the pattern is only at the bottom half of the fabric) and the result is the same.
I used 4 strands for embroidery. You can also use 2 or 3 strands depending on how thick you want the stitch to be.
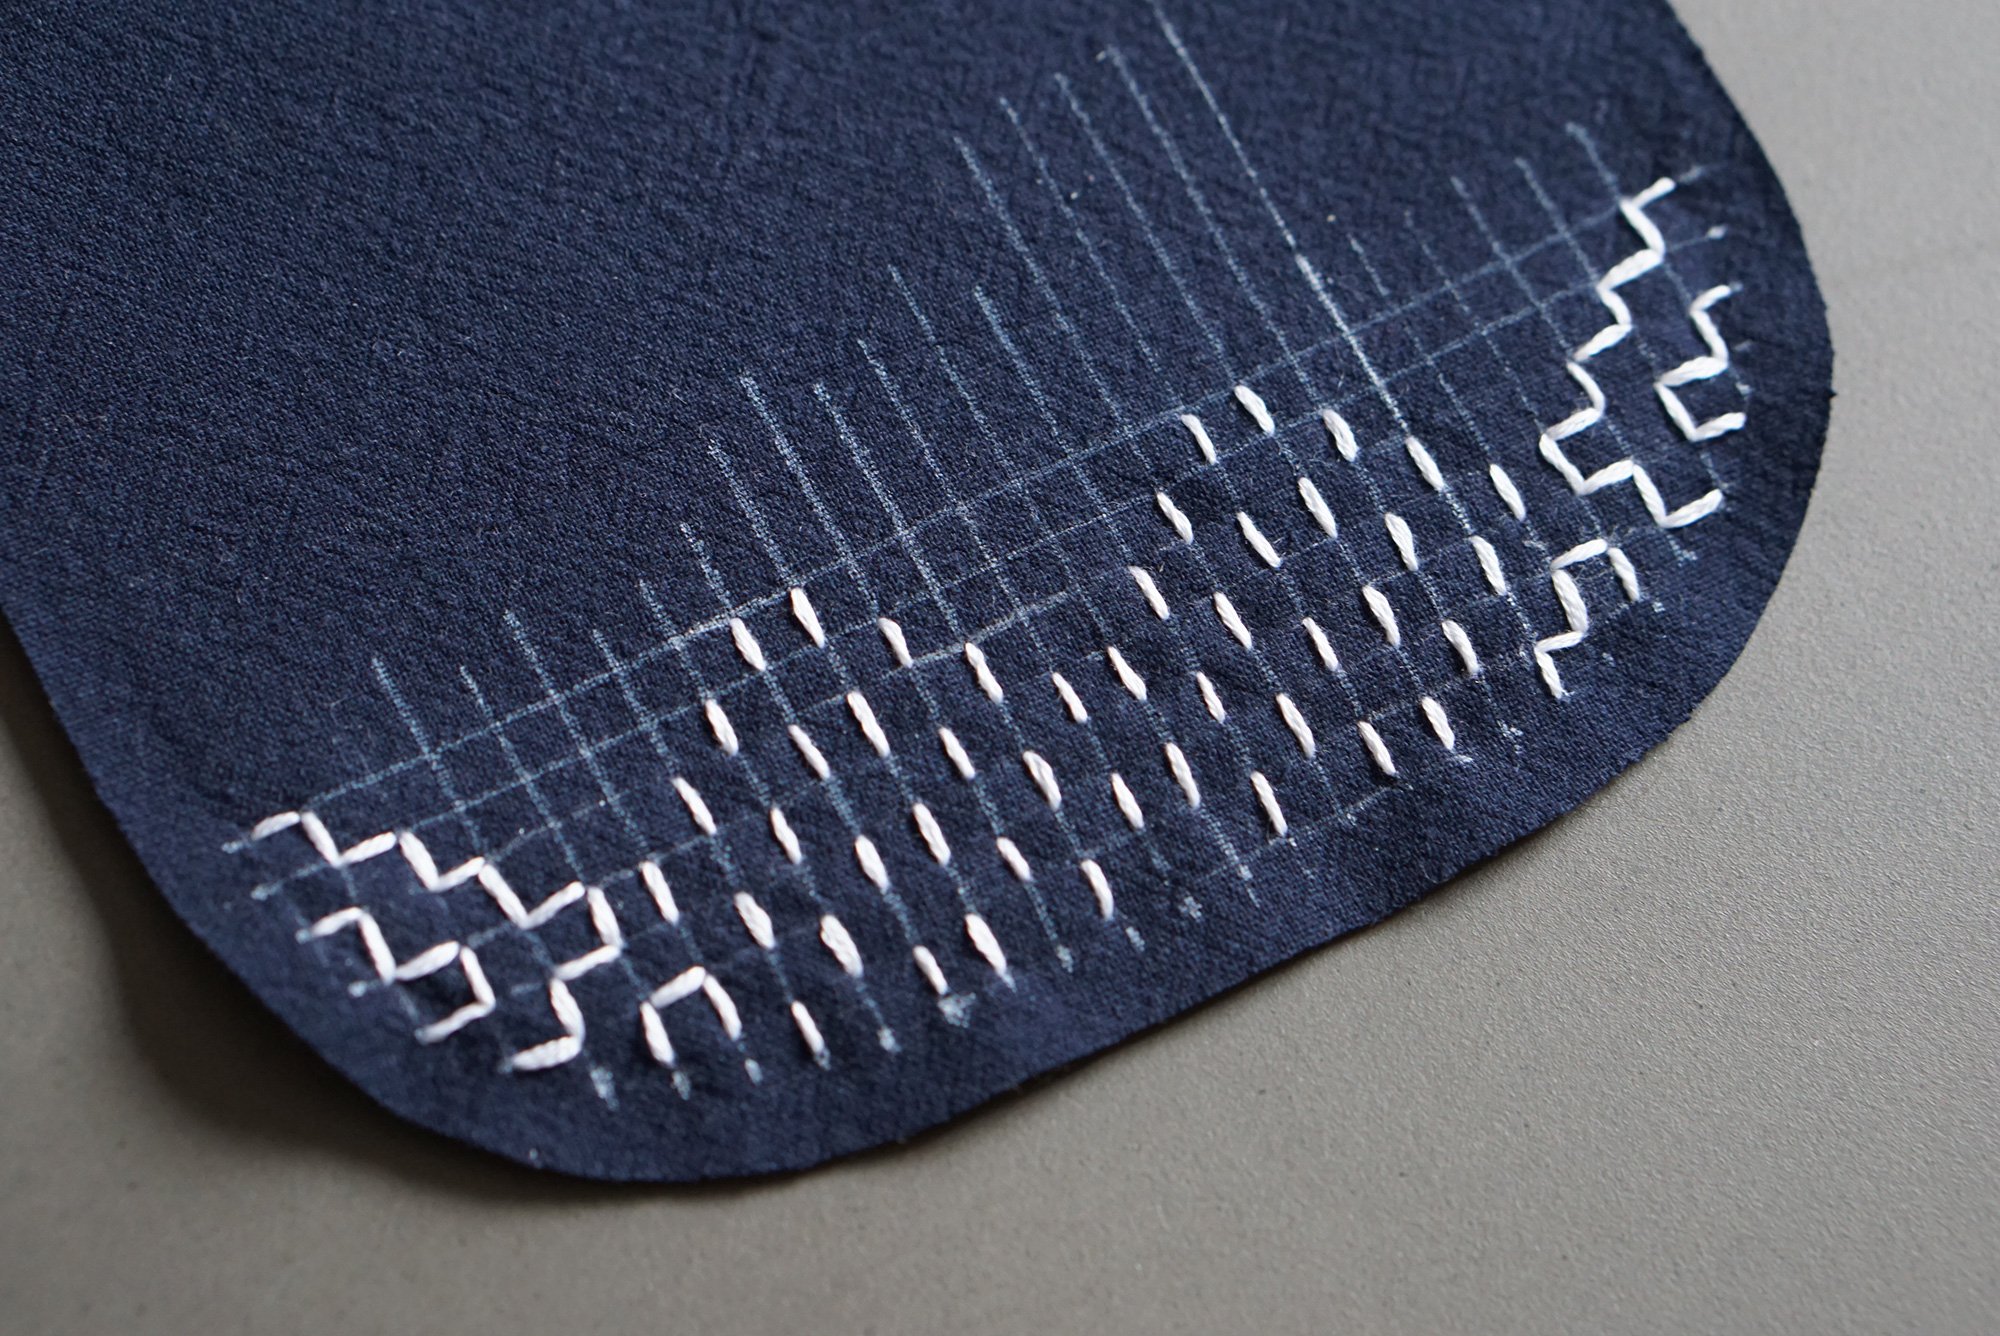

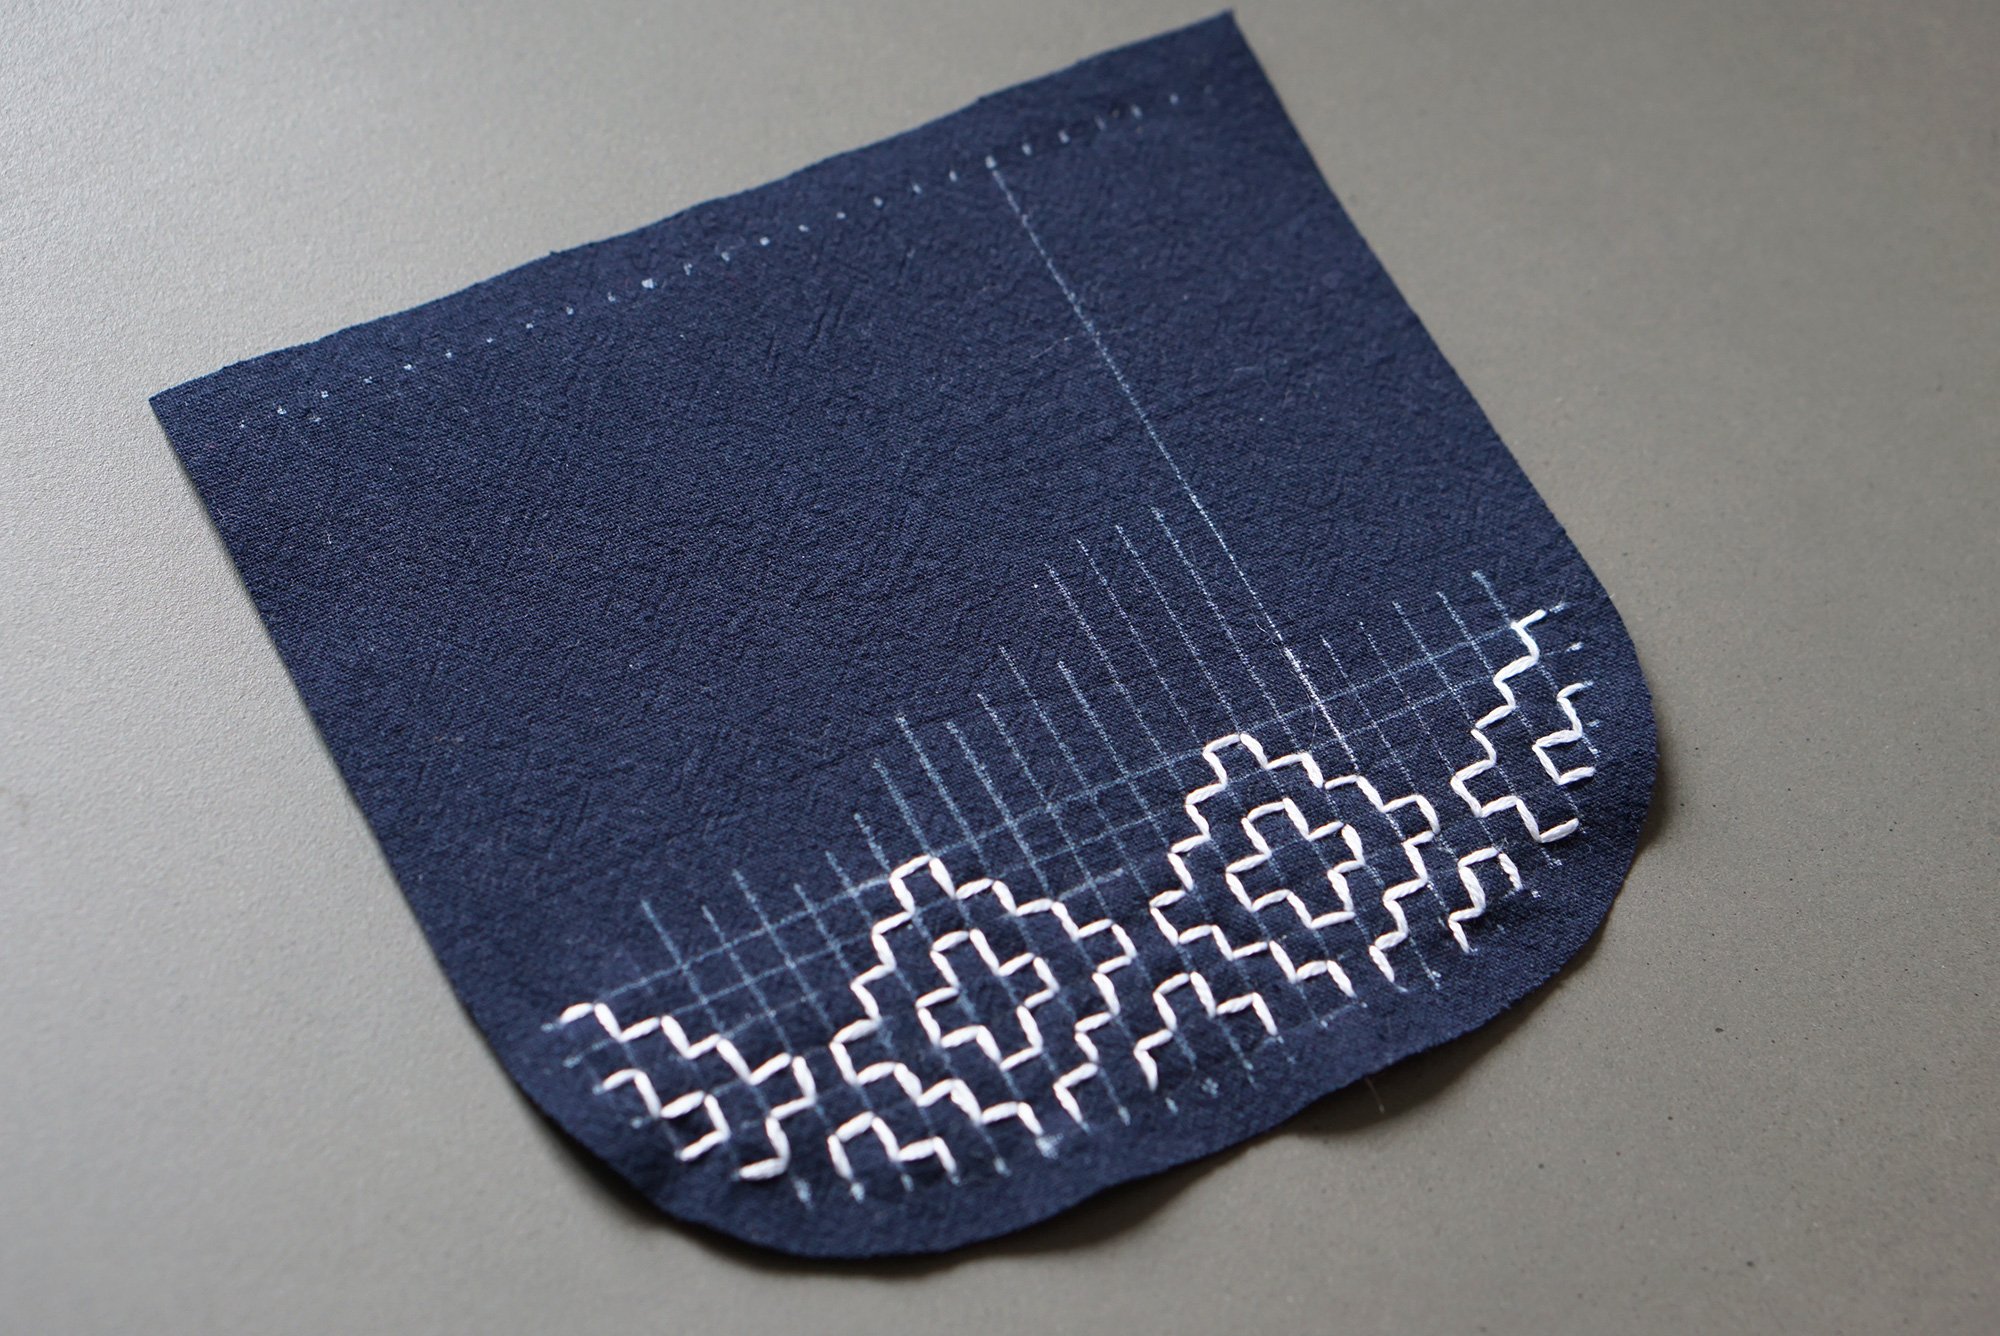
Heidi purse with Persimmon Flower gives you a real experience of Sashiko from the beginning (drawing patterns) to the end. Once you have done it, you will be free to choose or develop your own sashiko patterns. We hope you will enjoy it as much as we do!