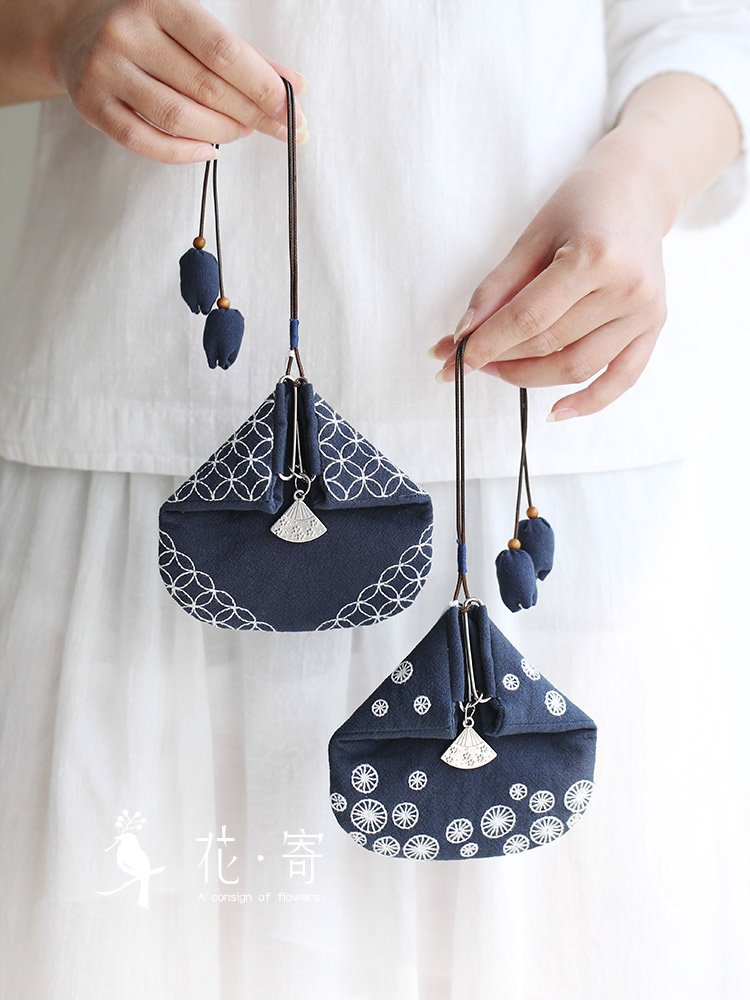
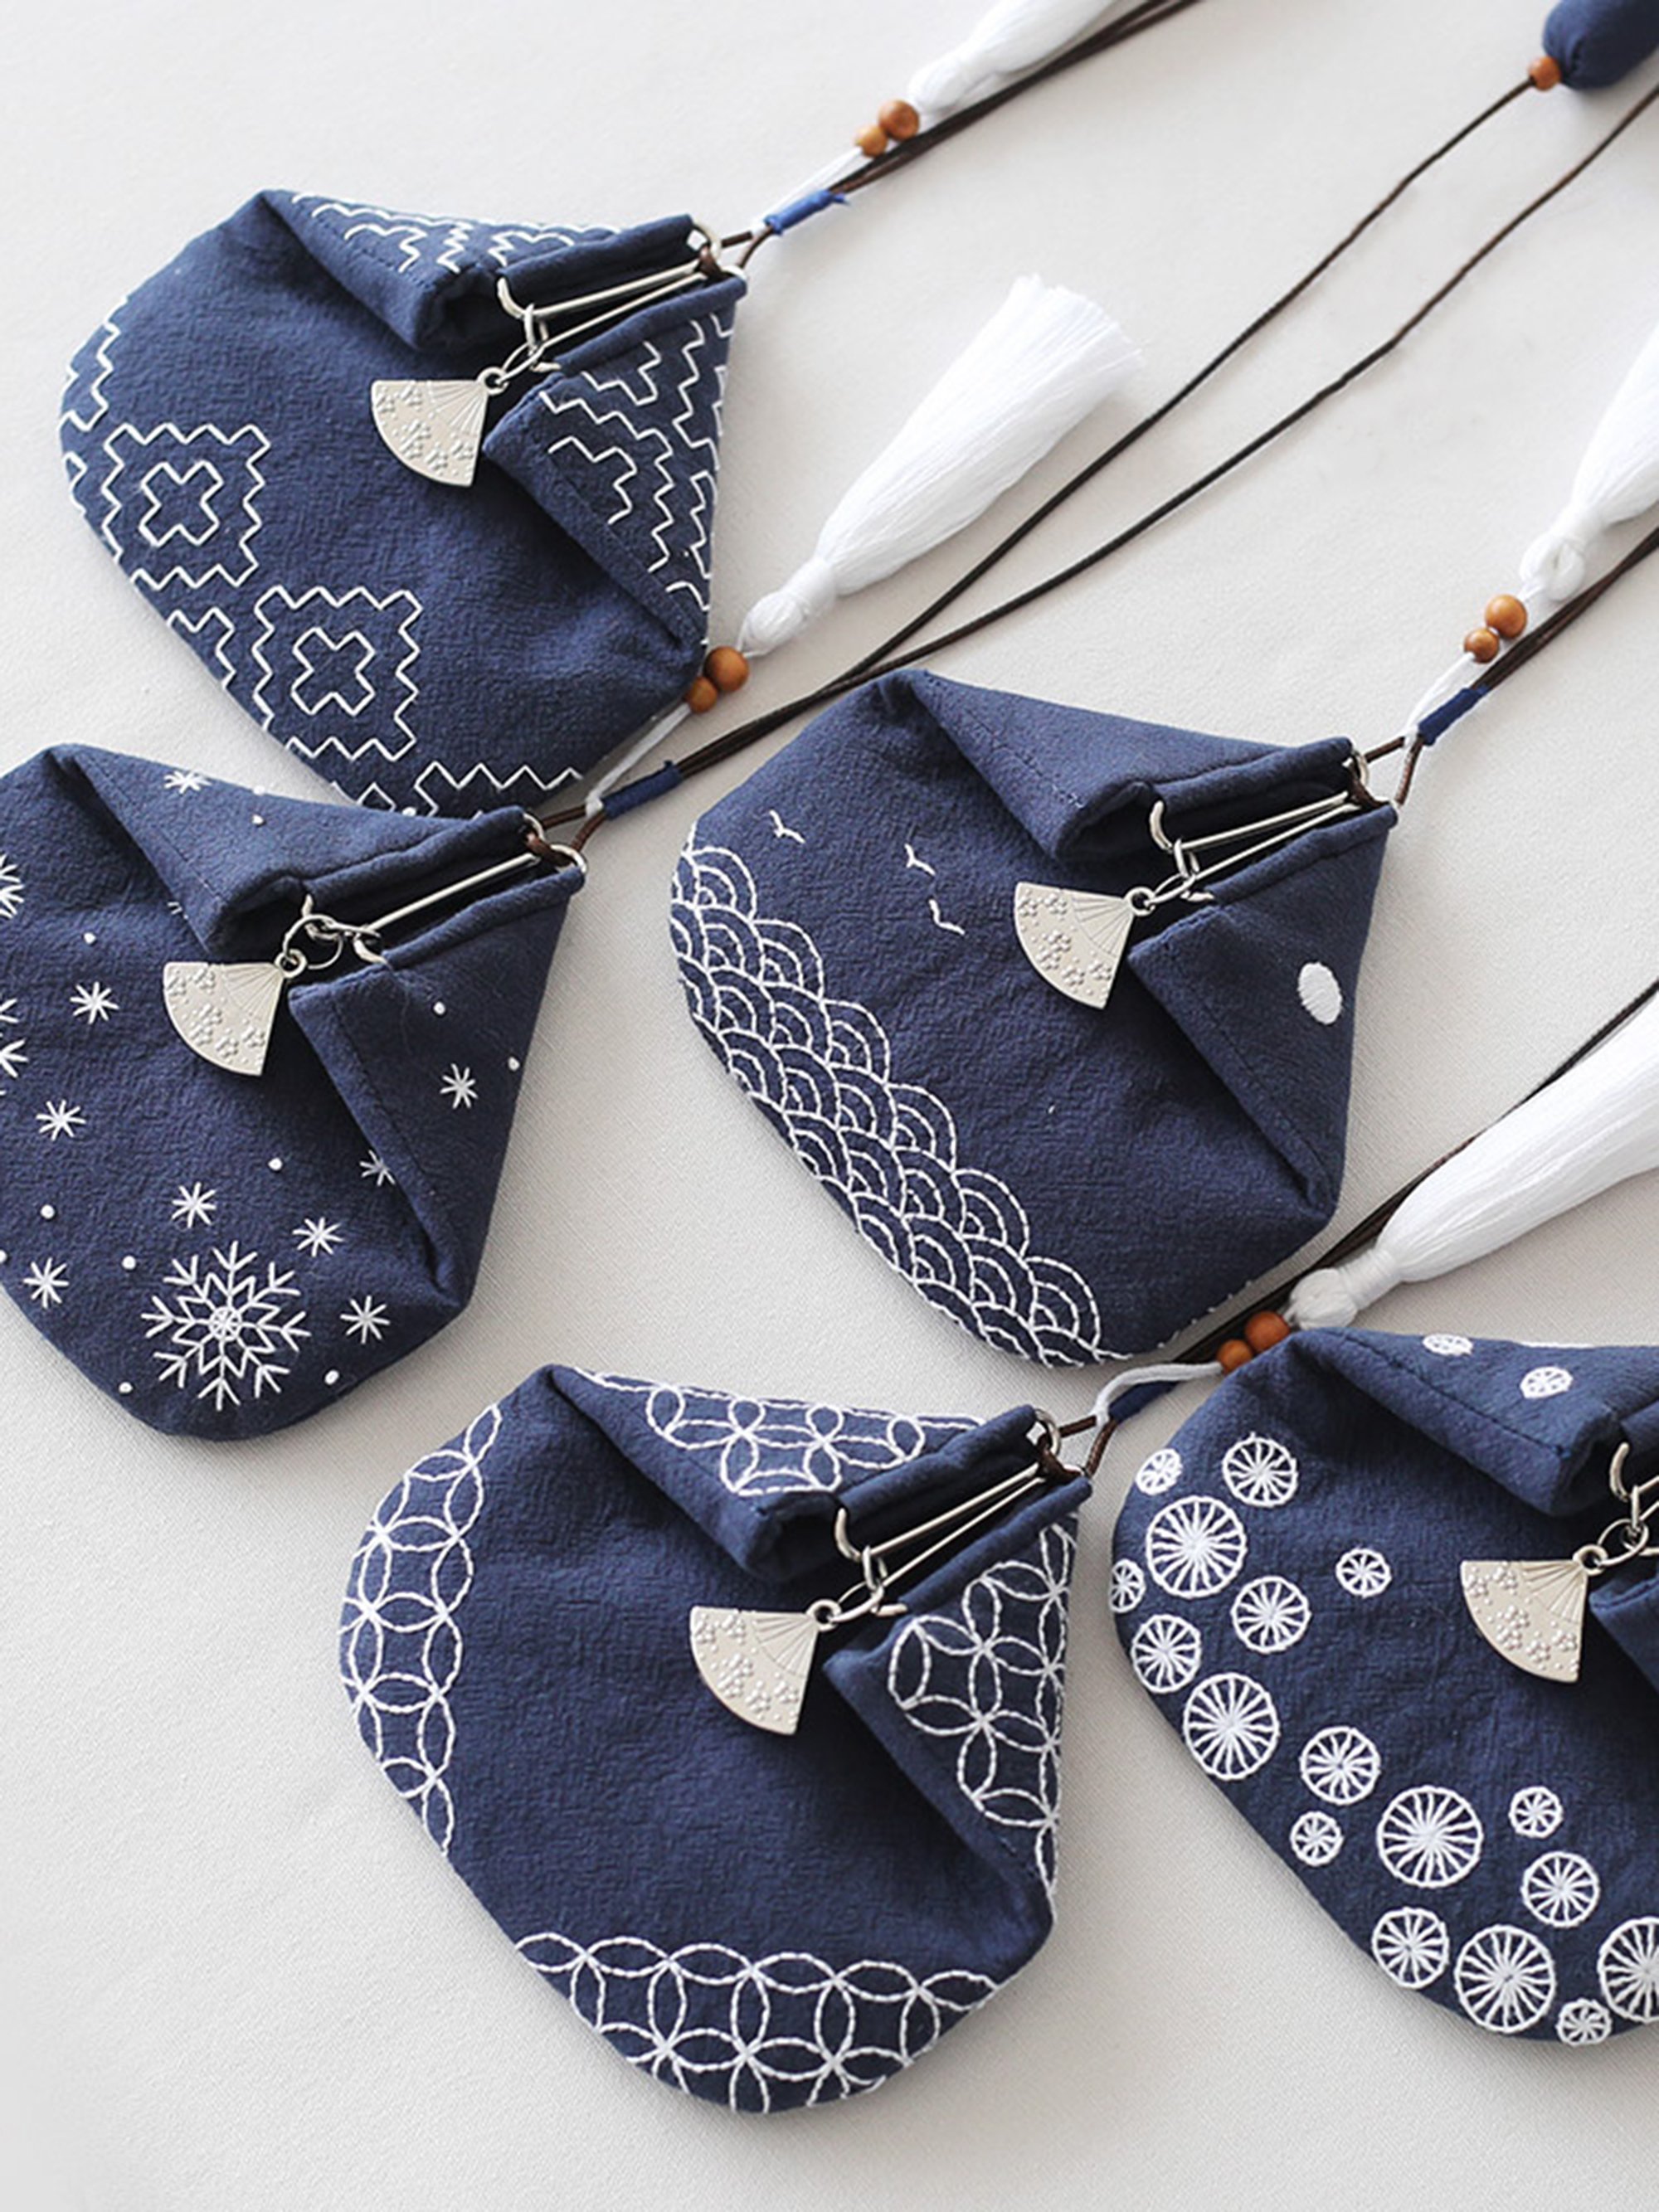
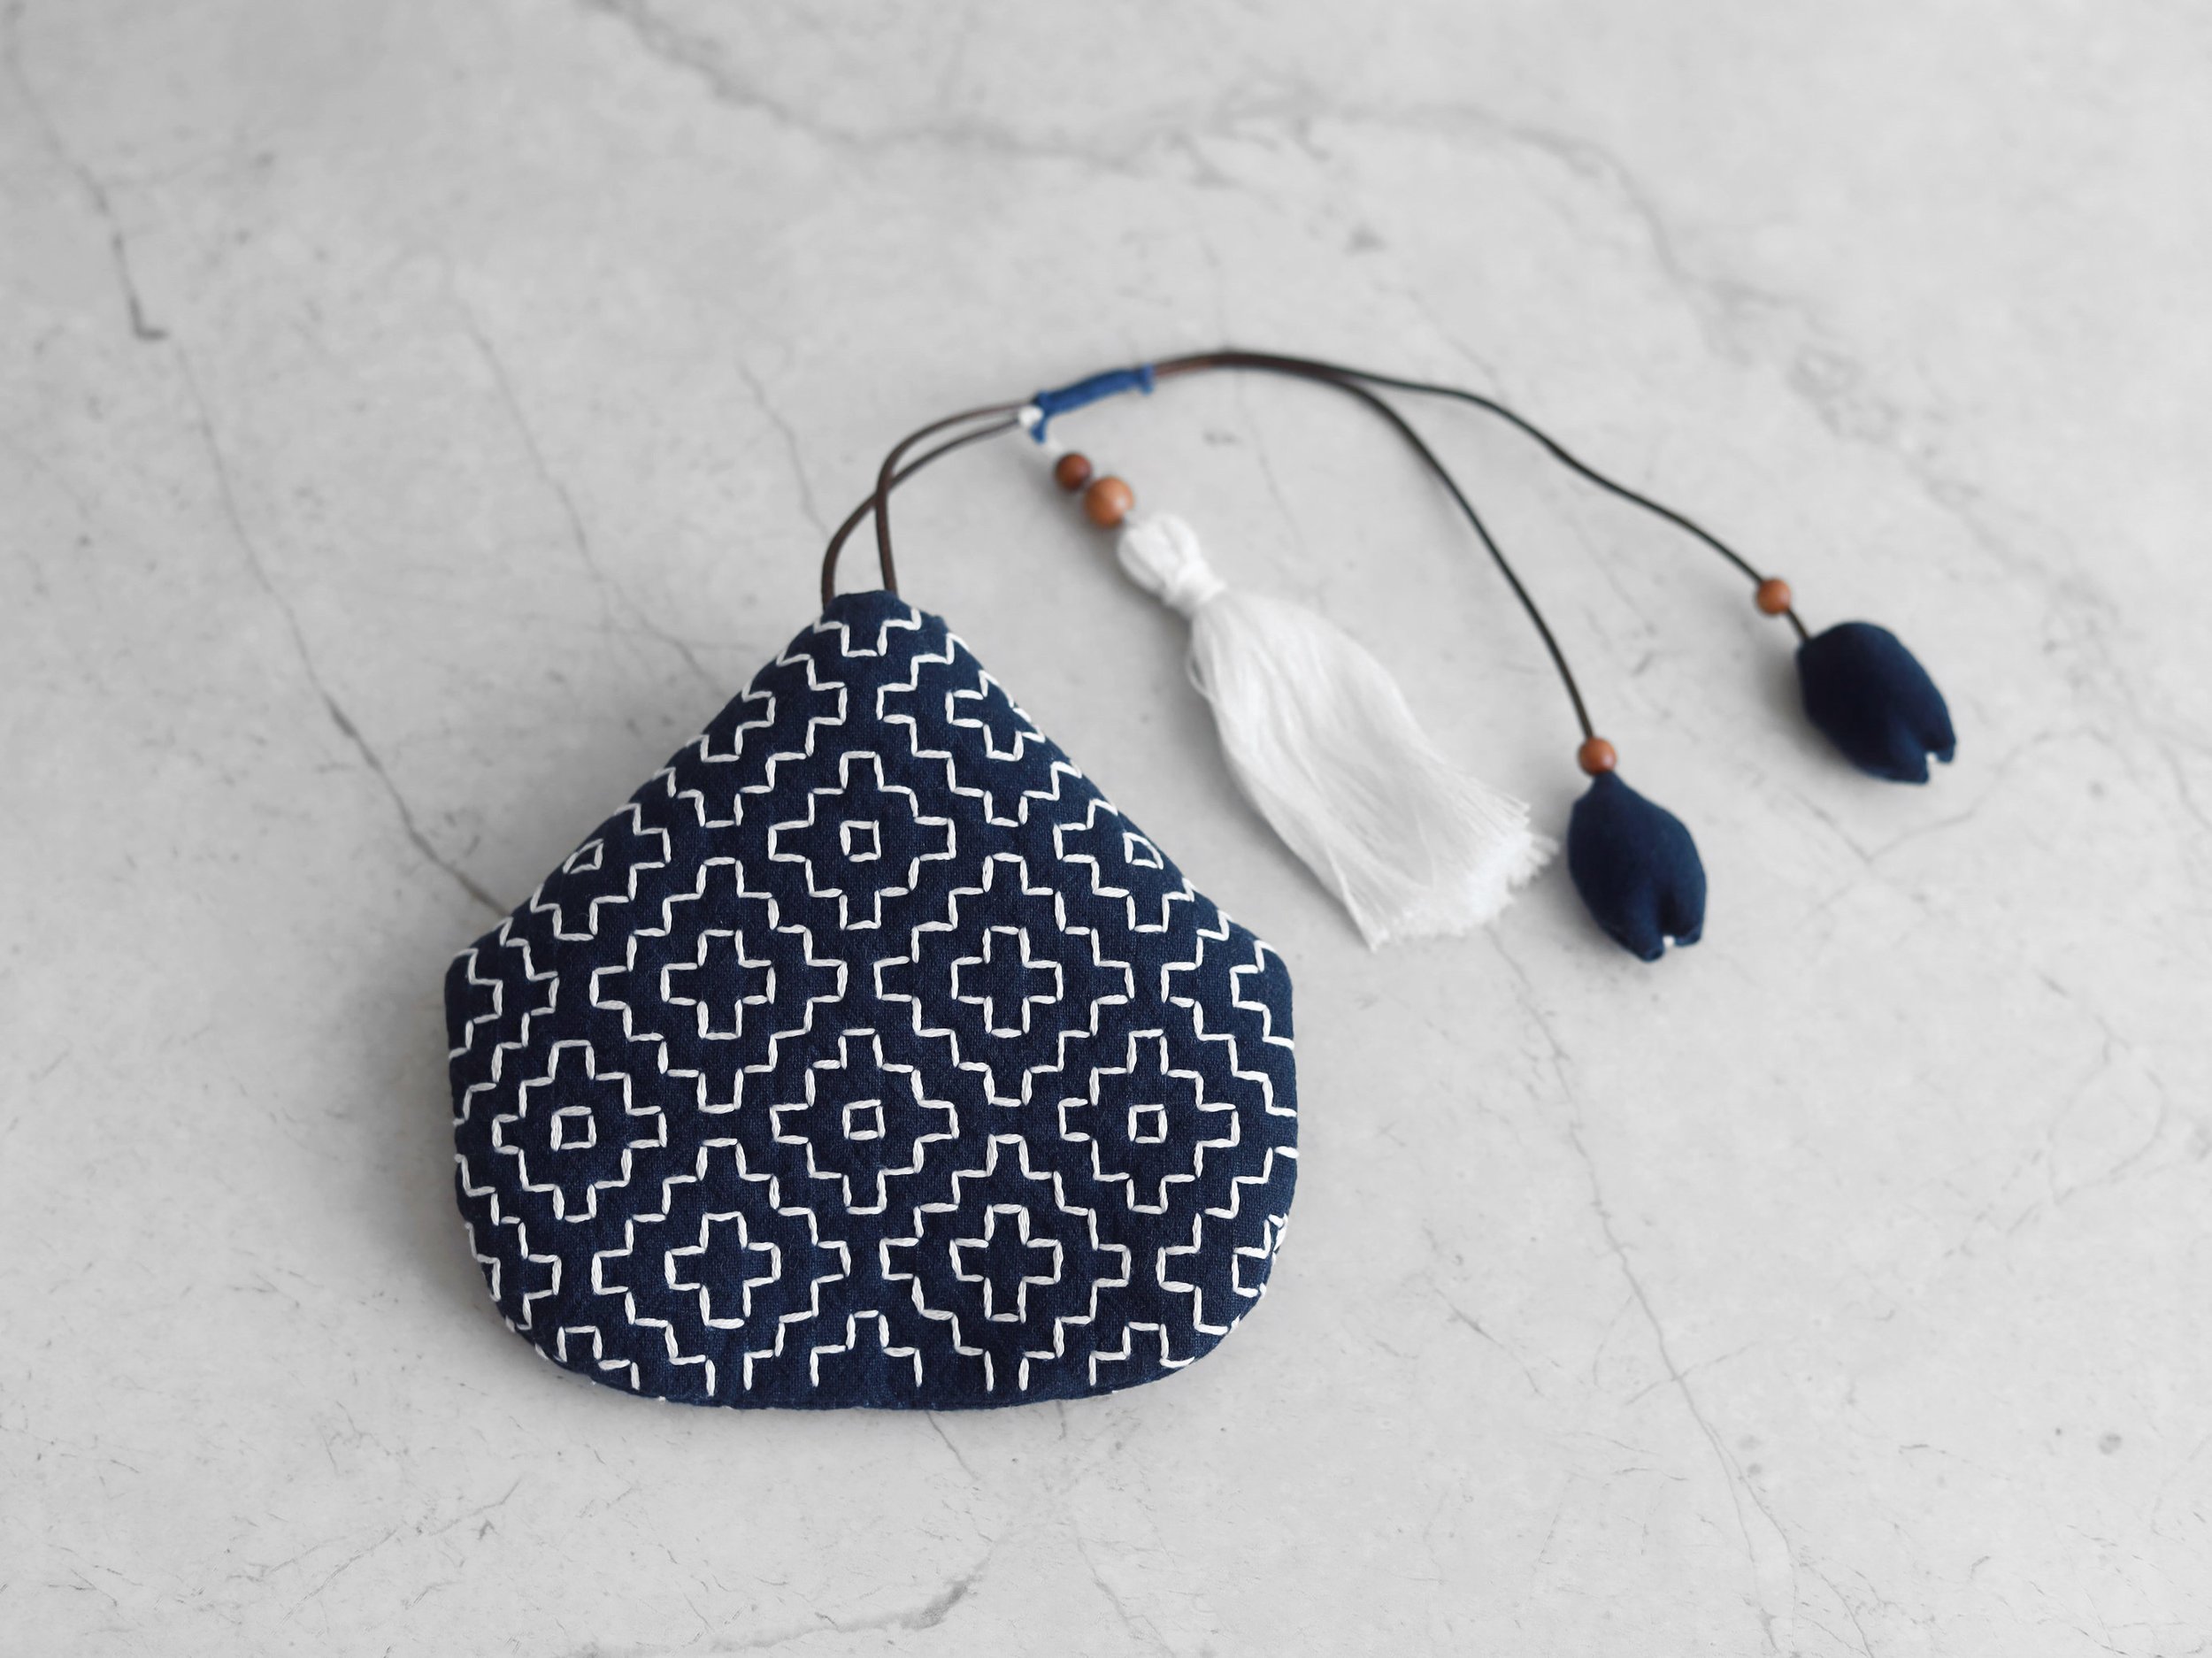
Heidi - Sashiko Frame Purse
Heidi is a cute little coin purse with a magnetic fan closure and beautiful sashiko style embroidery. It comes with five different patterns. You can also use your creativity to design your own pattern.


The video tutorial for embroidery can be found below:
Ocean Wave embroidery video tutorial
Lotus Leave embroidery video tutorial
(Note: for upgraded heat erasable pattern, the straight lines are not connected to the circle or each other. When stitching the lines, start from a point on the circle where the extended line will intersect, and finish the line at a point very close to but not on the centre point of the circle.)


Snowflake embroidery video tutorial
Seven Treasure embroidery video tutorial
(Note: Back stitch is used in the video tutorial. As we have upgraded our kits with heat erasable pattern, you can now also use running stitch instead. Make sure you use the same stitch throughout, whichever you prefer. On each arch which is a quarter of the circle, make 4 or 5 stitches with them being close to one another. Again, be consistent with the number of stitches on each arch whatever your preference is.)
The photos below show the embroidery process when running stitch is used. We used 4 strands here, but you can also use 2 or 3 strands if preferred. As you can see, instead of sewing each circle as demonstrated in the video, you can also follow the traditional way of sashiko by going in one direction first and turning into the opposite direction.


Embroidery Tutorial for Persimmon Flower
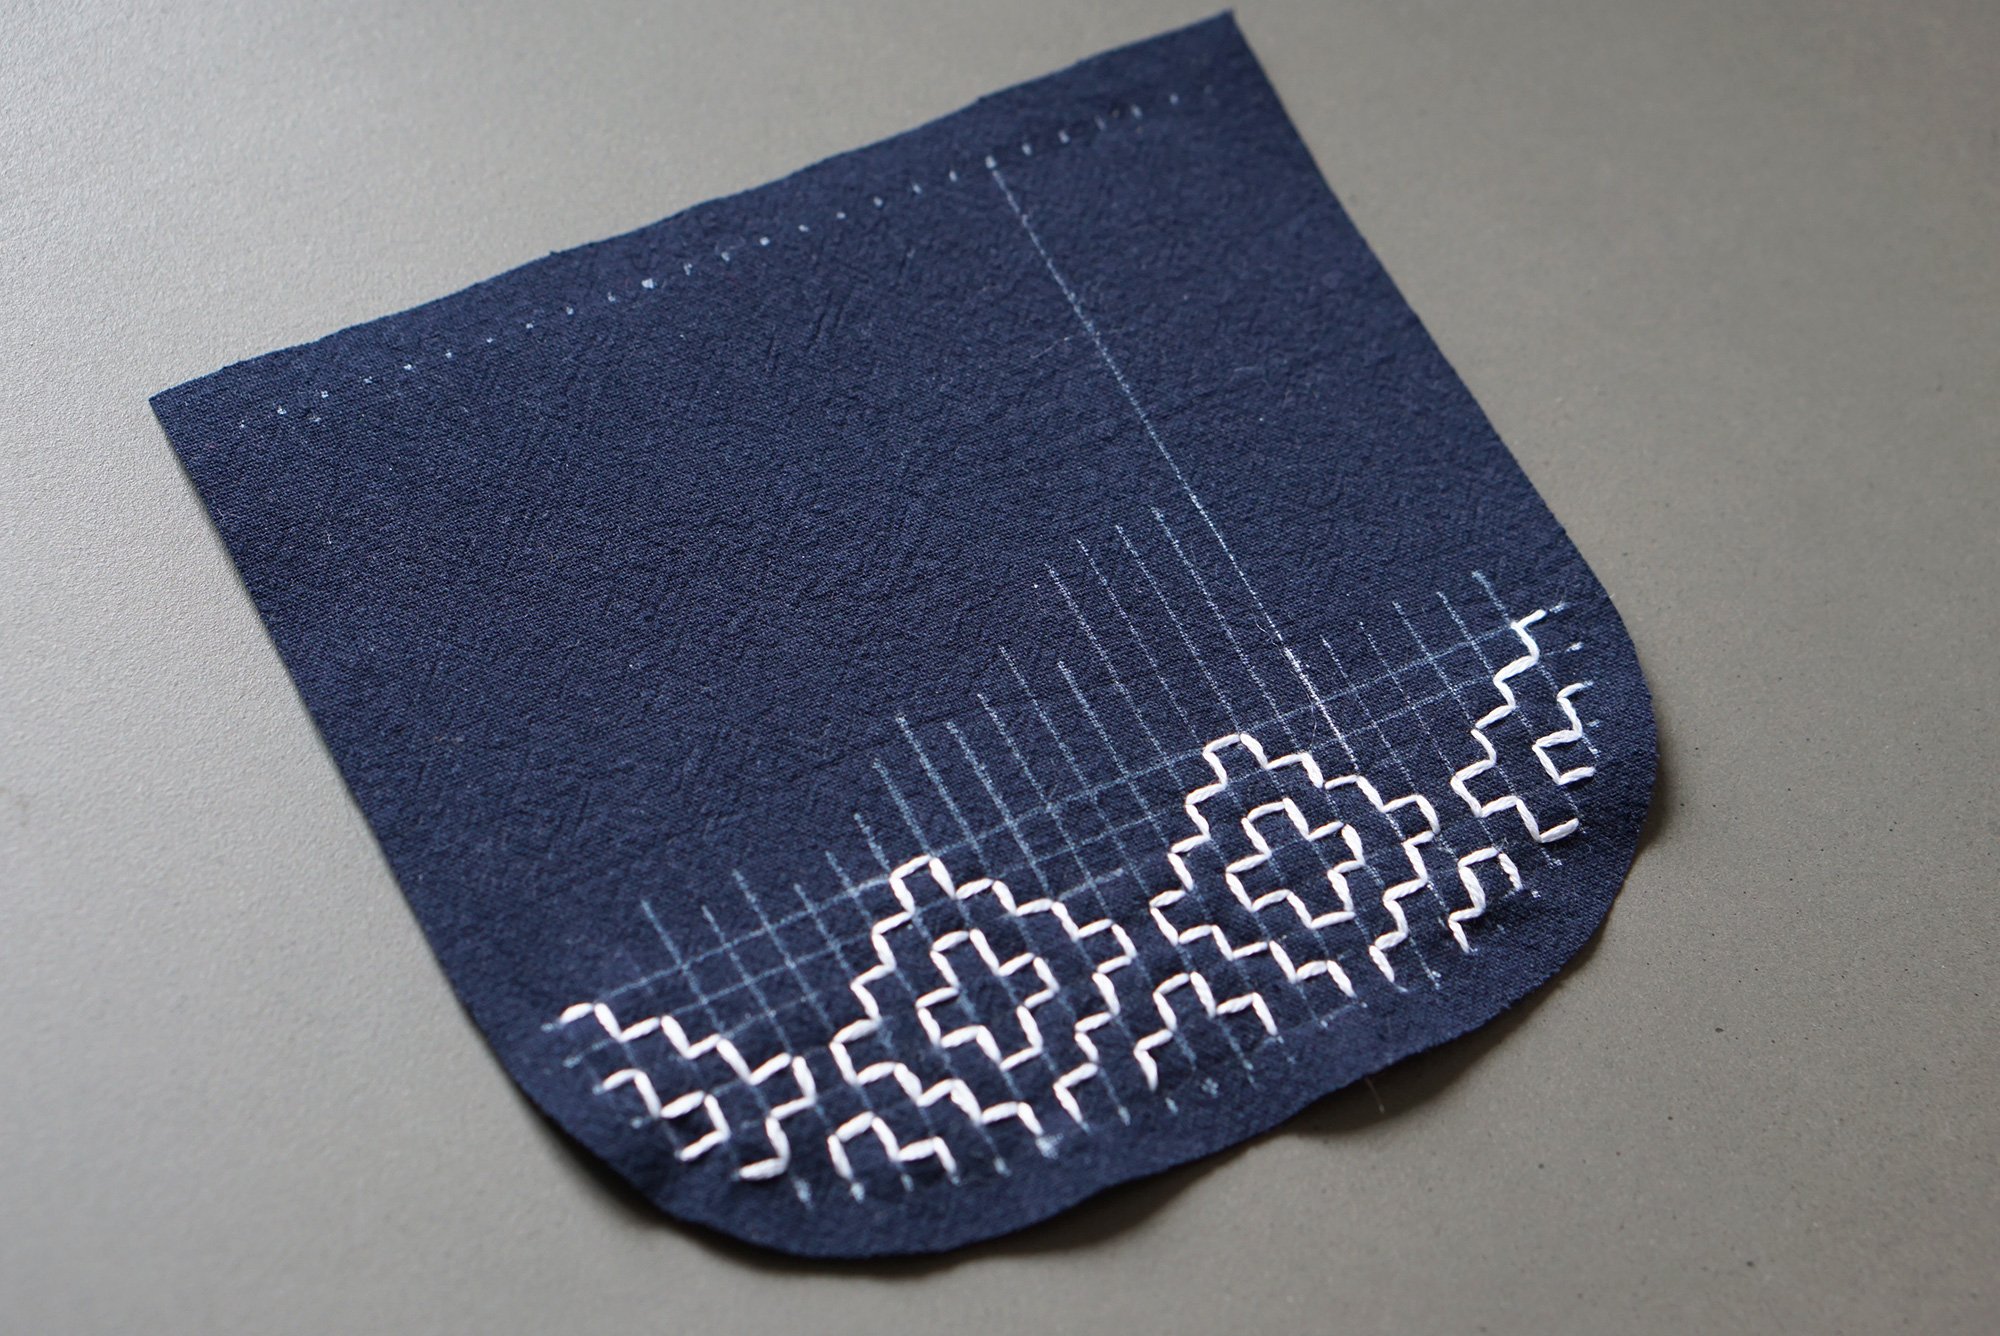
Persimmon Flower is a classic traditional sashiko pattern. Out of the five patterns available for Heidi, it is the only one that comes with a white heat erasable pen for you to draw the pattern or your own design on the plain sashiko fabric in the kit. (All the other patterns are more complicated to draw, and therefore come with the patterns printed directly on the sashiko fabric.)
The 1:1 embroidery paper pattern is included in the kit for Persimmon Flower. You can use it as a template to cut the wadding, and draw the embroidery grid on the main fabric.
As shown in the pictures below, I cut off the paper embroidery pattern, placed it on top of the right side of the fabric within the area marked by the pins, and marked the ends of the horizontal and vertical lines accordingly. I then connected the dots with a ruler. Instead of using this method, you could also draw the grids directly on the fabric, each line is 5mm apart from the next one, and the grids are squares of 5mmx5mm.
Note: Please make sure to put the small lid back on immediately after using the heat erasable pen. Otherwise the ink will dry out over time.

Lay the paper pattern on the main fabric (right side)

Mark the ends of the grid lines

Connect the dots for grid lines
People say that sashiko is 70% drawing and 30% stitching. Once the grids are there, you can start enjoying the sashiko stitching! Traditionally, the vertical lines will be sewn all at once, and the same applies to horizontal ones, as shown in the pictures in our paper tutorial. (I did it for the back main piece as the pattern fills the entire space.) However, it really has no rules and as you can see from the pictures below, I stitched freely from one flower to anther for the front main piece as the pattern is only at the bottom half of the fabric) and the result is the same.
I used 4 strands for embroidery. You can also use 2 or 3 strands depending on how thick you want the stitch to be.


Heidi purse with Persimmon Flower gives you a real experience of Sashiko from the beginning (drawing patterns) to the end. Once you have done it, you will be free to choose or develop your own sashiko patterns. We hope you will enjoy it as much as we do!