
Sashiko Pincushion
This pincushion project is ideal for beginners to have a taste on authentic sashiko – a unique country embroidery from Japan. The kit comes with specific sashiko fabric, needle and thread, and everything else you will need to complete this project.
The kit also includes two classic sashiko patterns and detailed instructions. For those with experience, you can choose your own pattern.


Embroidery Tutorial for Pattern 1
The instruction on drawing the grids and the stitching pattern are both provided in the printed manual in the Kit. Once the grids are drawn on the main fabric, thread the sashiko needle with the sashiko thread (white), and tie a knot at one end of the thread.
Start stitching the blue lines from the top following the arrows in the stitch pattern (i.e. the second horizontal line in the grid). Bring the needle from the wrong side of the fabric to the right side. The starting point is around 1mm from the edge. Each stitch is around 3mm long and the gap is around 2mm. This means the needle goes in and out of the fabric 1mm on the right and left side of the next grid line.


For beginners, try to sew 1~2 stitches at a time first. When you are familiar with it, you can slowly increase the number of stitches you make each time. The fabric should be gathered onto the needle. When the needle is full, push the needle forward though the fabric, and pull the fabric off the needle in the opposite direction. Use fingers (not nails) to smooth out the fabric. This is how sashiko is normally done by professionals.


When changing directions (e.g. starting another line), leave a little loop on the back for ease to avoid the fabric from puckering up.


Continue to stitch all the blue lines in the pattern. Tie a knot on the wrong side as close as possible to the fabric when the thread is finished and change to a new thread.


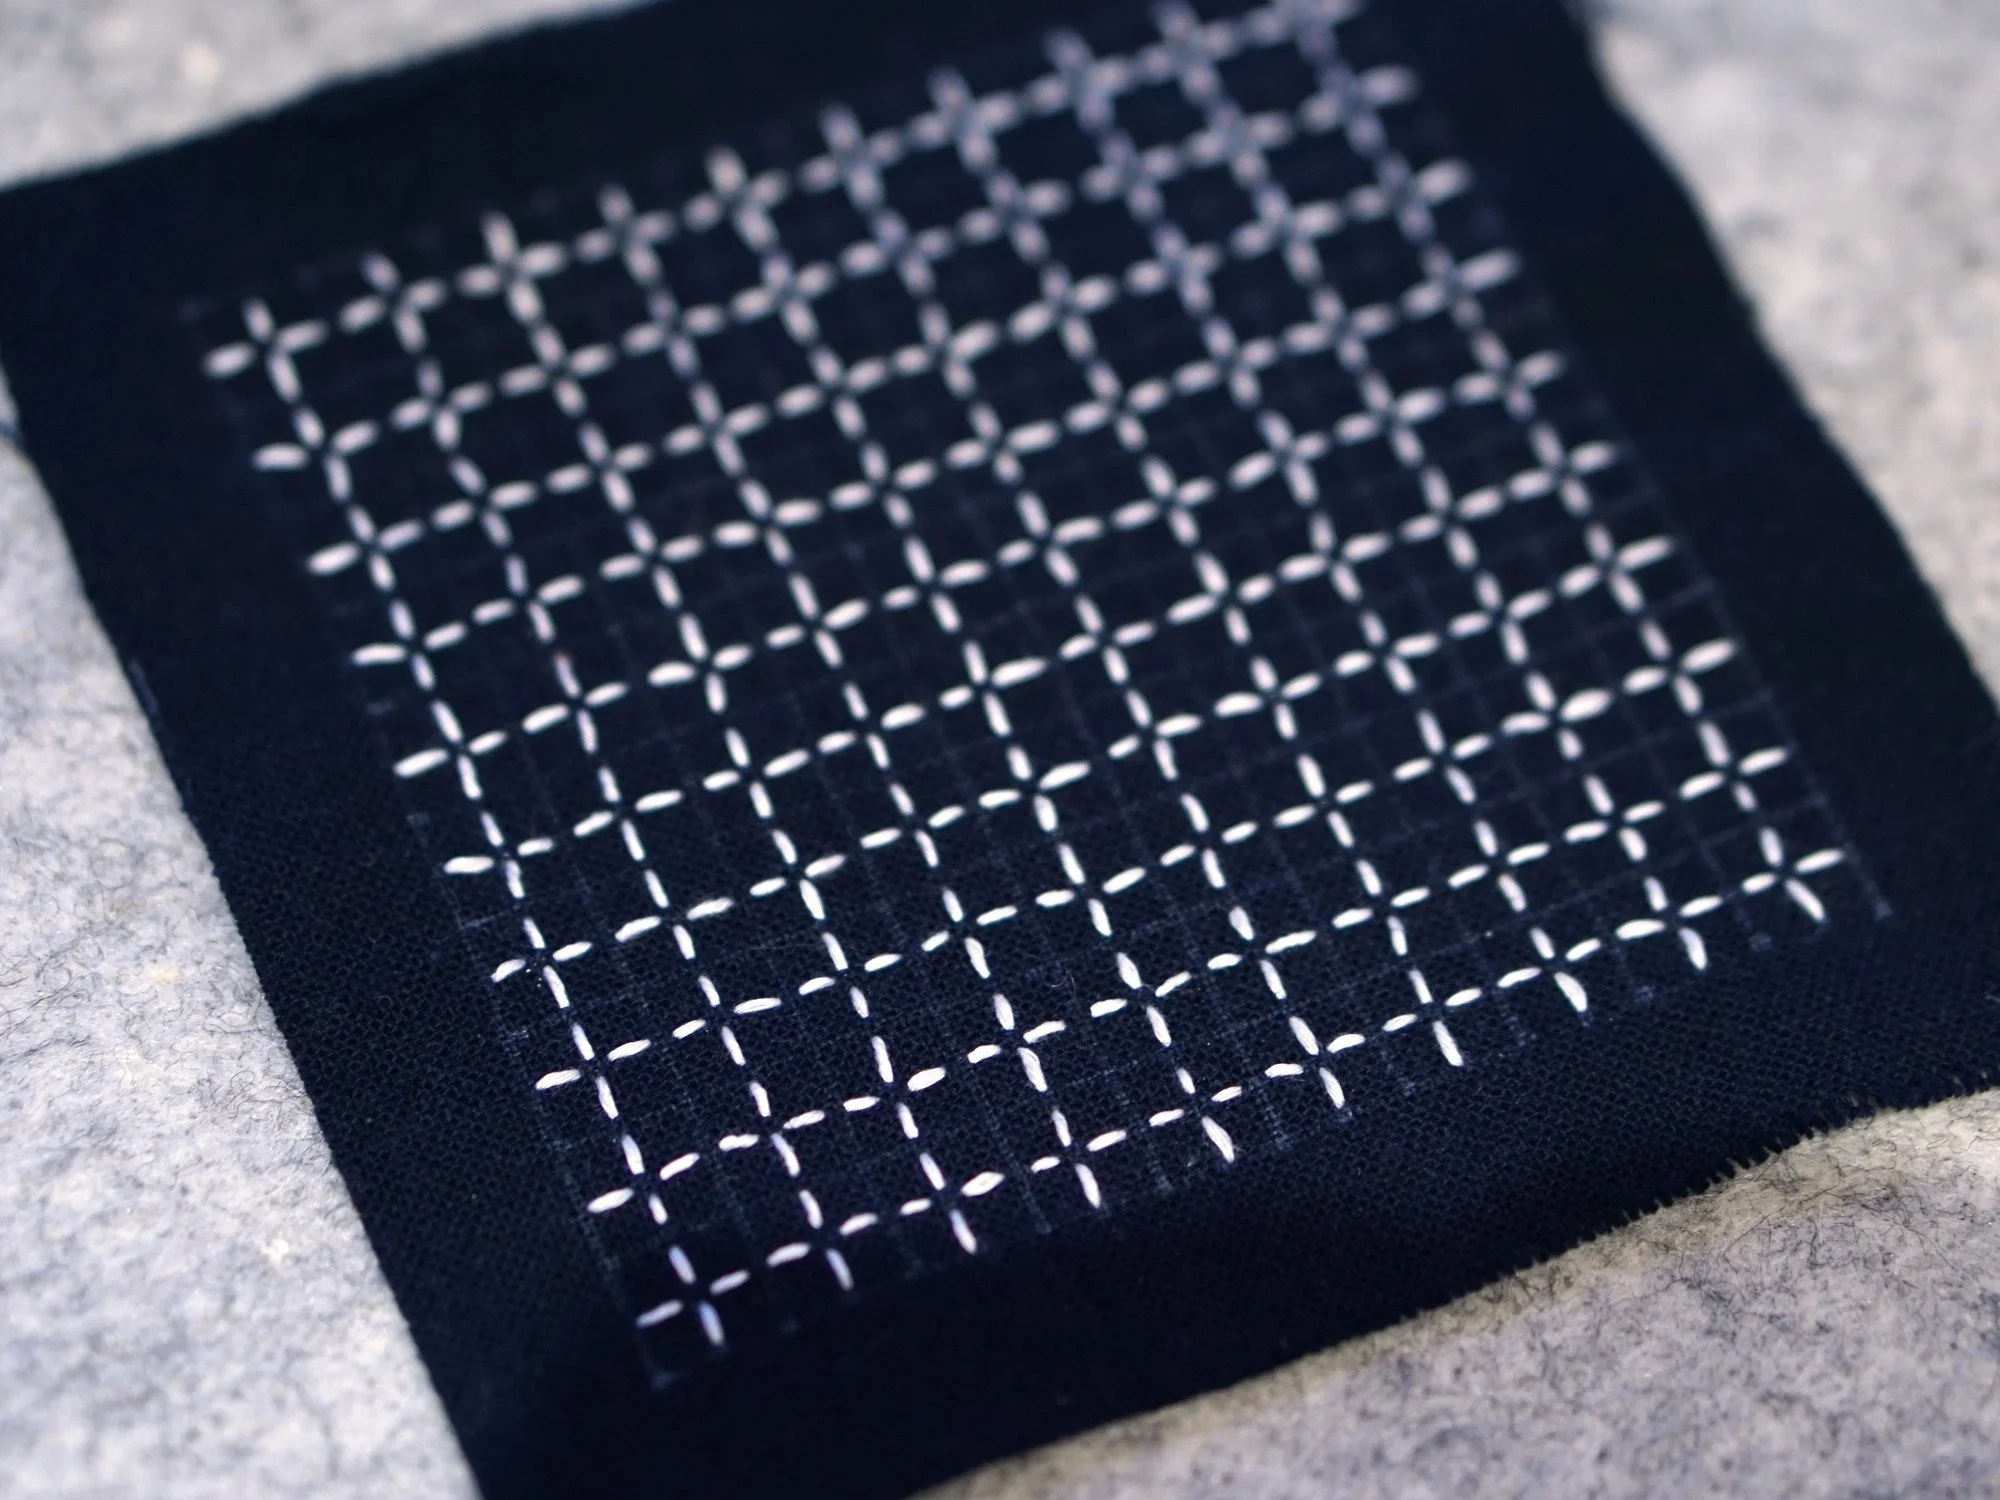
Once finish the blue lines in the pattern, stitch the red lines in the same way. Make sure the stitches don’t touch where pattern lines meet (i.e. at the centre of each cross).


Embroidery Tutorial for Pattern 2
Start stitching the blue lines from the top following the arrows in the stitch pattern (i.e. the second horizontal line in the grid). Bring the needle from the wrong side of the fabric to the right side. The starting point locates in the middle of the first two vertical grid lines. Each stitch is around 5mm long and the gap is around 5mm. This means the needle always goes in and out of the fabric in the middle of two vertical grid lines.


For beginners, try to sew 1~2 stitches at a time first. When you are familiar with it, you can slowly increase the number of stitches you make each time. The fabric should be gathered onto the needle. When the needle is full, push the needle forward though the fabric, and pull the fabric off the needle in the opposite direction. Use fingers (not nails) to smooth out the fabric. This is how sashiko is normally done by professionals.


When changing directions (e.g. starting another line), leave a little loop on the back for ease to avoid the fabric from puckering up.


Tie a knot on the wrong side as close to the fabric as possible when the thread is finished and change to a new thread. Once finish the blue lines, stitch the red lines in the same way. The picture below shows the wrong side of the finished piece.

The picture below shows the finished pieces of pattern 1 and 2 together.
