Shroom Trio (MR01-03)
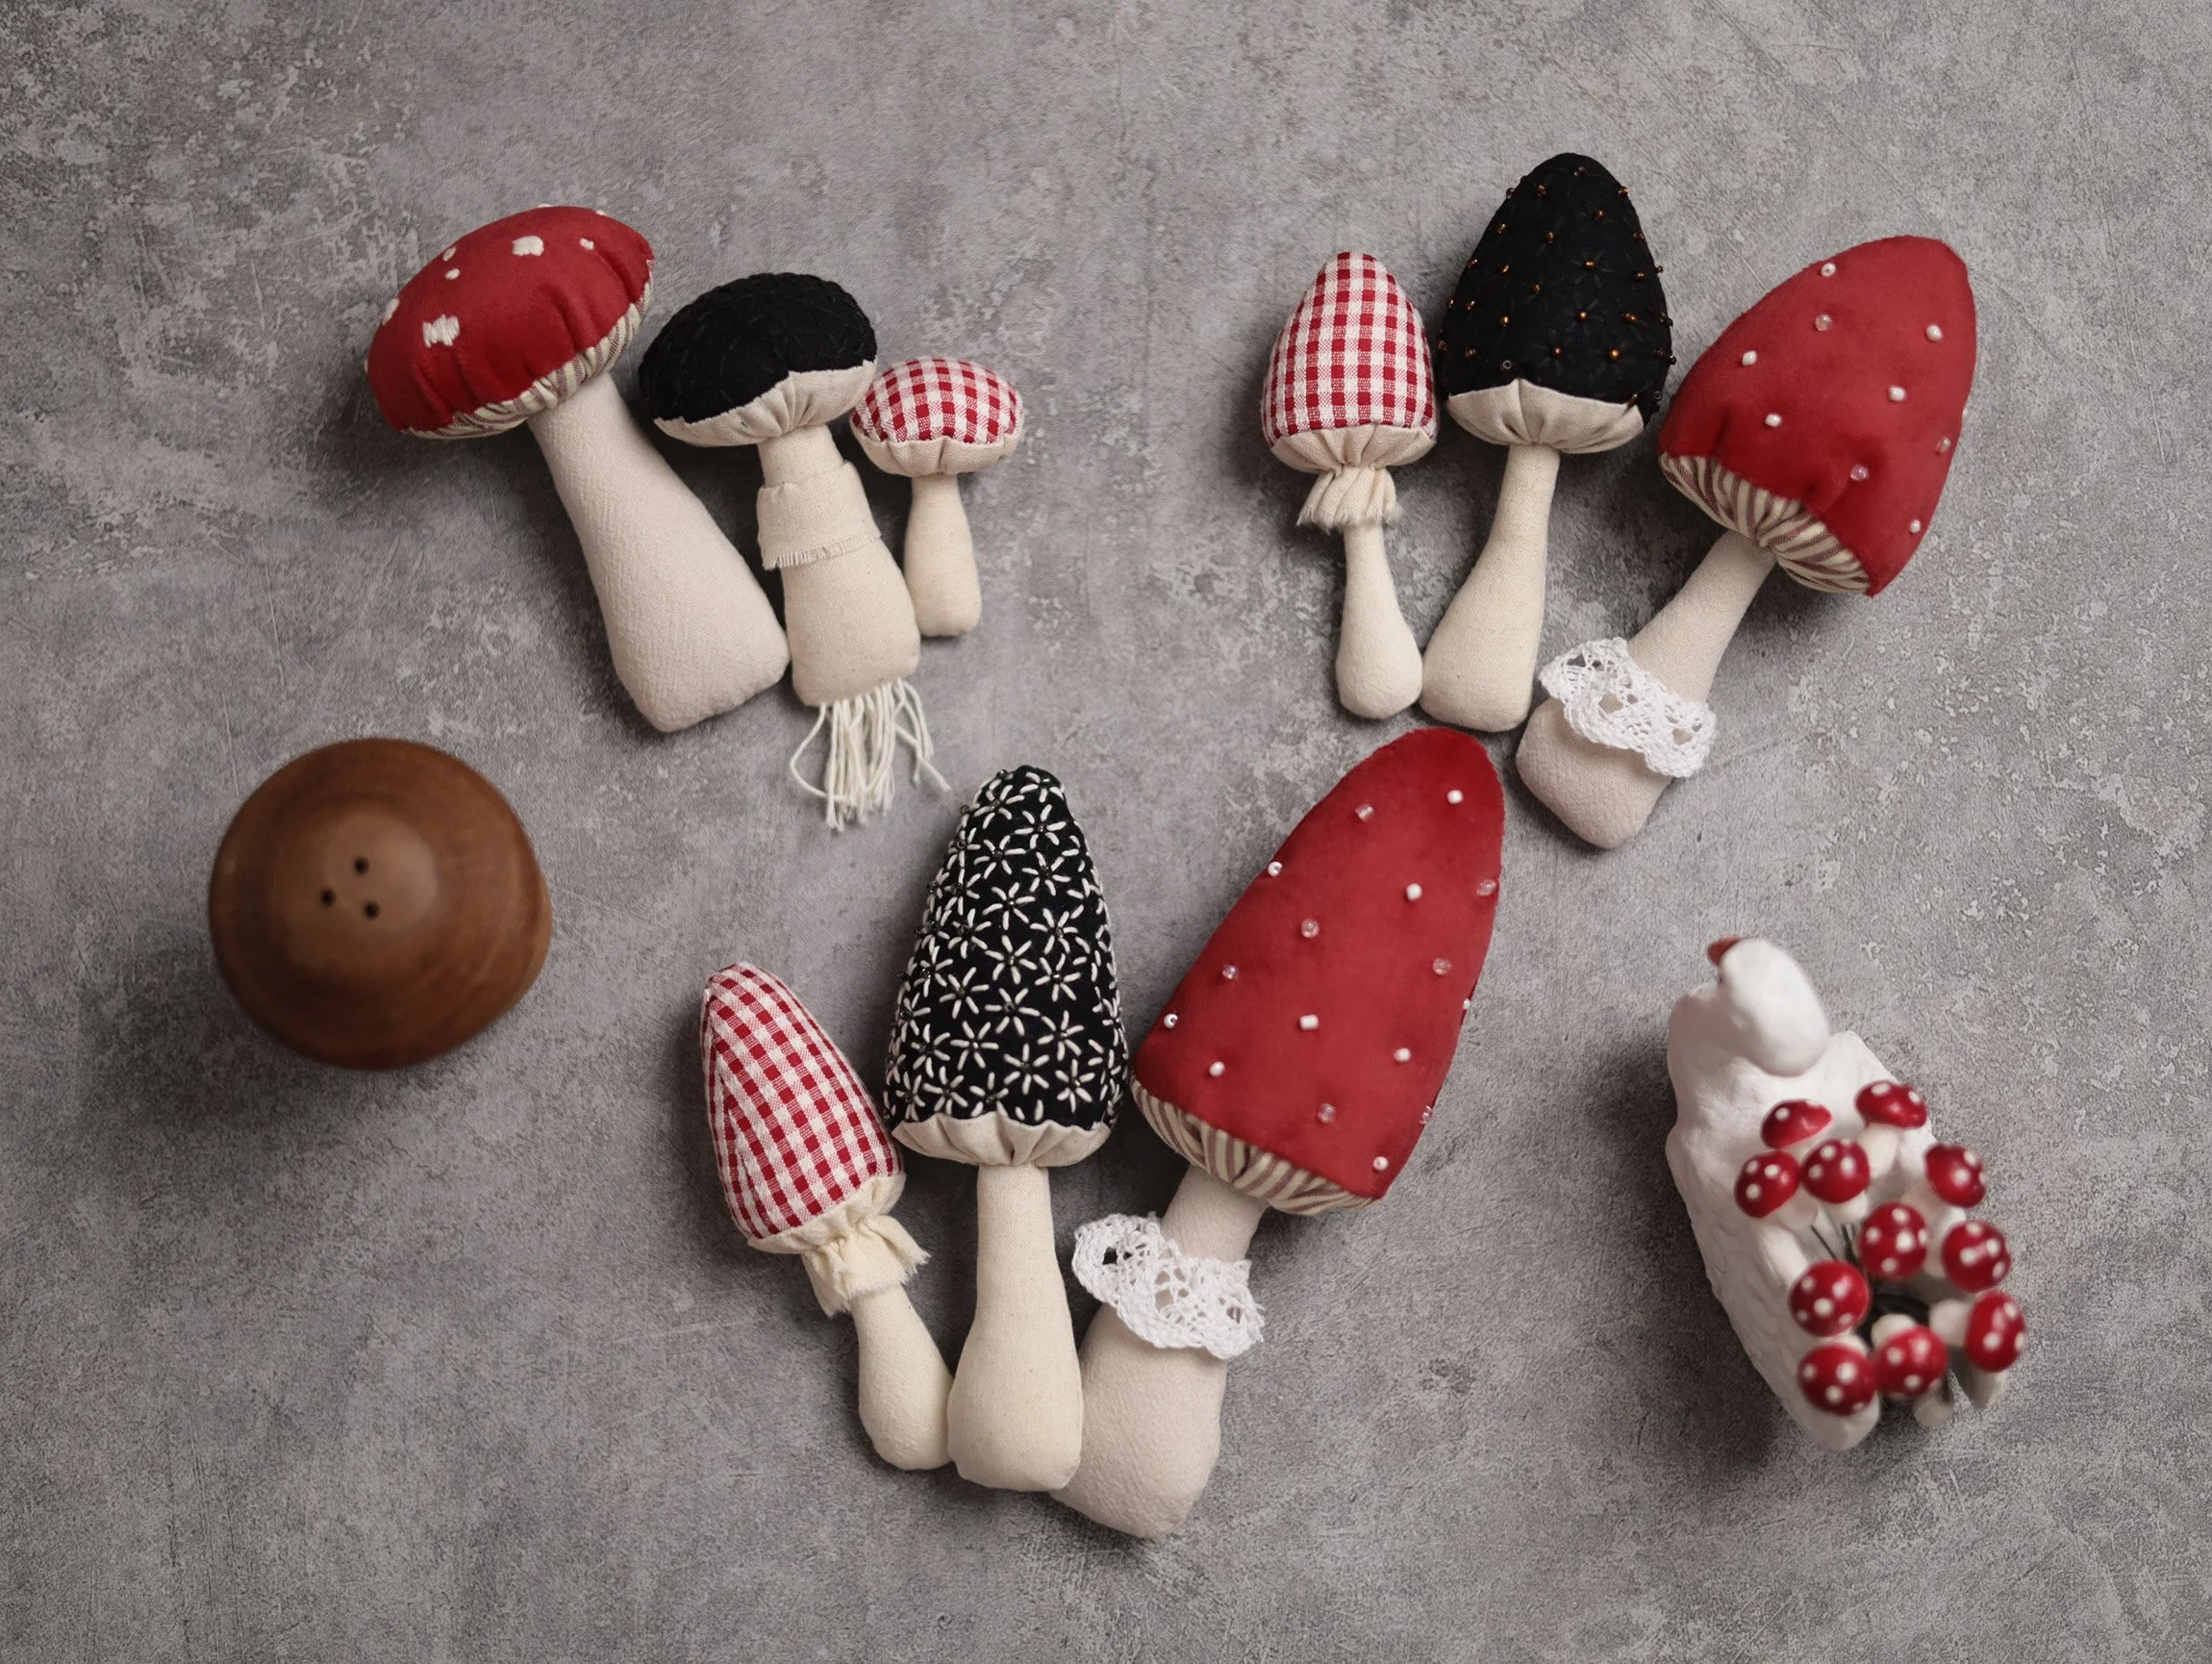
The Perfect Scrap-Buster Project
100% hand sewing or 80% machine + 20% hand sewing
Beginner-friendly, easy & quick
Supplies Needed for the Project:
• Light- or medium-weight woven or knit fabrics: You may wish to use different fabrics for different parts of the mushroom. Use the patterns or stencil to estimate how much fabric you will need for each section.
• Toy stuffing (polyfill)
• General sewing tools: Sewing thread & needle, fabric scissors, fabric marking pen, tweezers or bodkin
• Optional: lace trim, 2mm or 3mm seed beads in your chosen colour & beading needle, Sashiko or other suitable embroidery thread & embroidery needle, embroidery hoop (not needed for Sashiko embroidery)
Sewing Tutorial
Unless otherwise specified, a 5 mm seam allowance is used throughout this tutorial, and the steps apply to all three mushroom styles (MR01–03).
1. Mushroom stem
Trace the outline of the mushroom stem onto the wrong side of your fabric using the stencil or printed pattern:
For hand sewing, trace both the seam allowance (SA) and stitching outlines, then cut along the outline with SA. For the second piece, flip the stencil/pattern to trace a mirrored piece and cut it out.
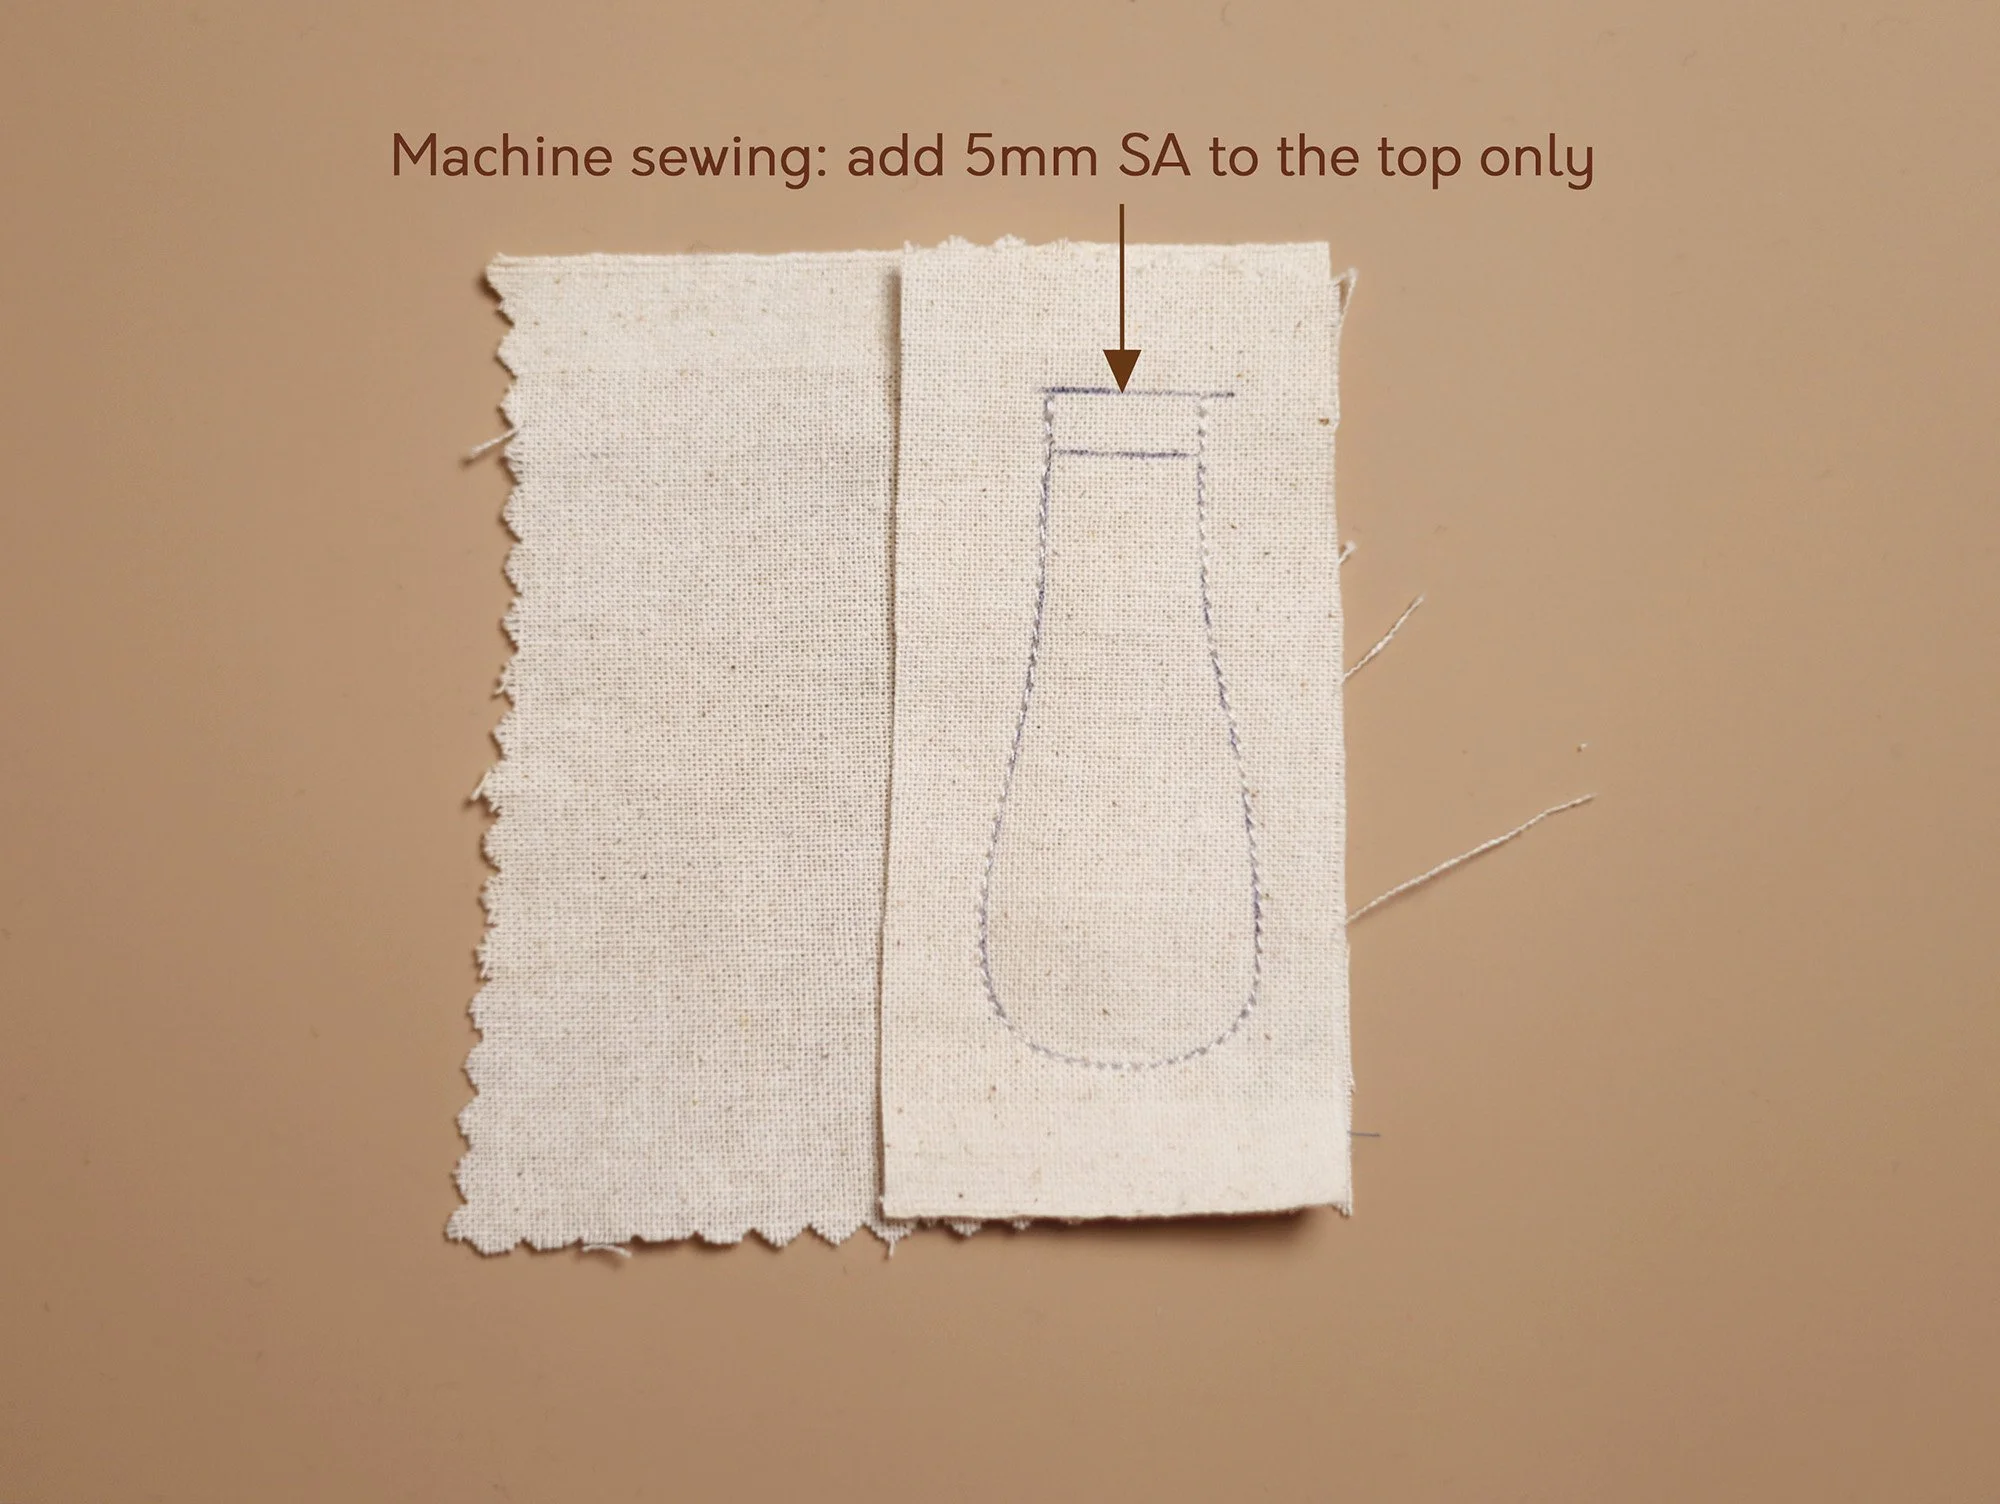
For machine sewing, trace only the stitching line (without SA), and mark the SA line at the top of the pattern. Roughly cut out the fabric, leaving enough room for the seam allowance. You only need to do this for the first piece. For the second piece, simply cut the fabric slightly larger than the first piece.
Place the two pieces of fabric together with their right sides facing and raw edges aligned. (For machine sewing, since the second piece is larger, it’s best to place the traced piece on top so you can see the edges of the lower layer.)
Starting from one end of the top line, sew along the stitching outline of the stem, leaving the top open.
Trim the seam allowance (SA) using pinking shears or clip along the curves, being careful not to cut into the stitching line (see the first photo below).
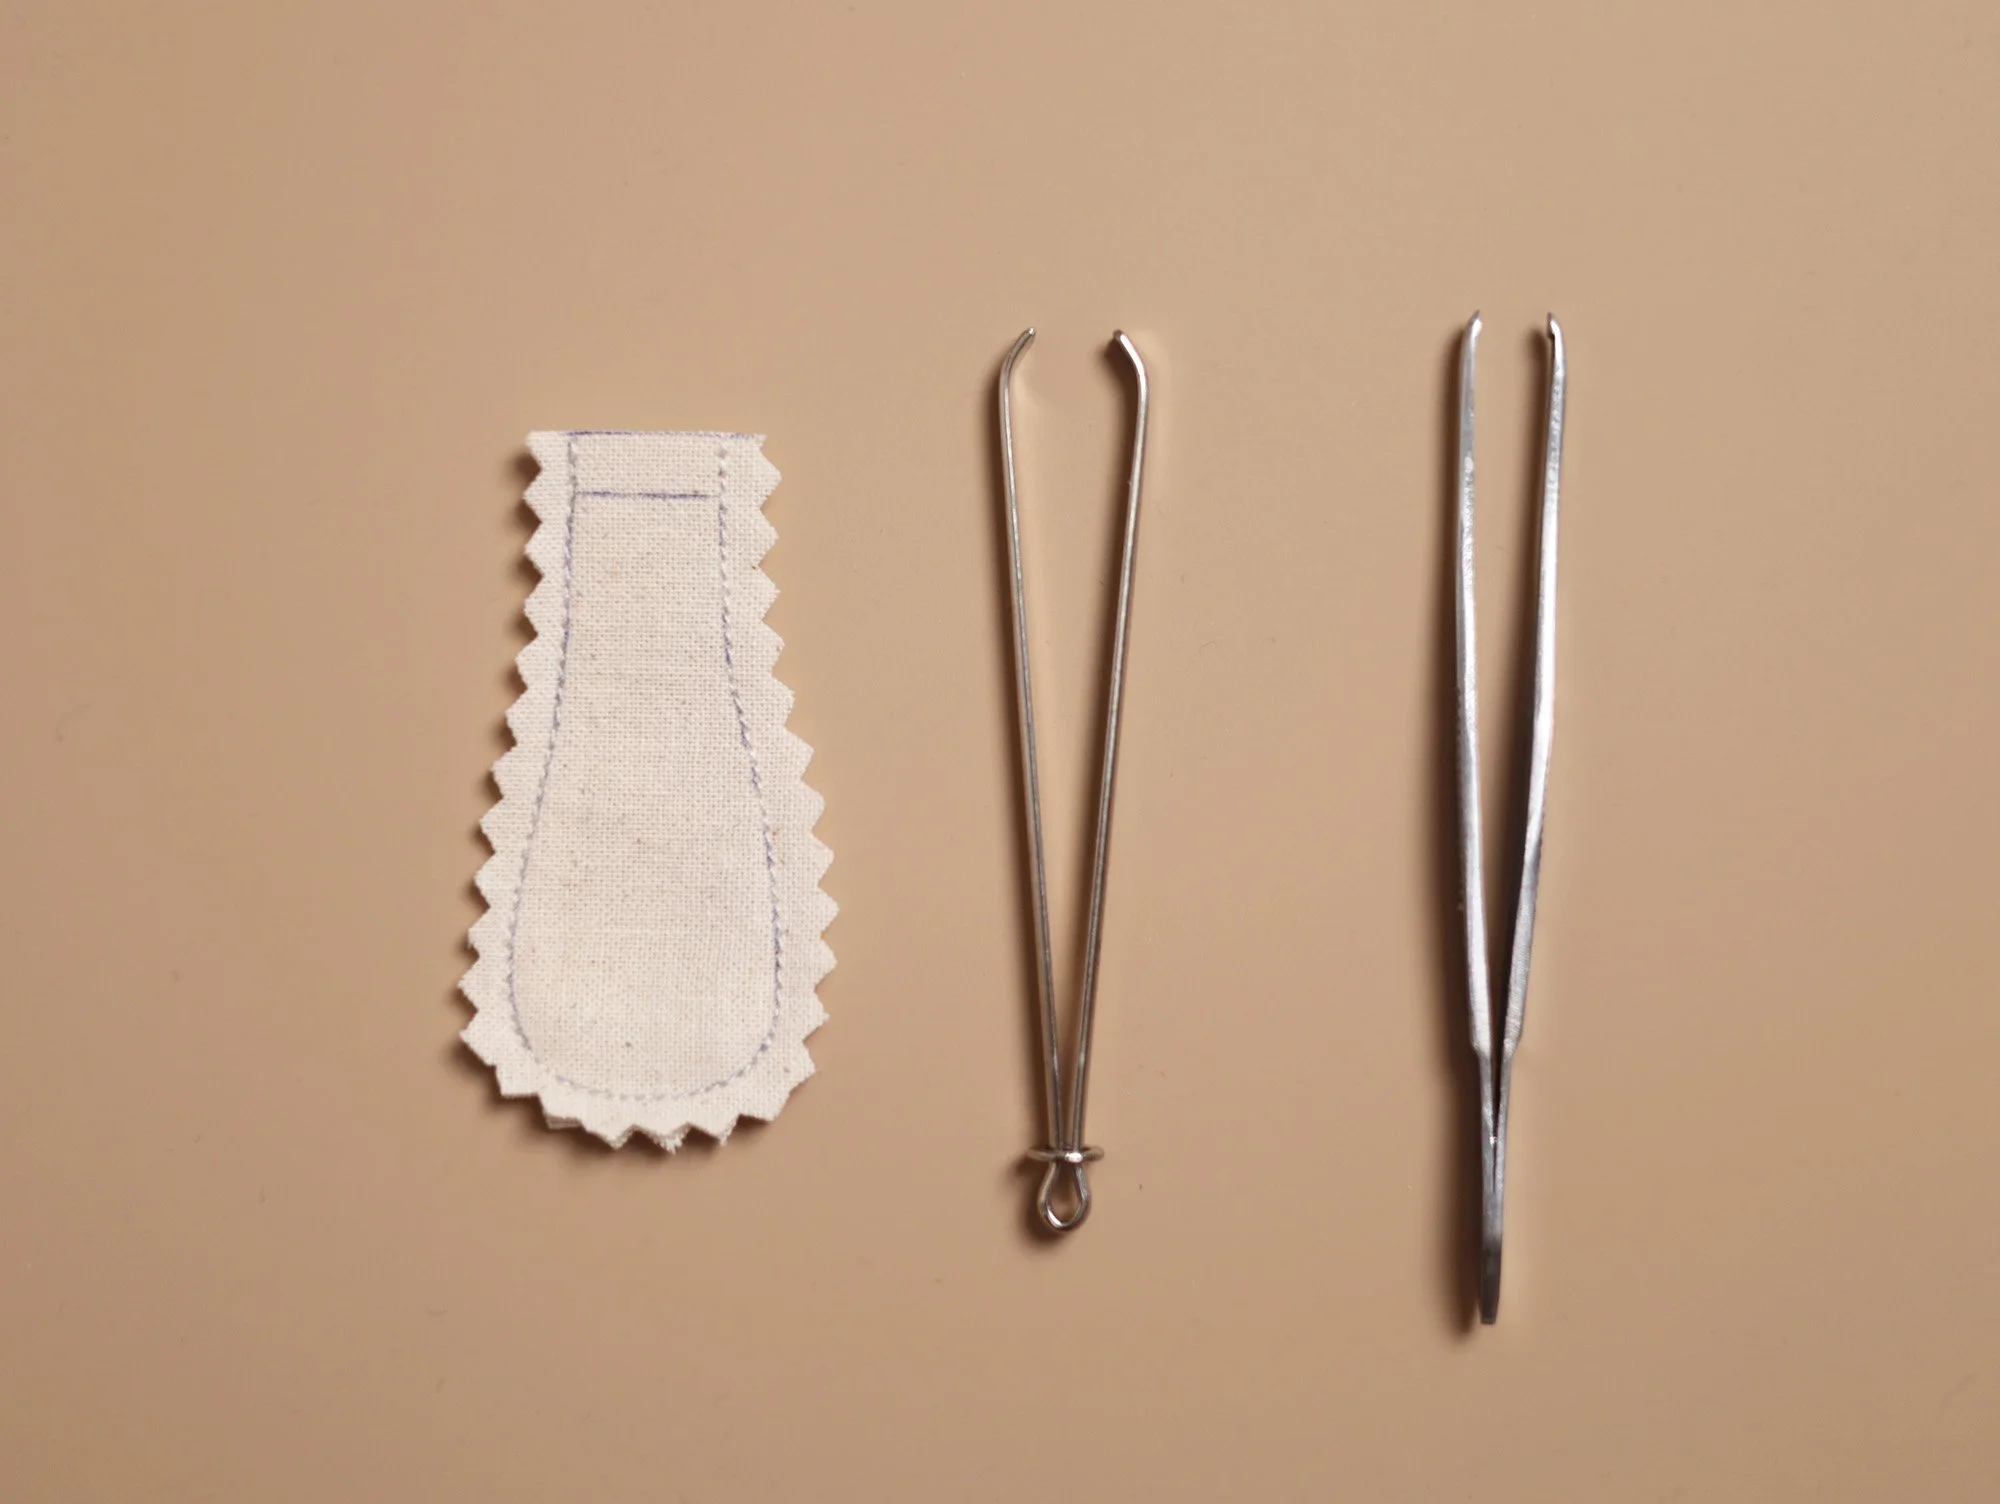
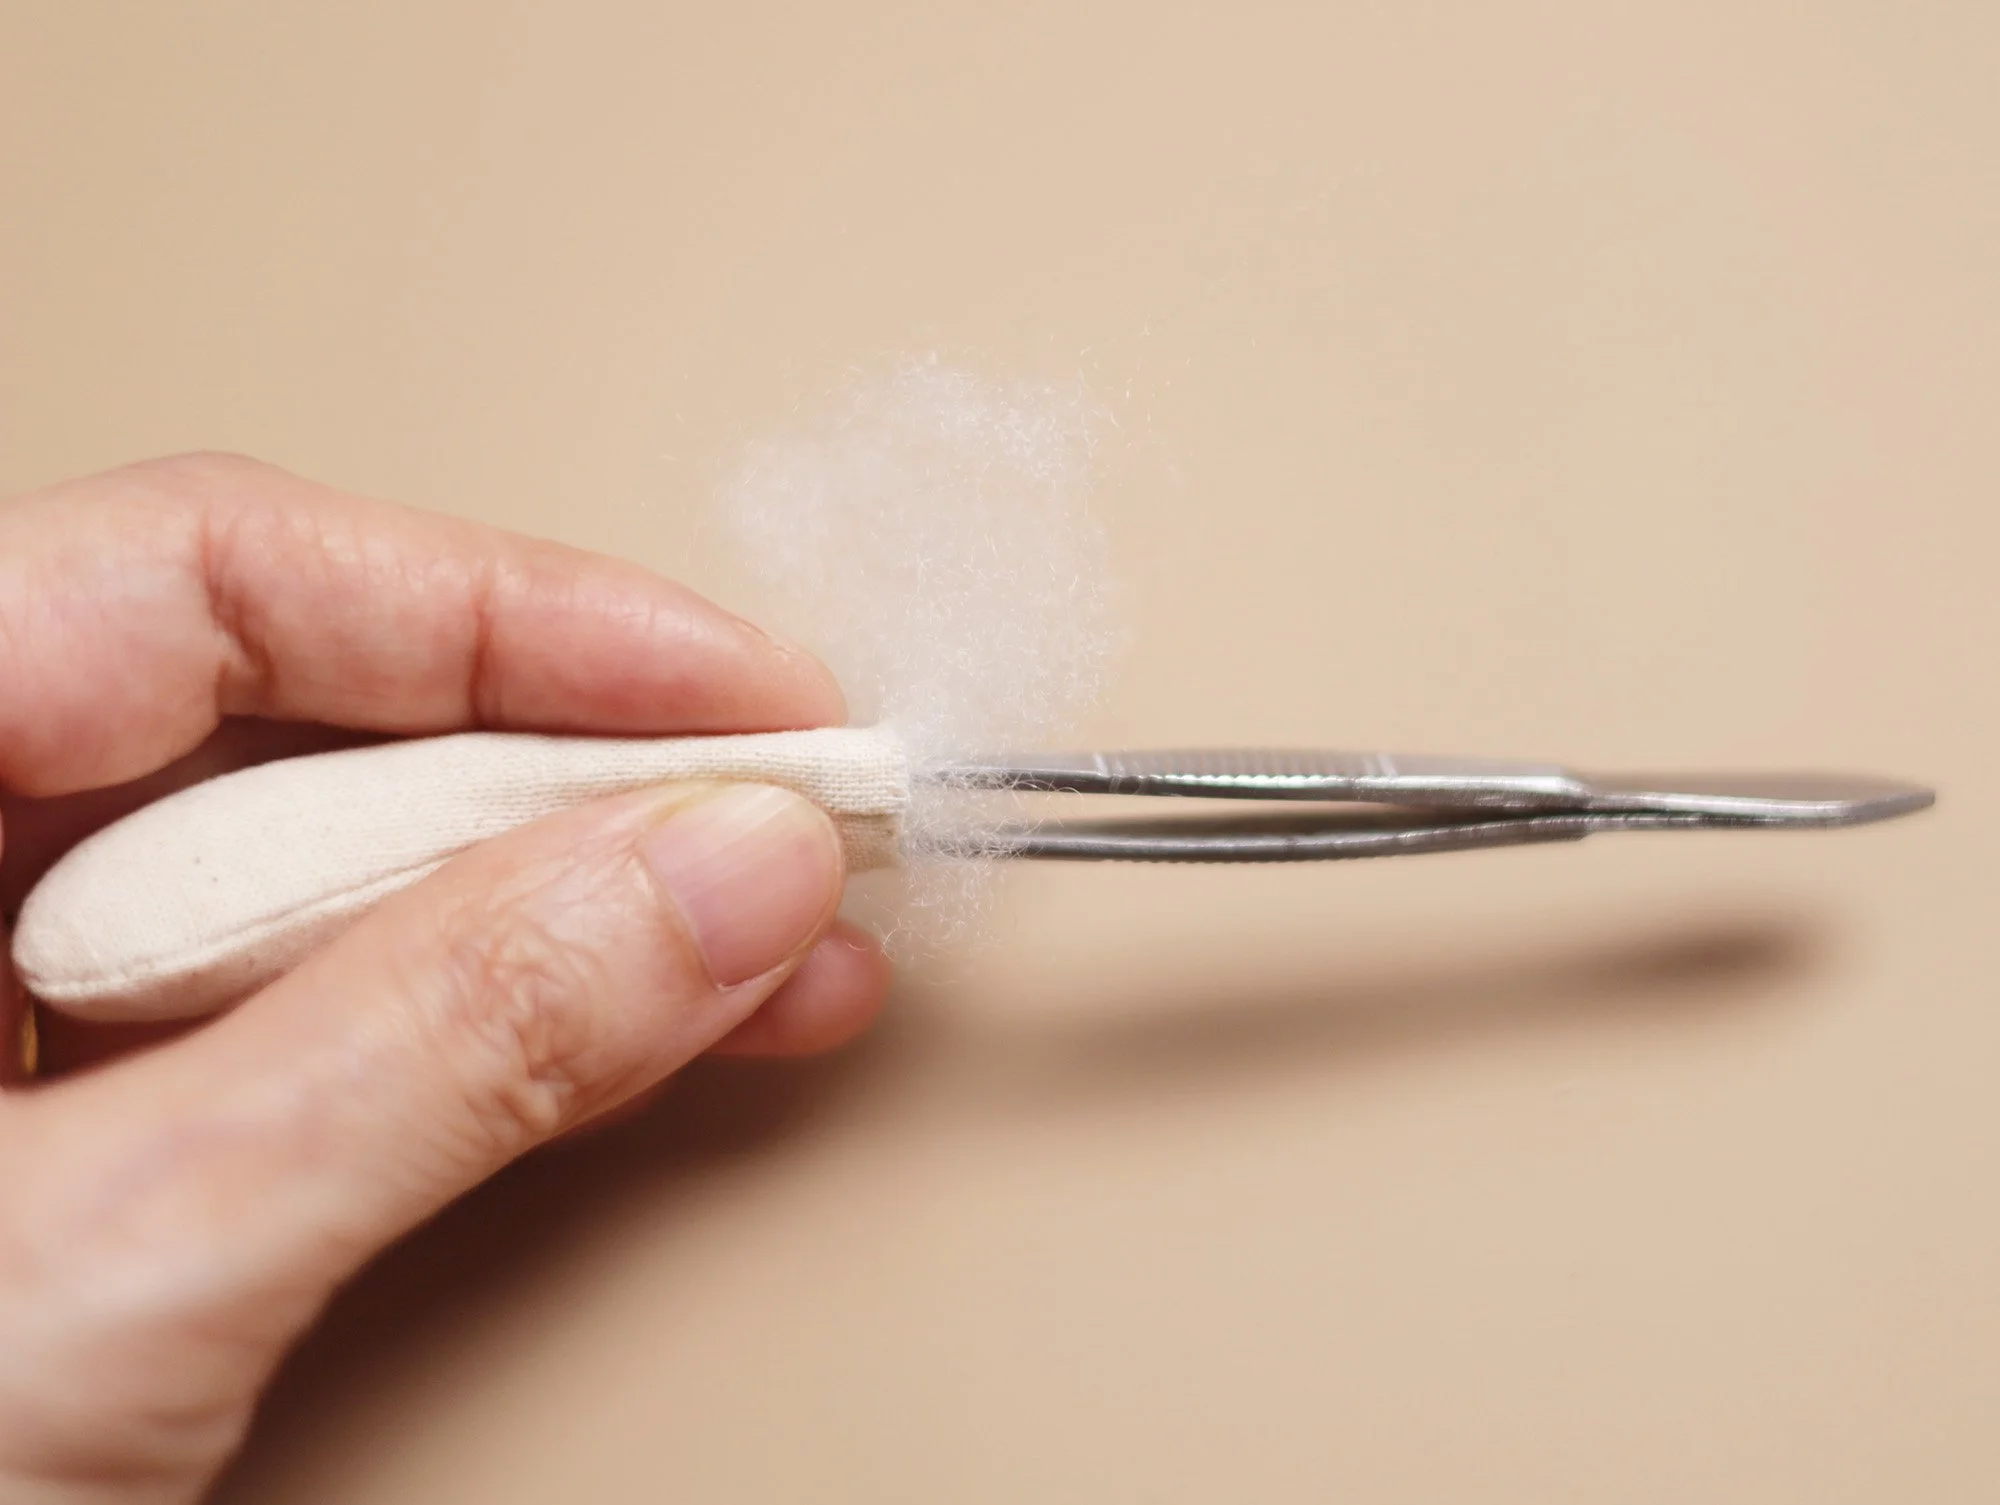
The small tools shown in the first photo below are very useful for this project: a bodkin or small tweezers. Either can be used to do the following:
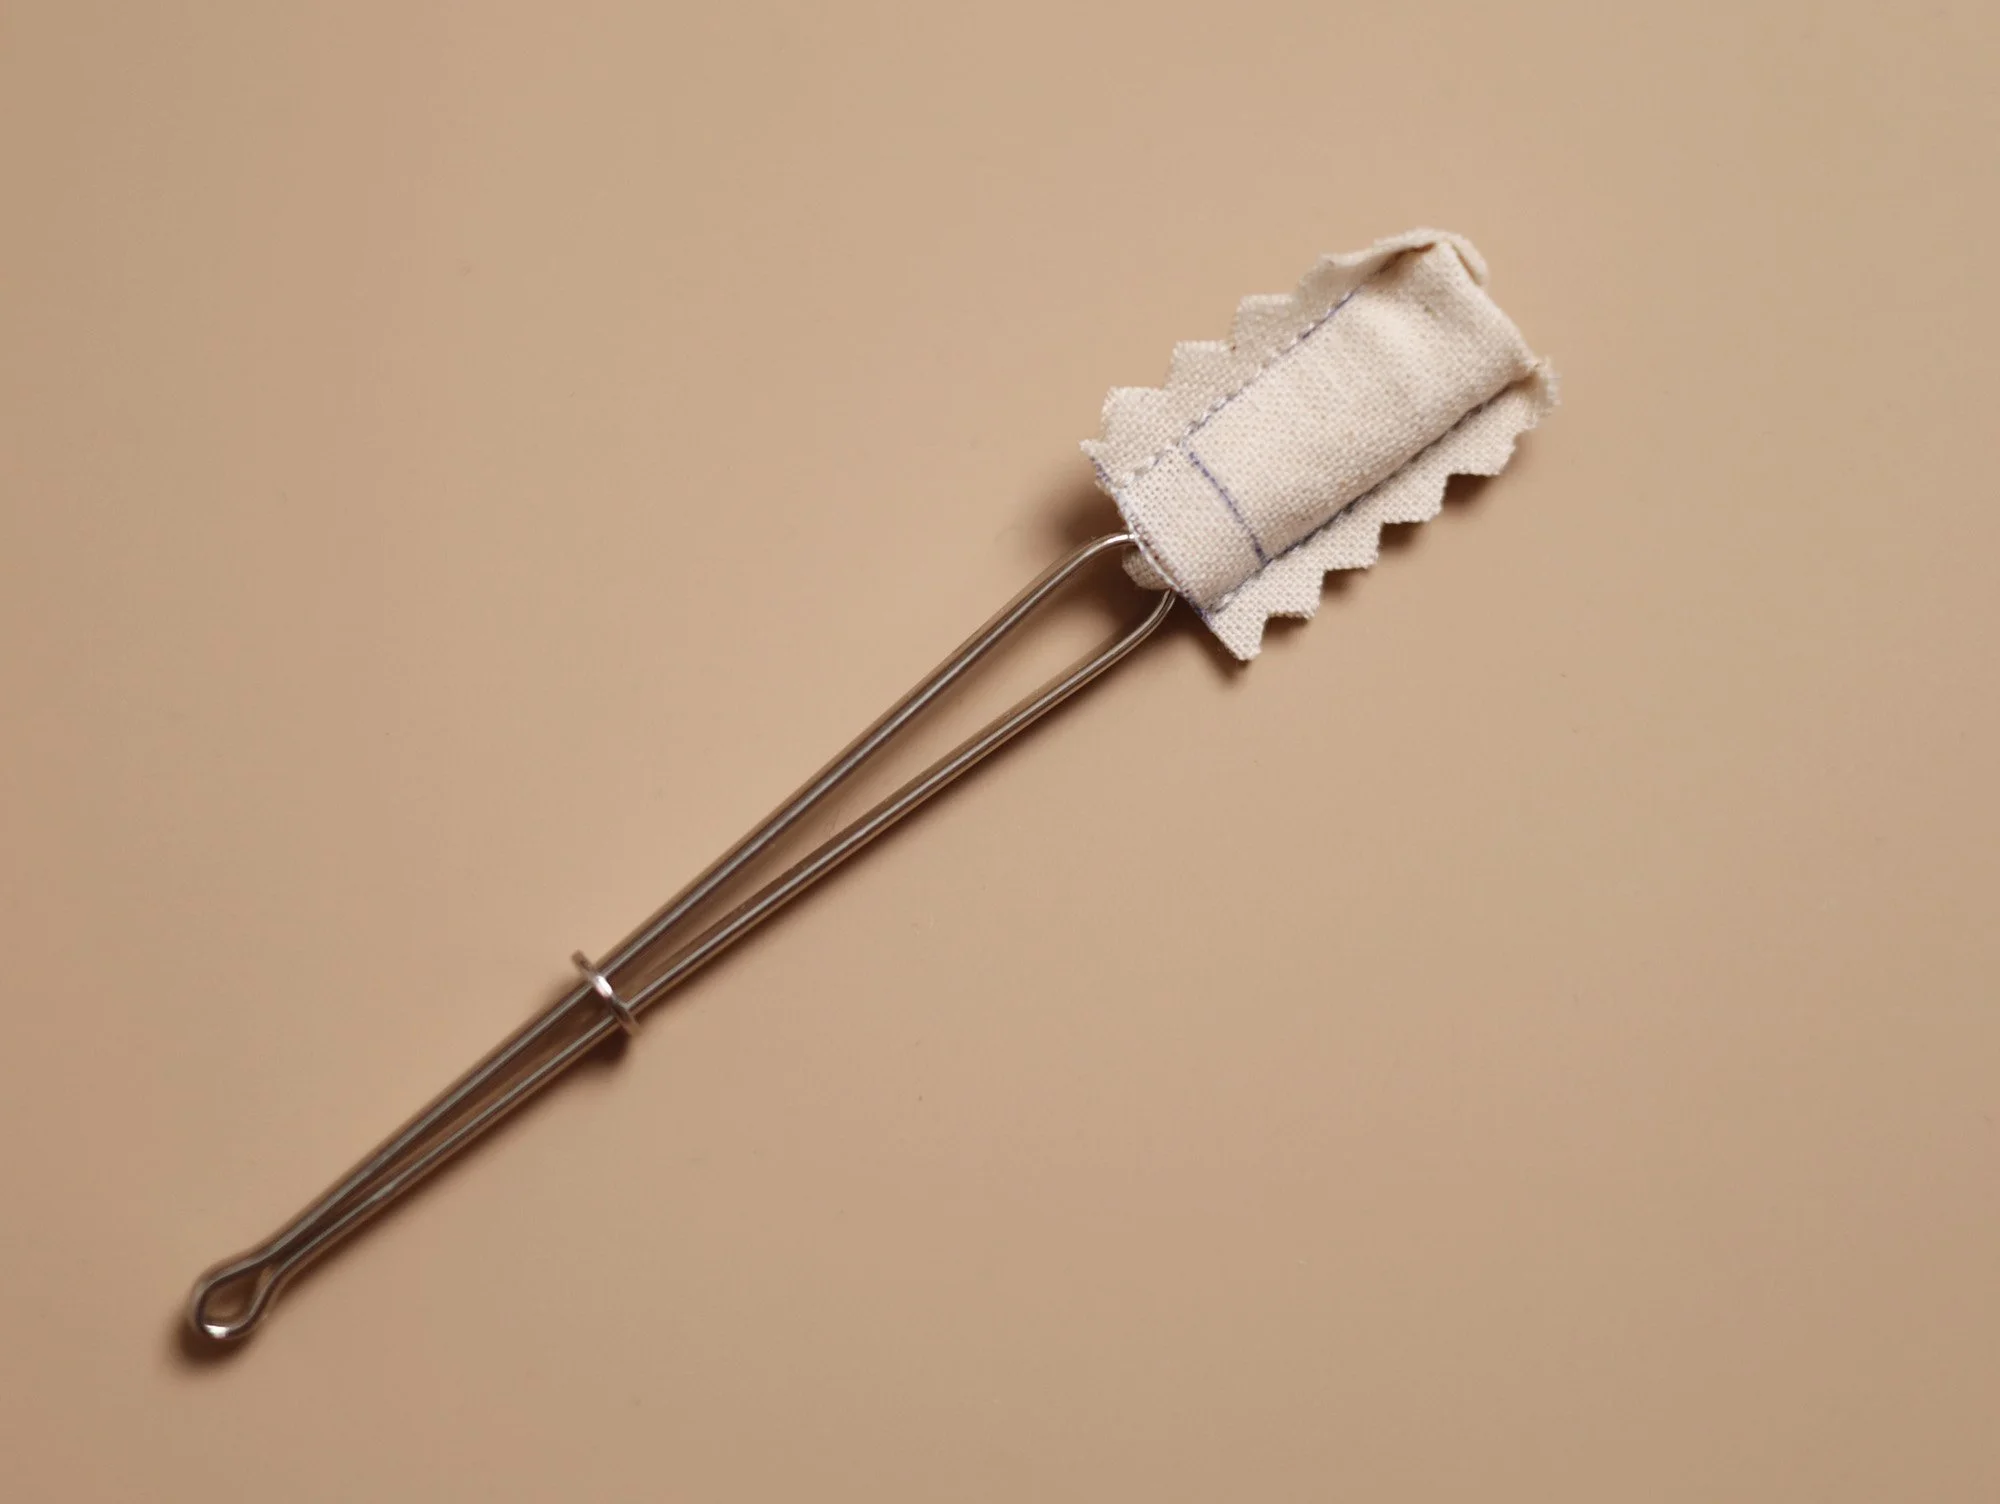
Turn the stem right side out from the top opening, and stuff it with toy filling until it is full and firm.
Insert the bodkin or tweezers into the stem, grip the base securely, then gradually push the stem body upward while gently pulling the base through.
When stuffing, push the filling into the stem, gently pinch the stem near the opening to keep the stuffing in place while pulling out the bodkin or tweezers, and repeat until the stem is fully filled.
2. Mushroom Cap
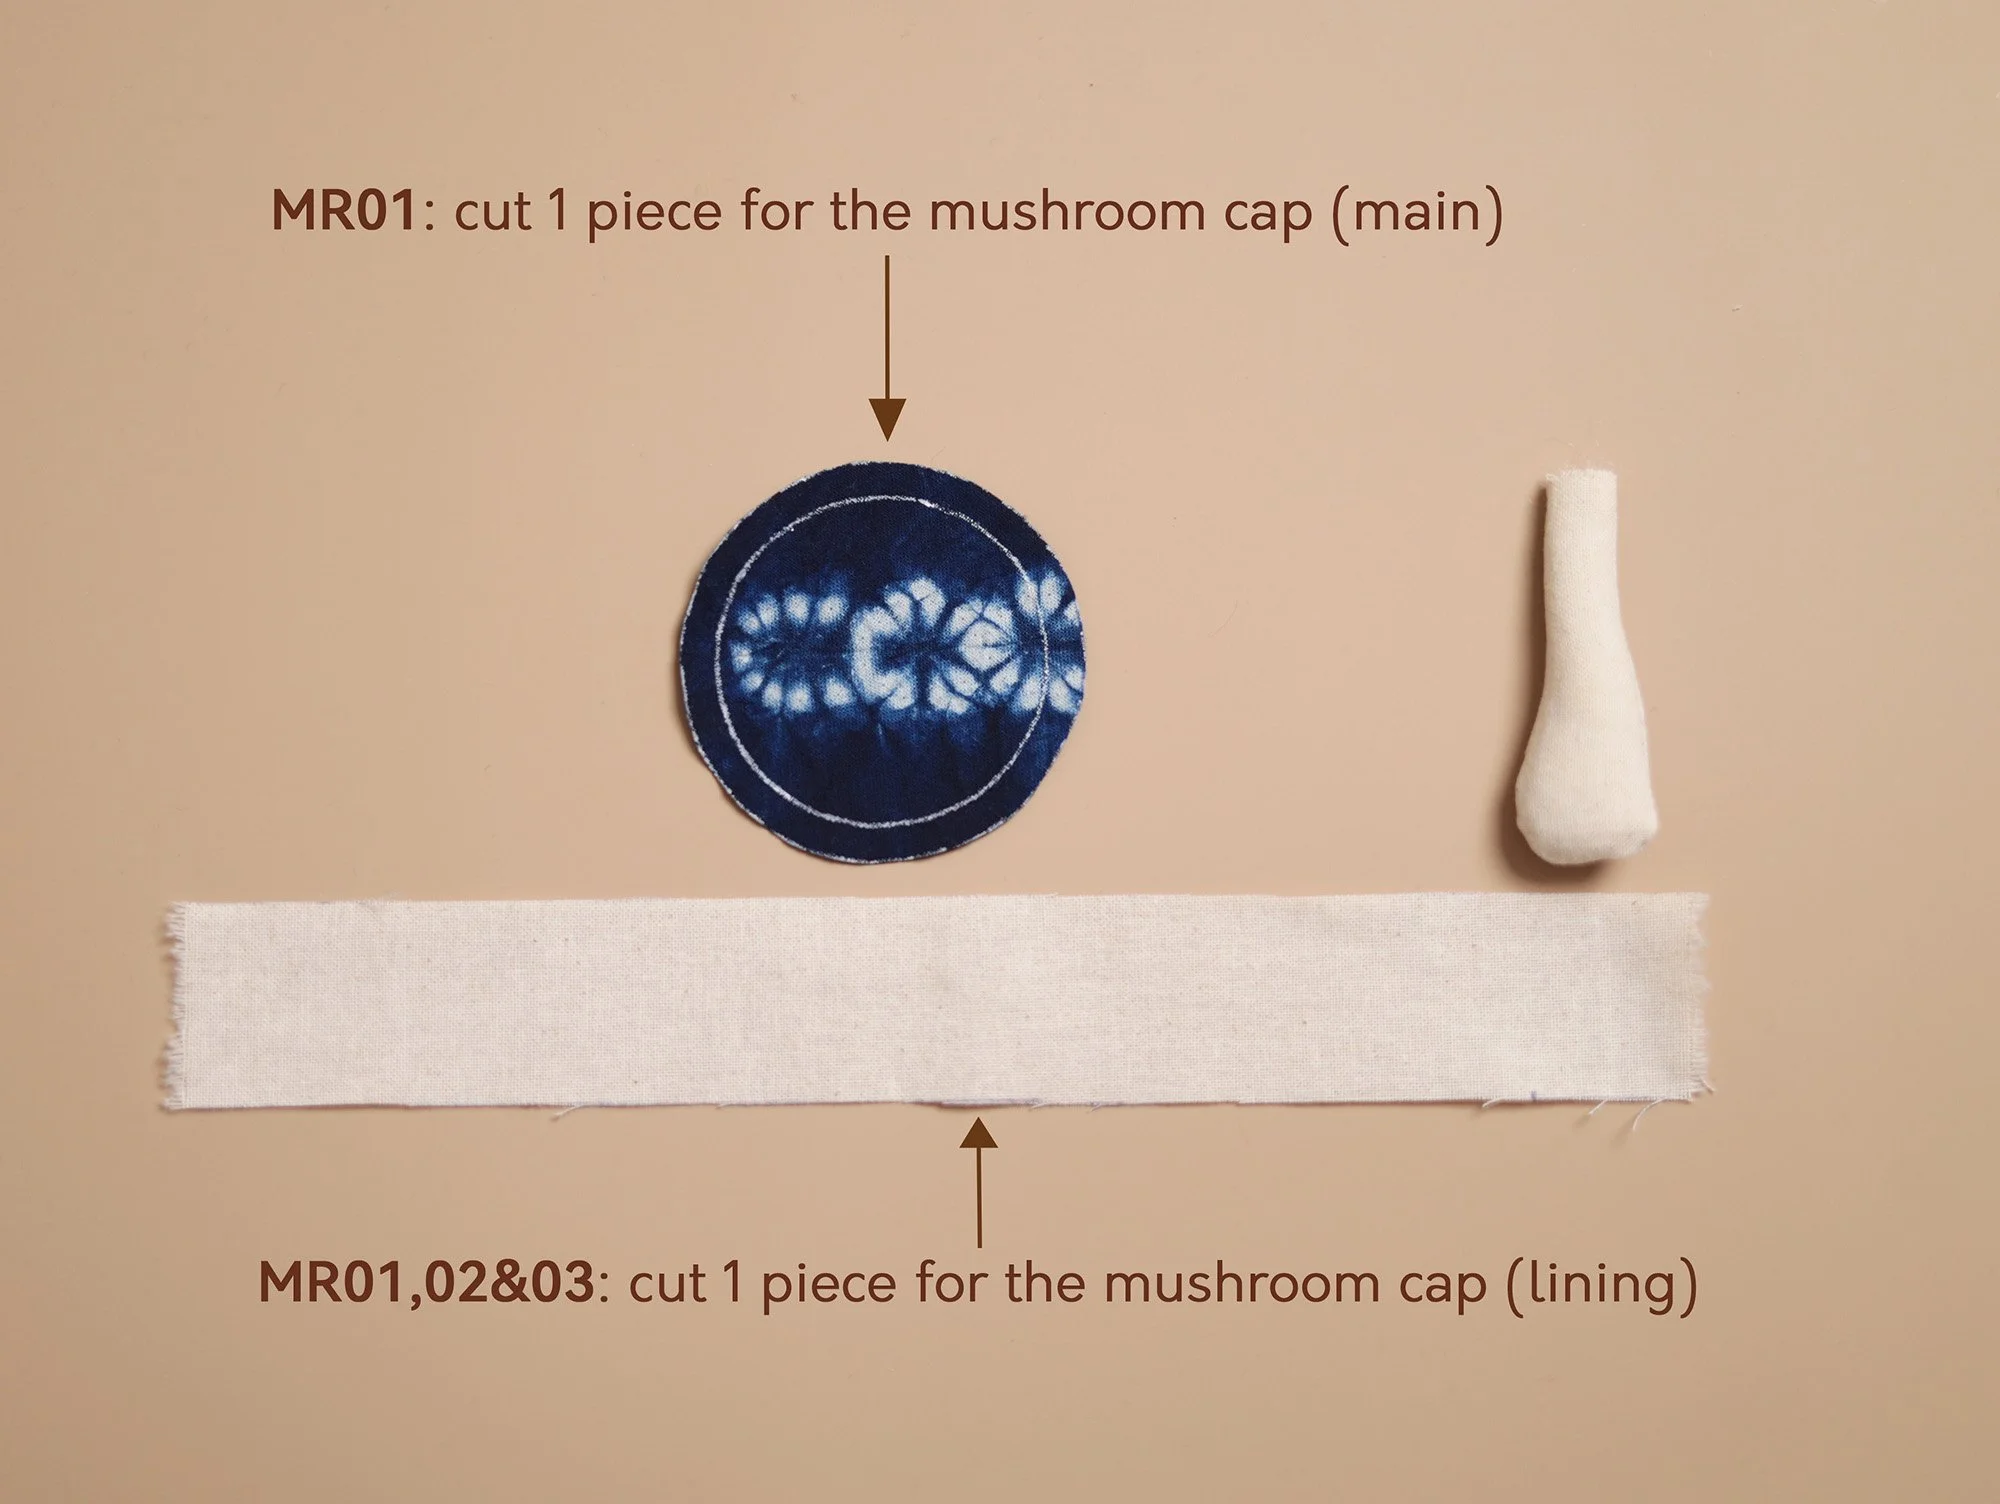
For fabric mushrooms without embroidery, trace both the seam allowance (SA) and stitching outlines of the mushroom cap onto the wrong side of your main fabric using the stencil or printed pattern:
For MR01, trace and cut one piece.
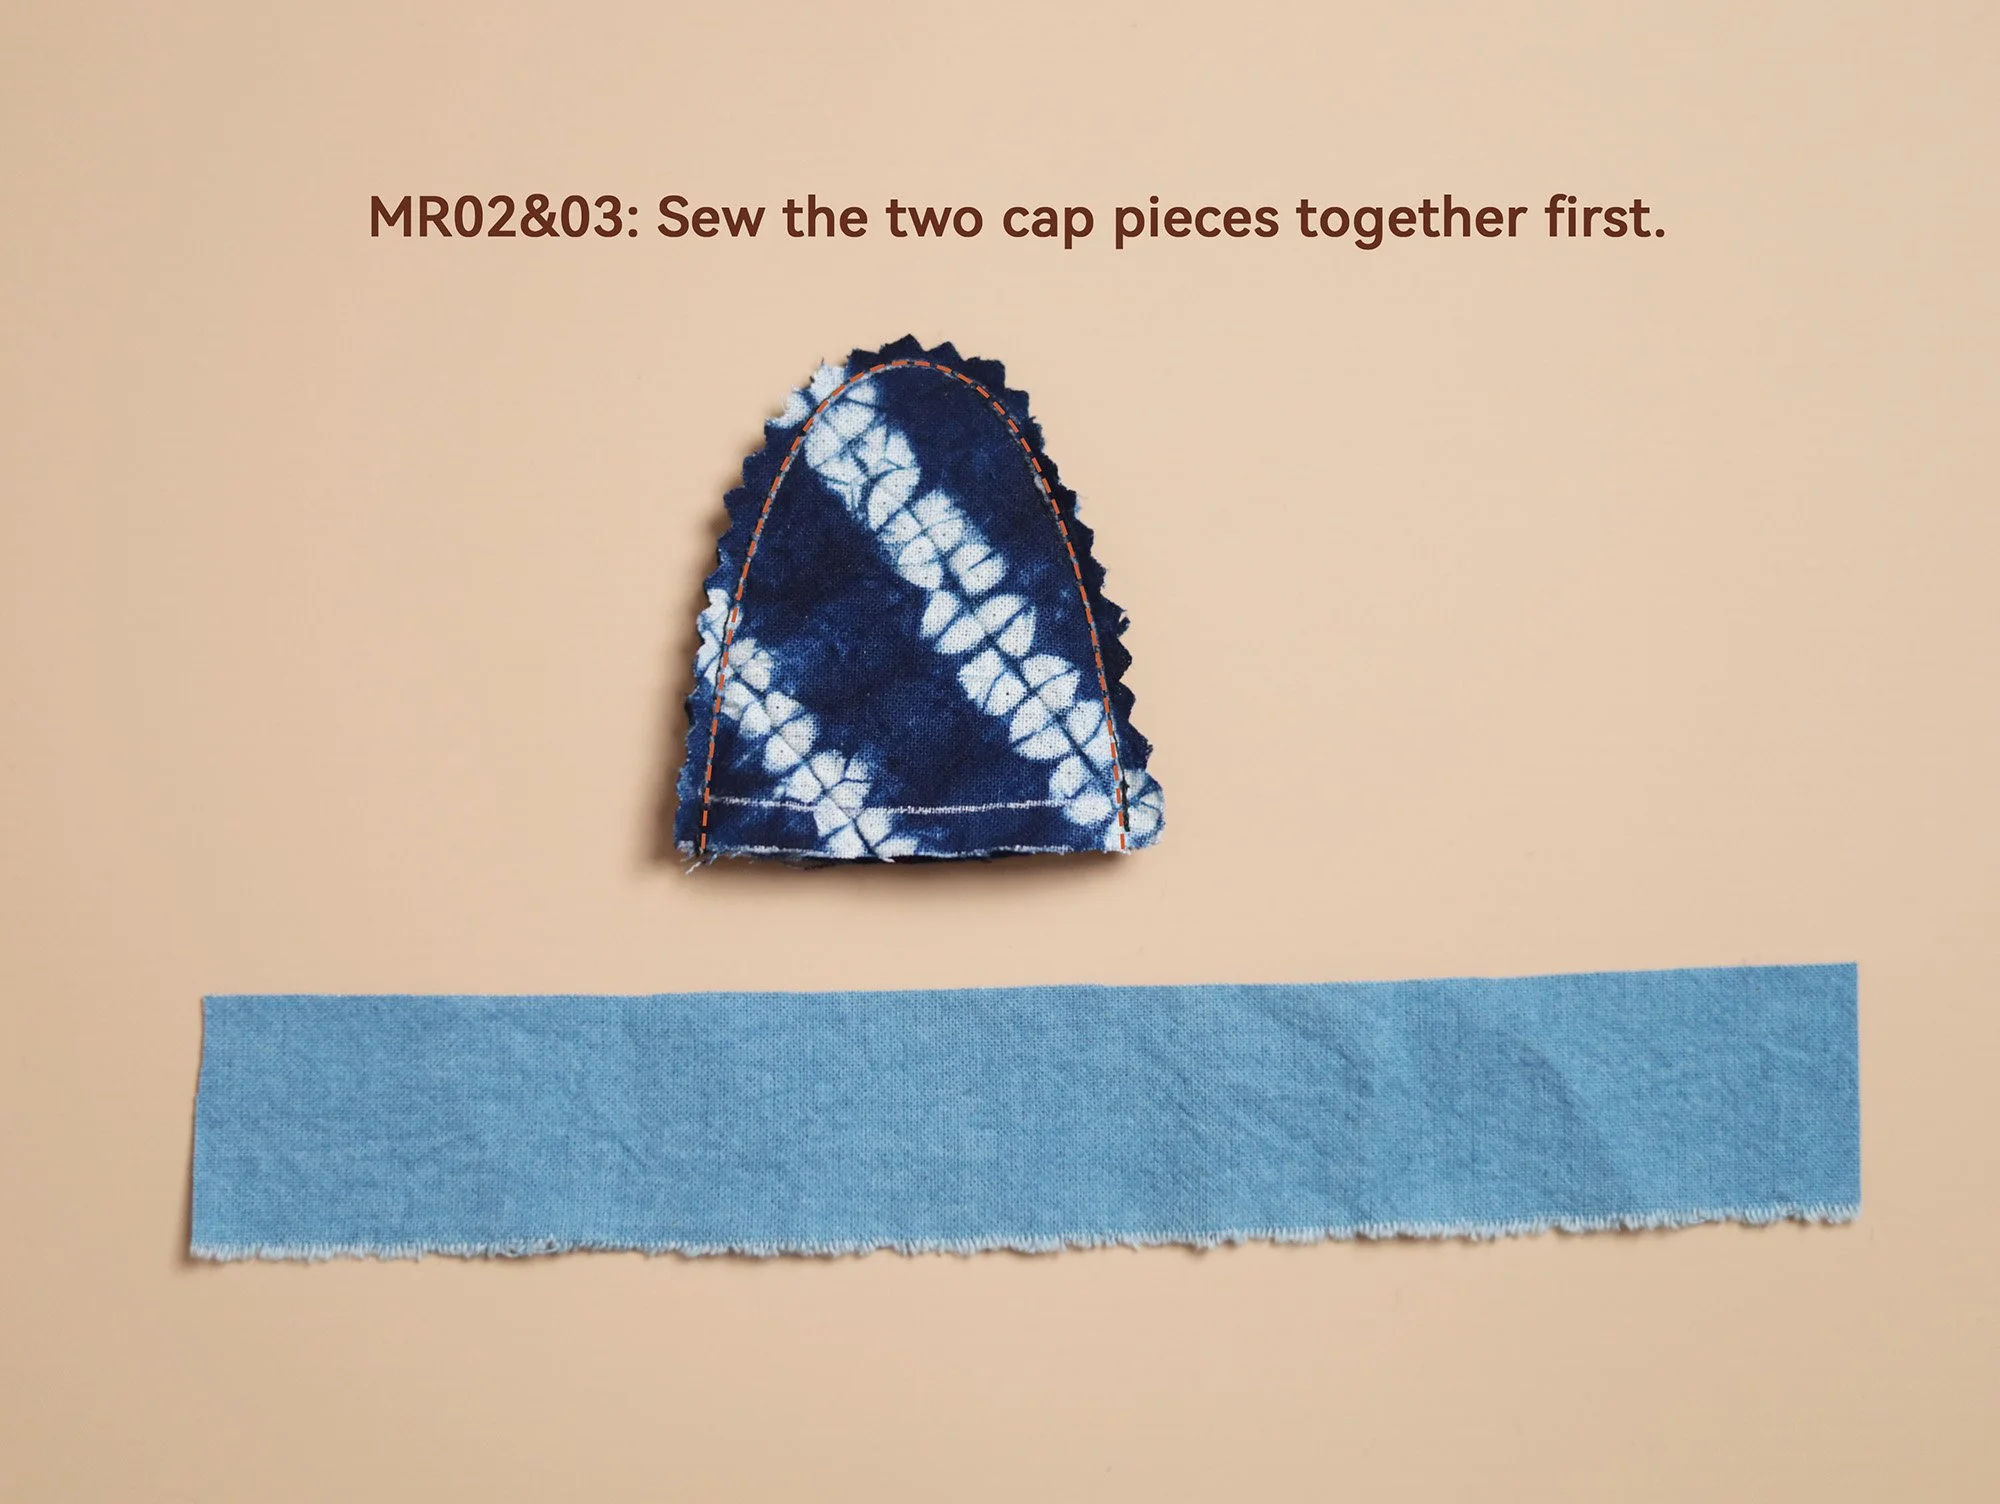
For MR02 & MR03, trace and cut two pieces in the same way. Place them right sides together, then sew along the outline, leaving the bottom edge open. Trim the SA using pinking shears or clip along the curves, being careful not to cut into the stitching line. Press open the SA with your nails, then turn the piece right side out.
For mushrooms with embroidery on the cap, first trace the embroidery pattern and sewing outlines (including seam allowance) onto the right side of your main fabric. Complete the stitching, then cut out the piece(s) as described above. Finally, transfer the stitching outlines to the wrong side. (We used stencil T12-S01 for the Sashiko embroidery, stitching one straight stitch for each petal. No embroidery hoop was used.)
For the lining of the cap, cut one strip of the lining fabric using the measurement below (The length can be slightly longer for MR01 and shorter for MR02 and MR03. If you’re unsure, it’s better to make it longer.):
Size S: 3 × 20cm
Size M: 4 × 25cm
Size L: 5 × 30cm
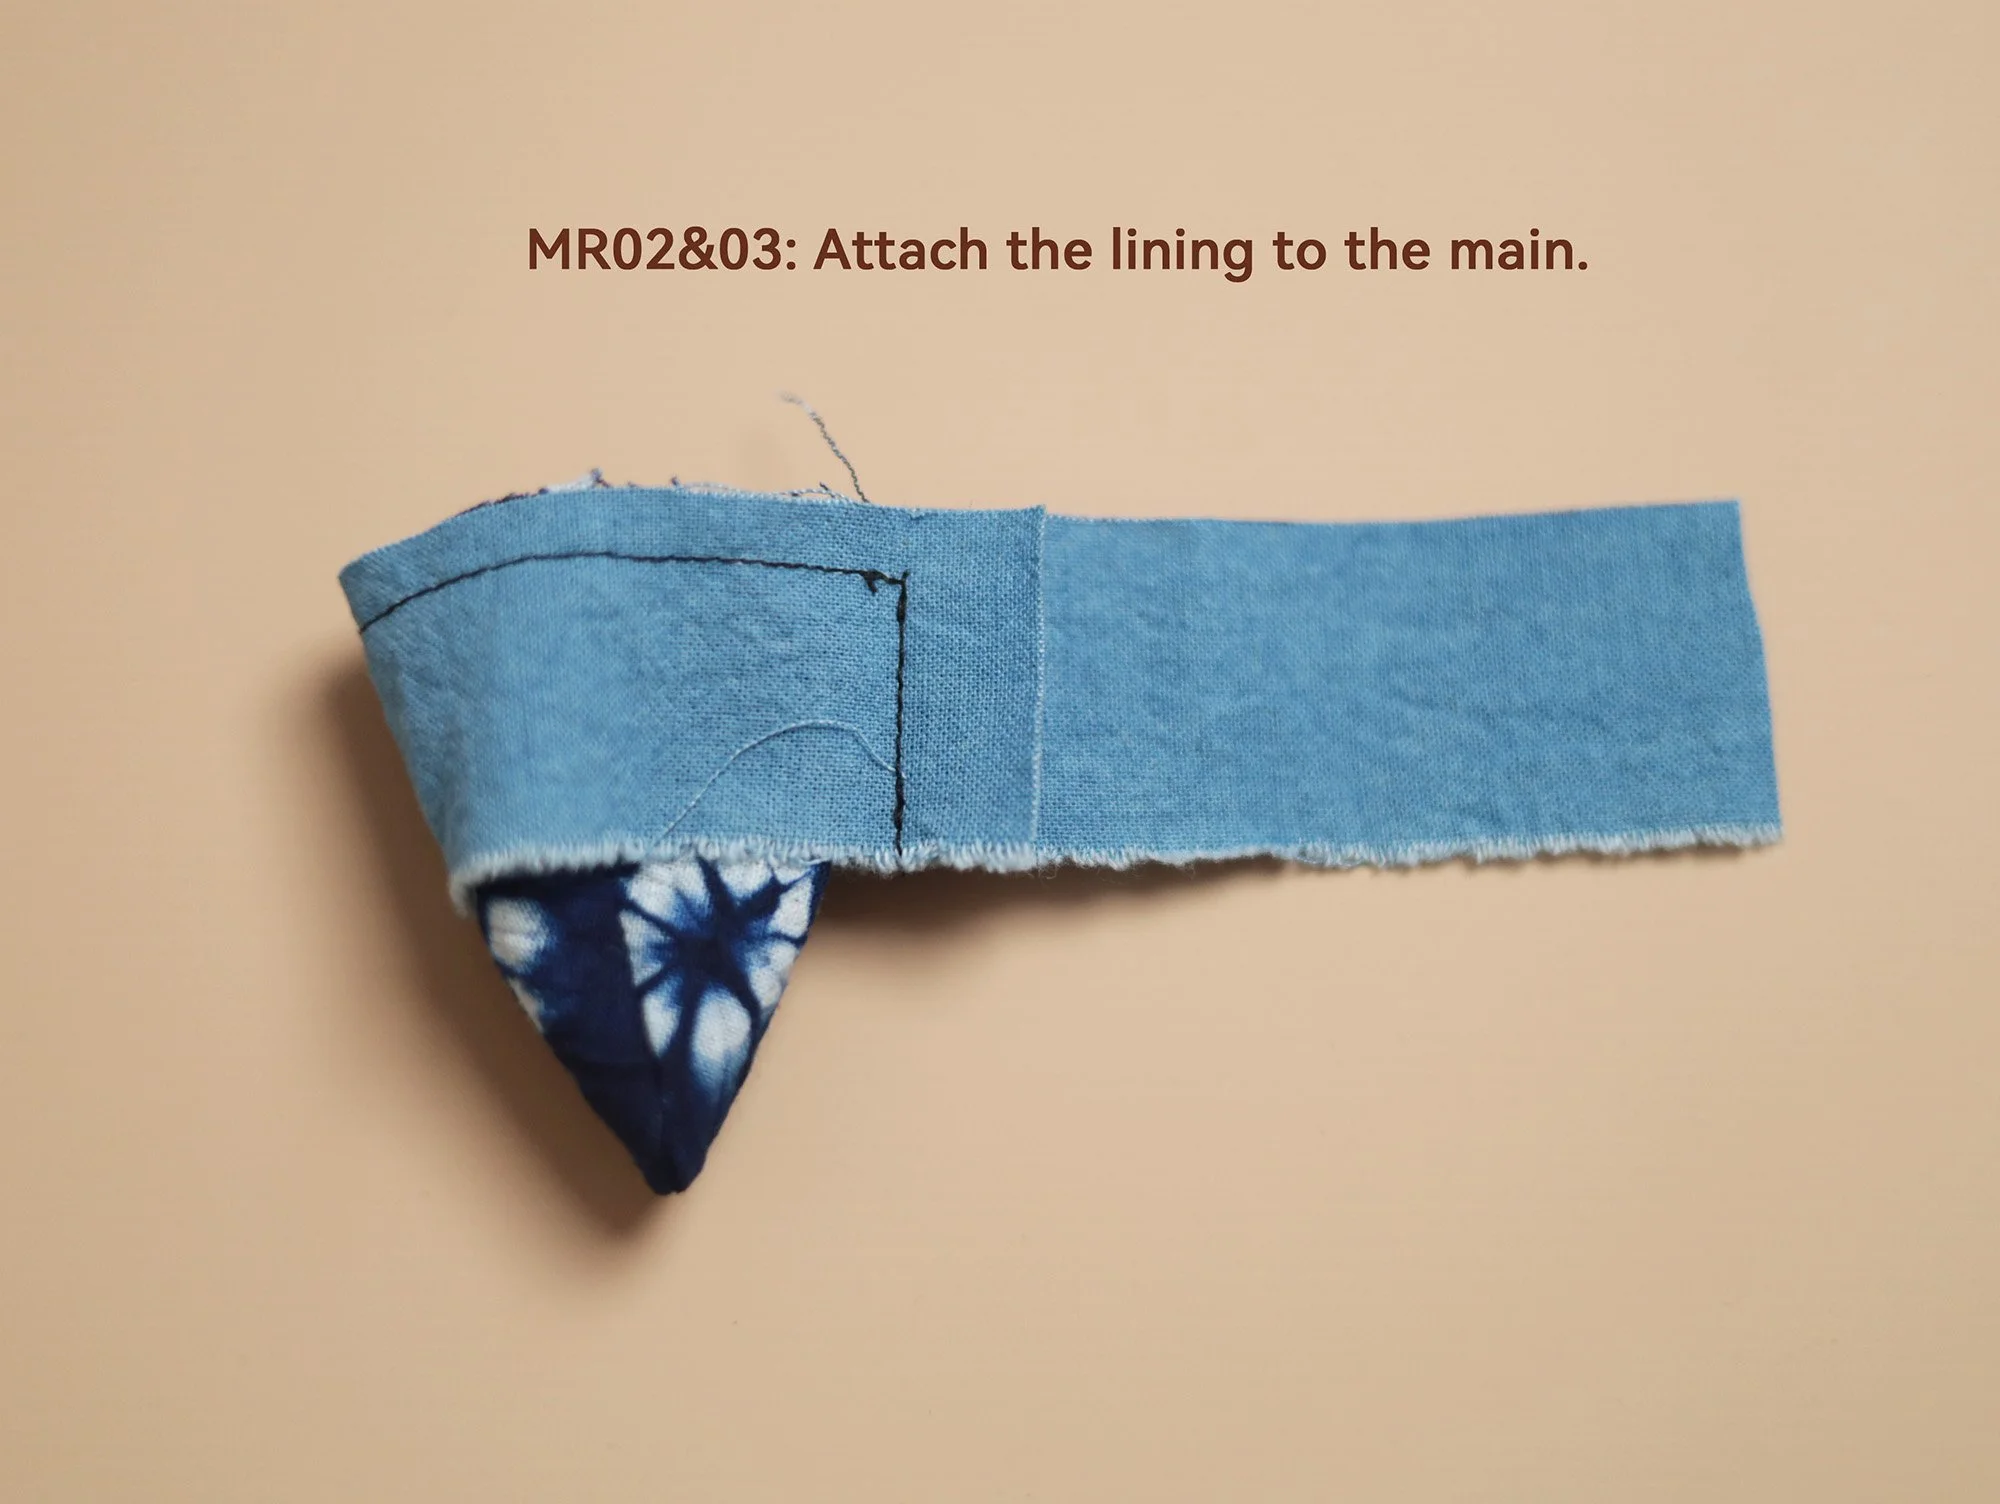
Place the main and lining fabric for the mushroom cap together with their right sides facing. Align one long side of the strip with the edge of the main fabric piece.
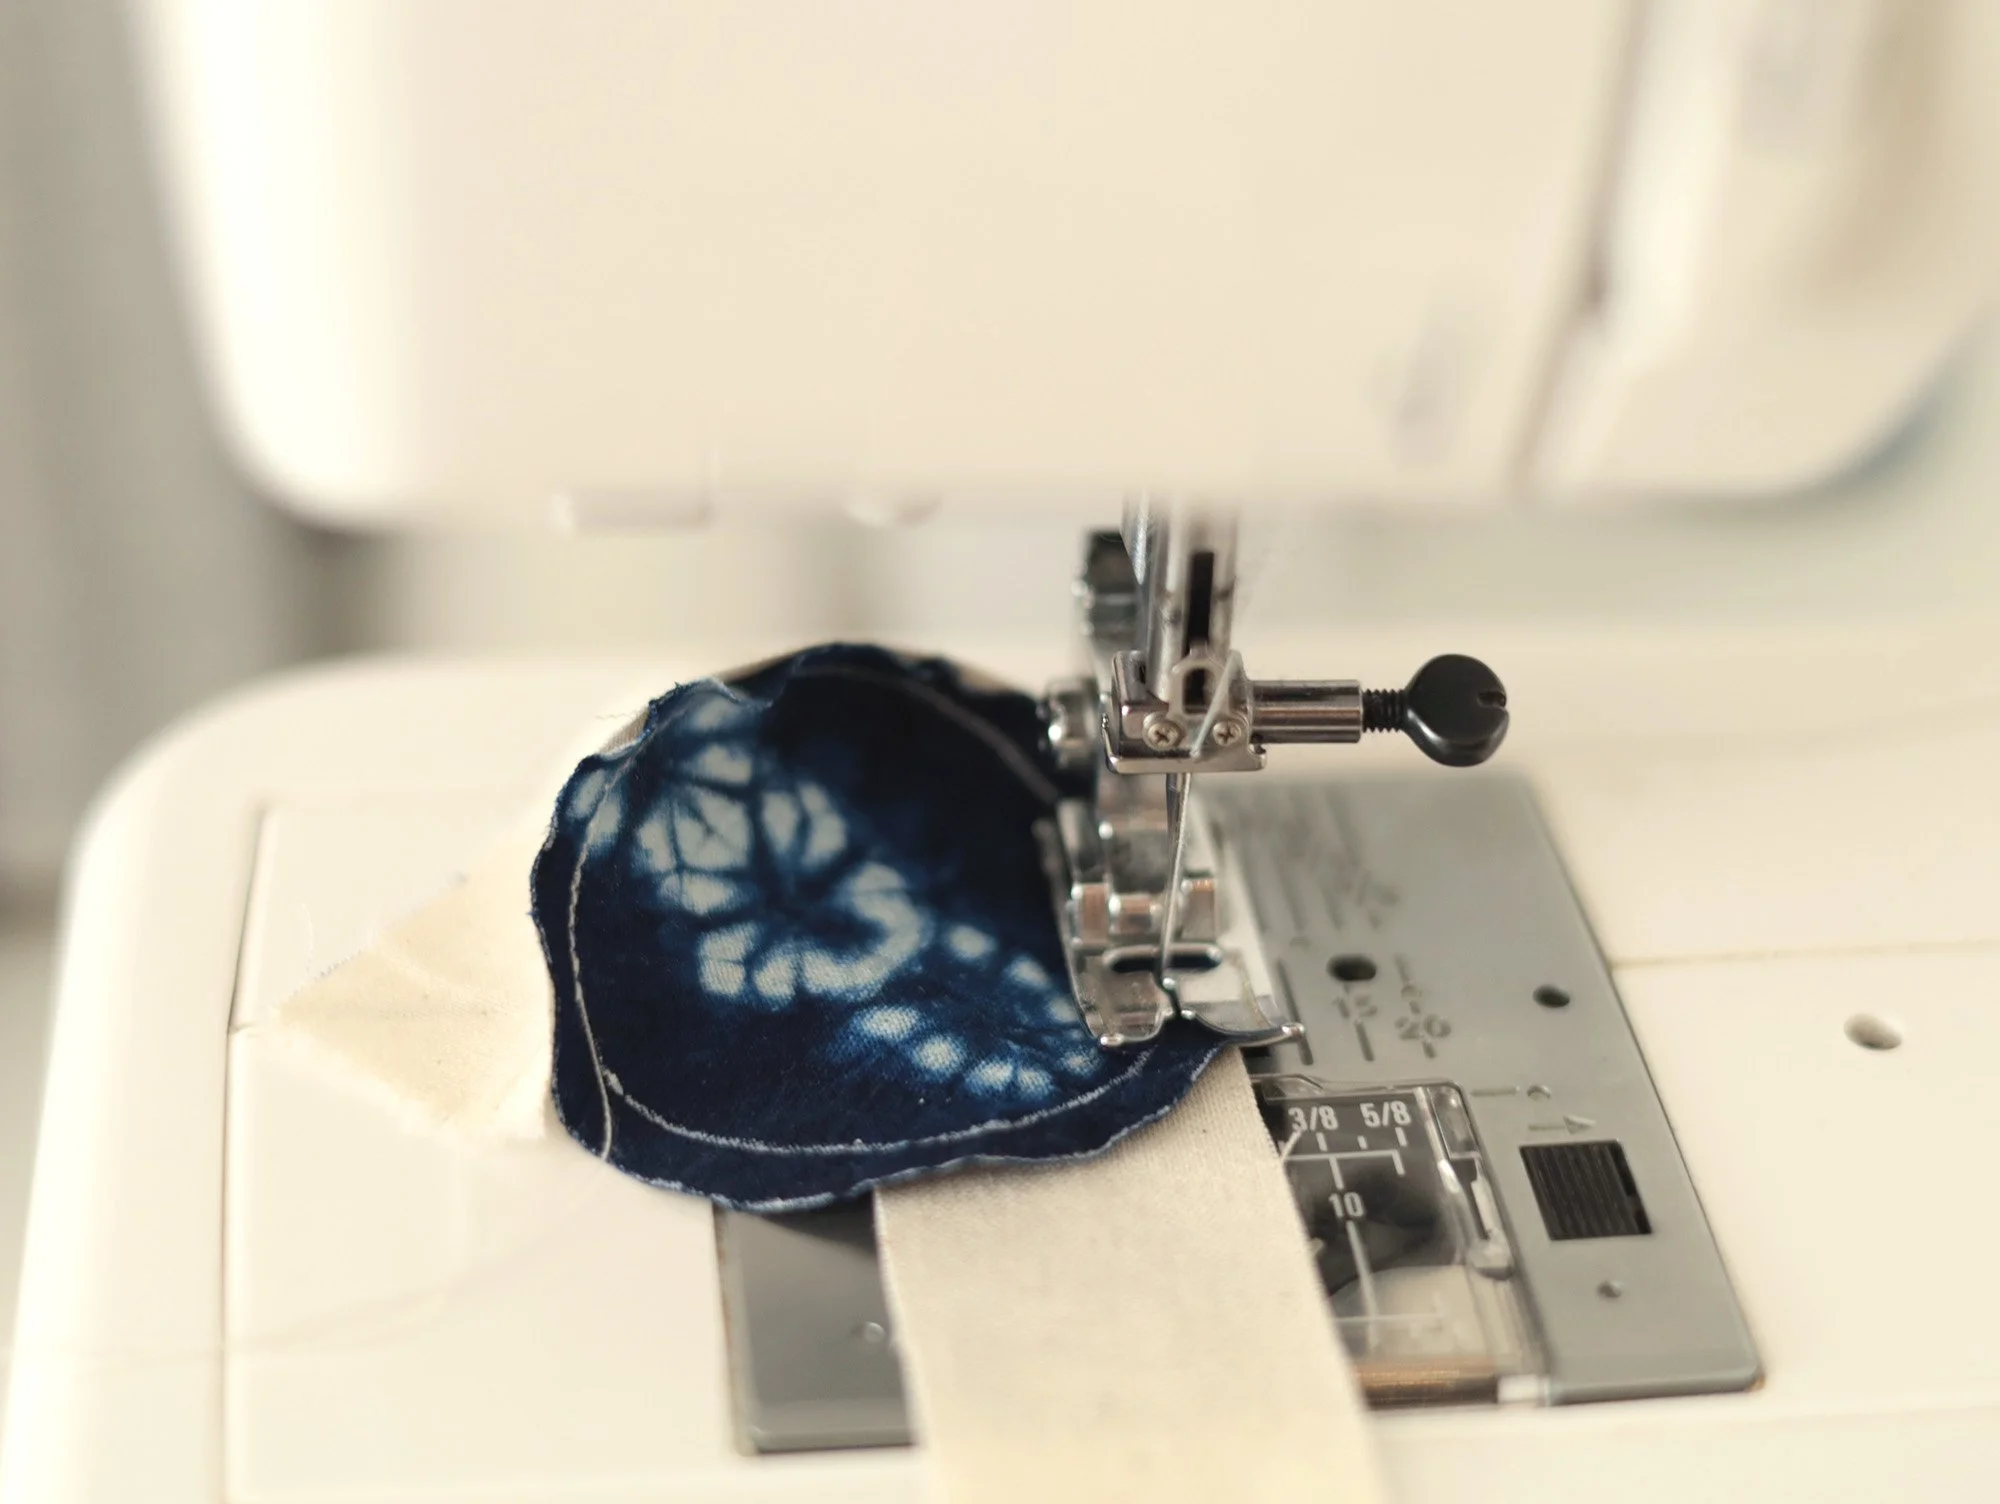
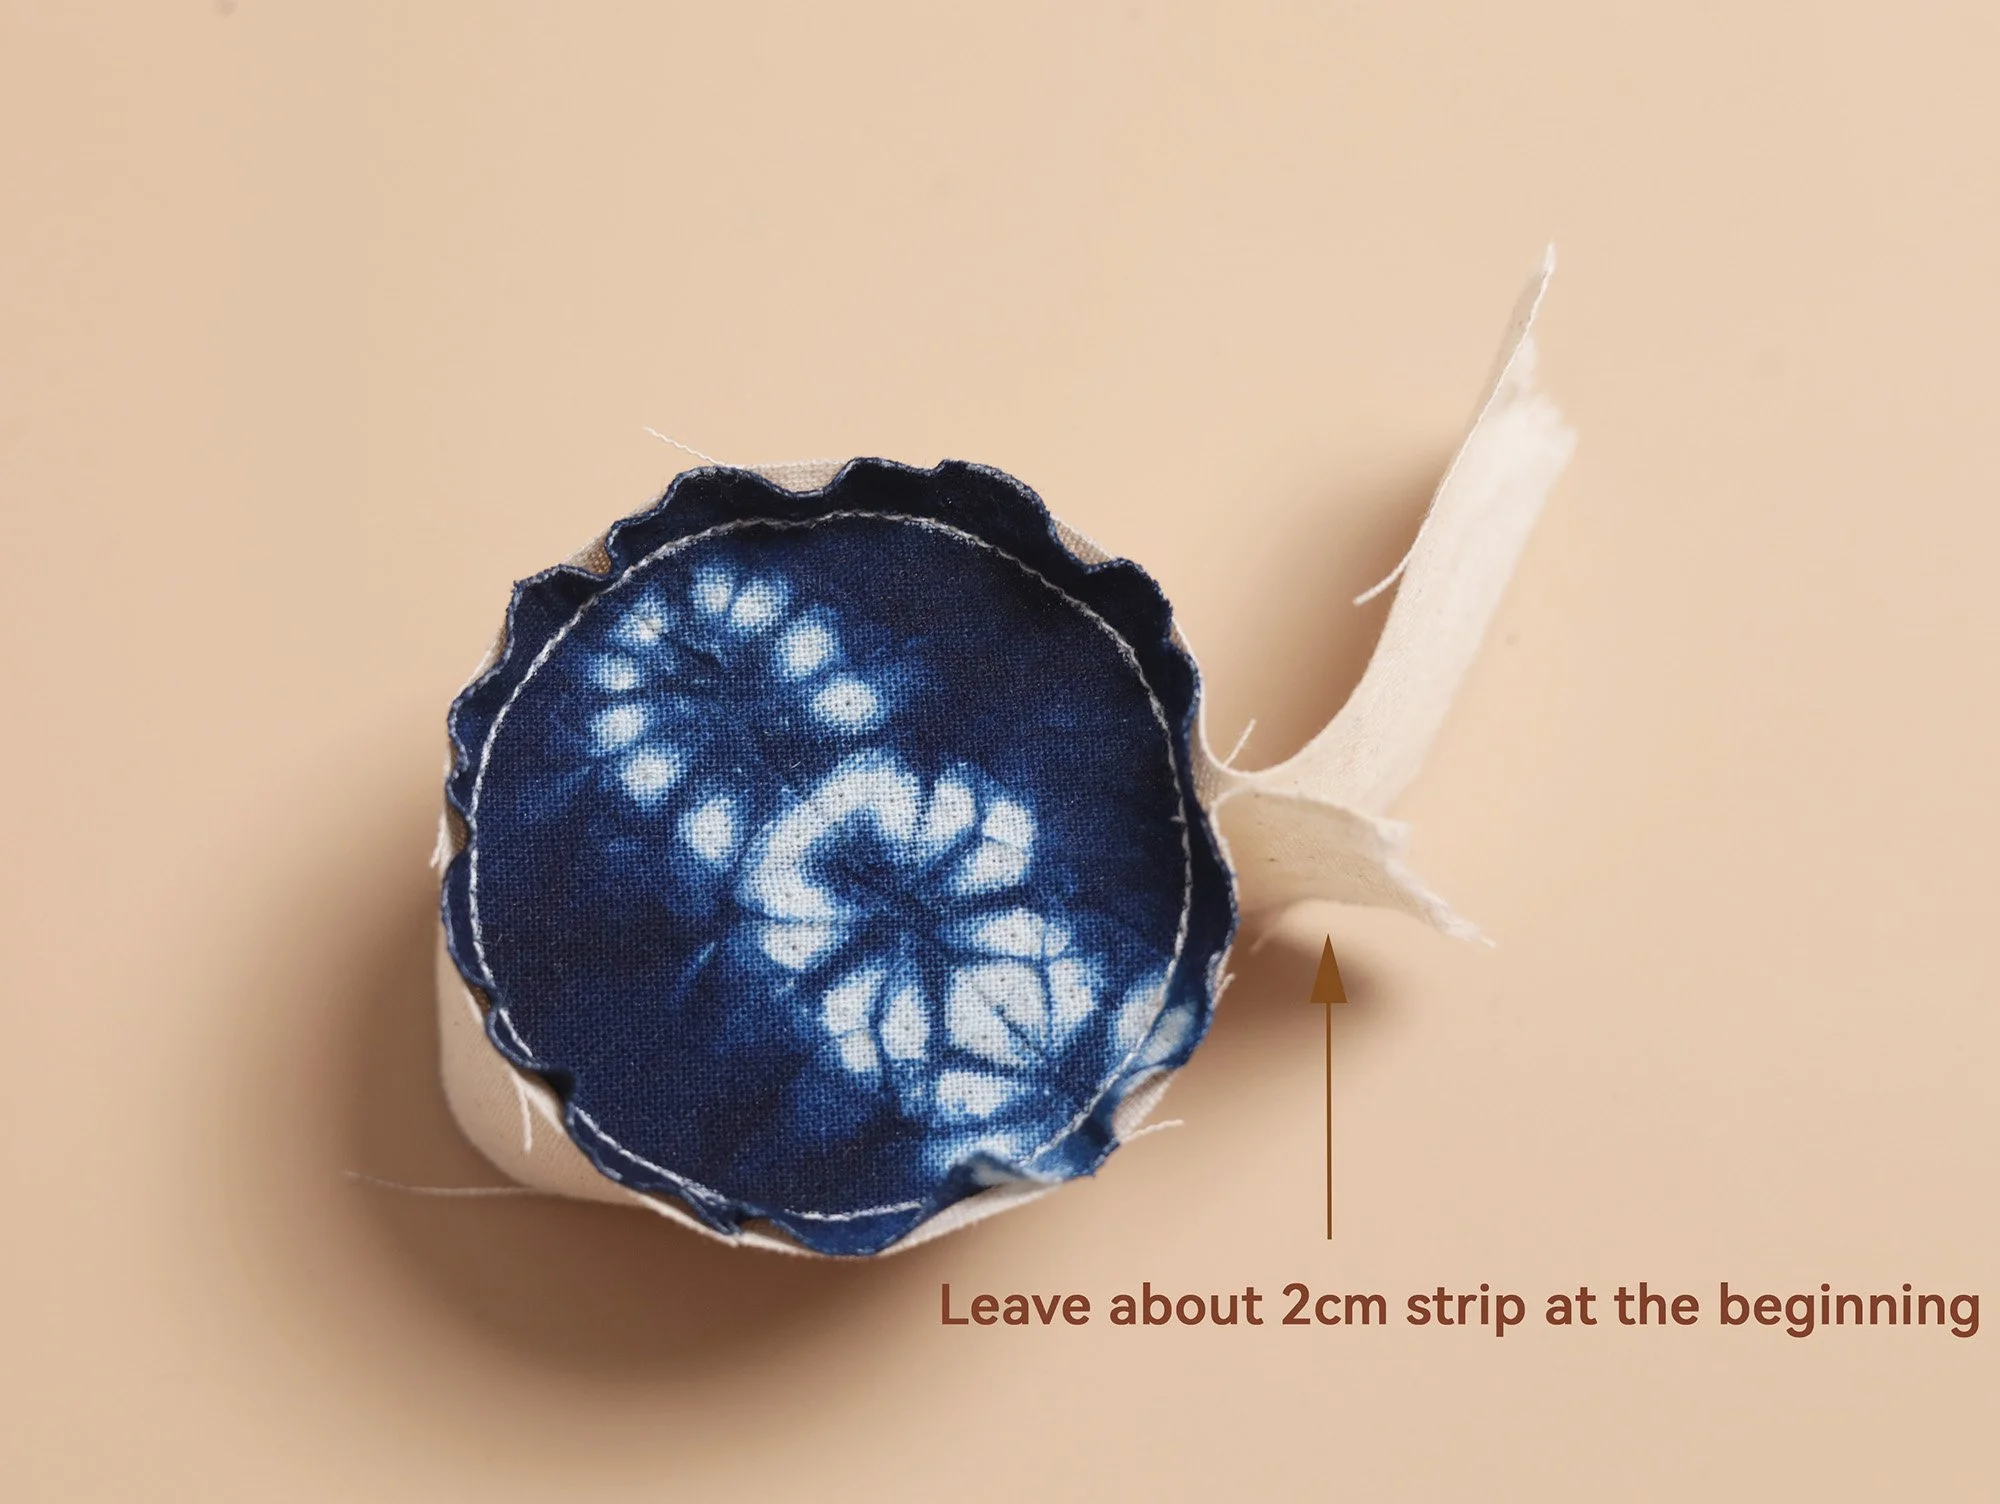
Leaving about 2 cm unsewn at the starting end of the strip, sew the main fabric and lining together around the edge of the mushroom cap.
For machine sewing, place the main fabric piece on top of the lining piece, and realign the raw edges every few stitches.
For hand sewing, use small backstitches.
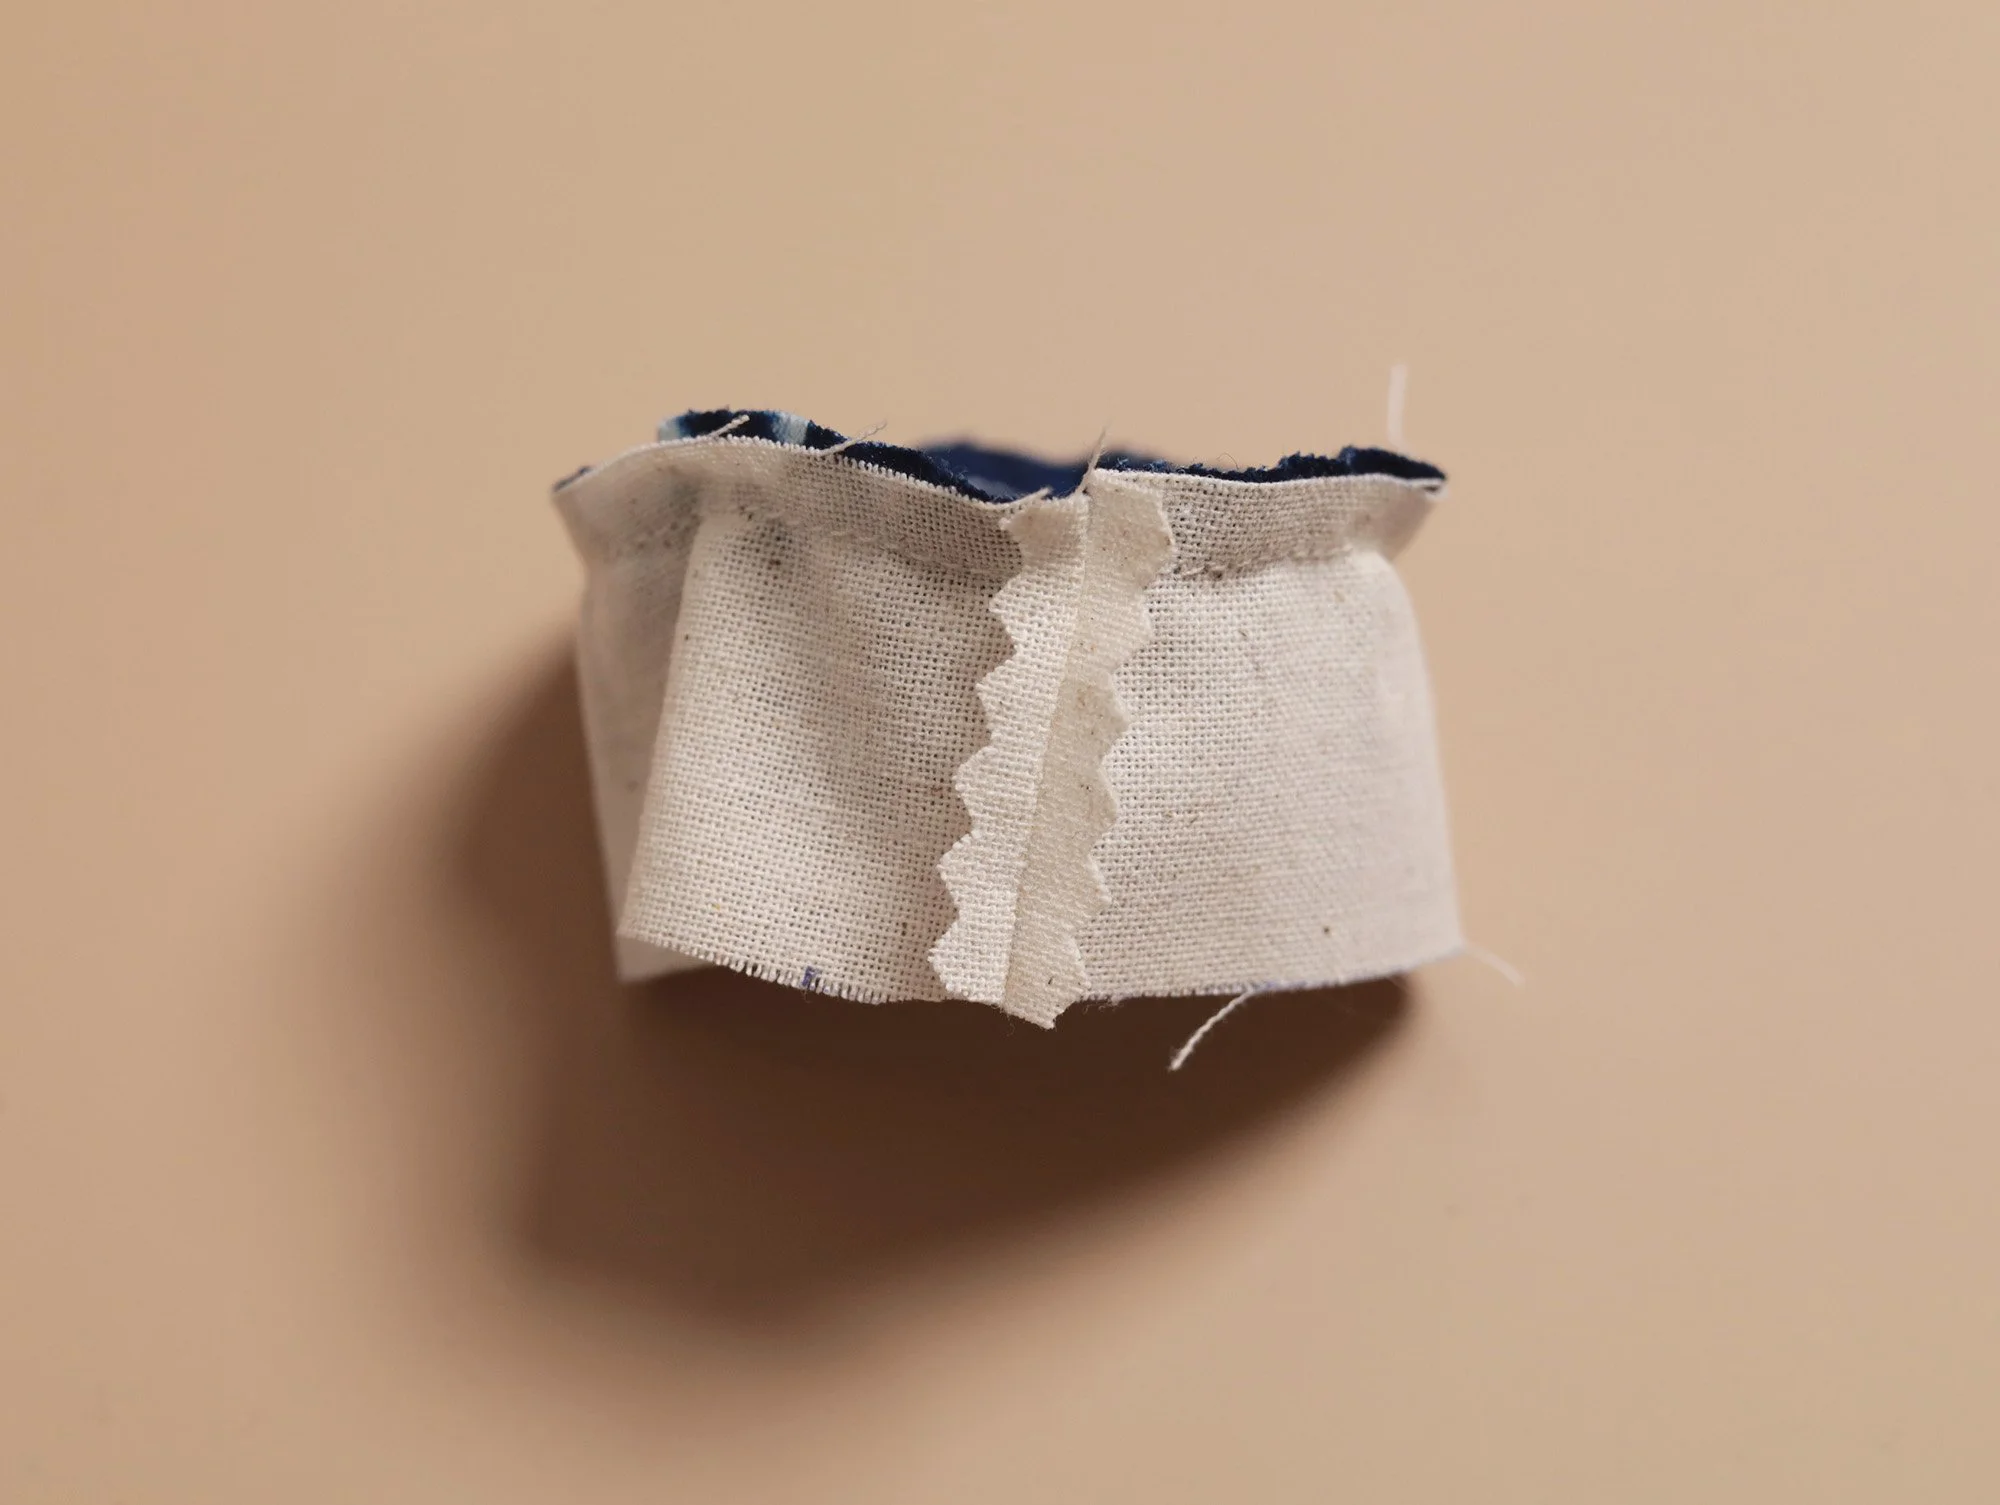
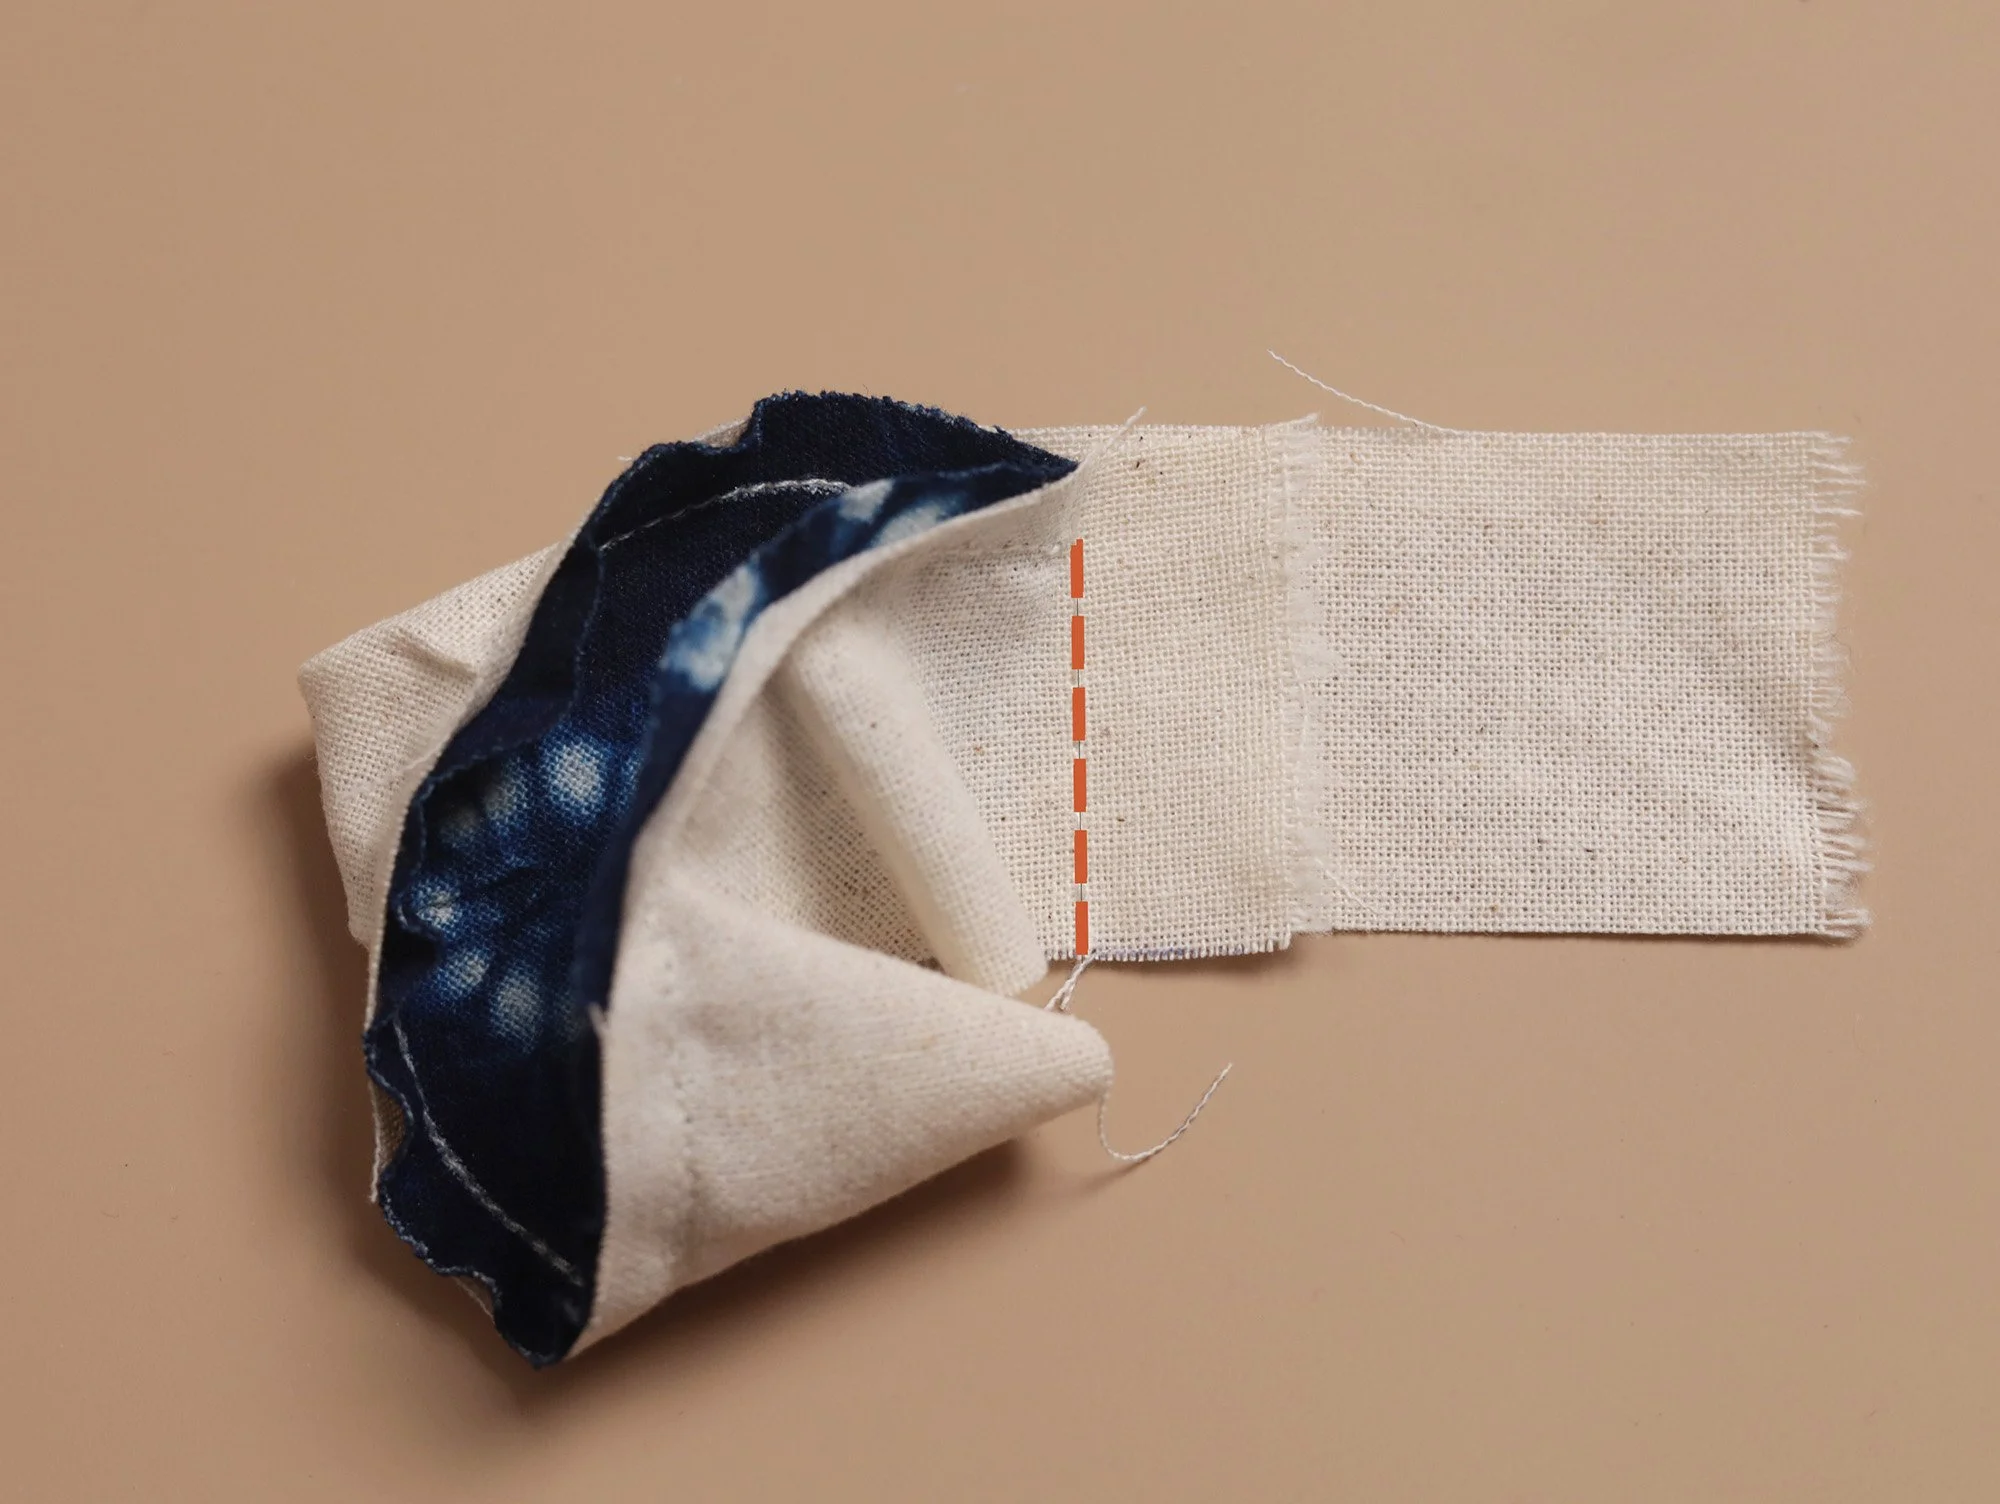
Stitch all the way around the circle and stop exactly where you started, without overlapping the stitches. Place both ends of the strip together with their right sides facing, and sew them together at the starting/finishing point on the cap edge (see the third photo below).
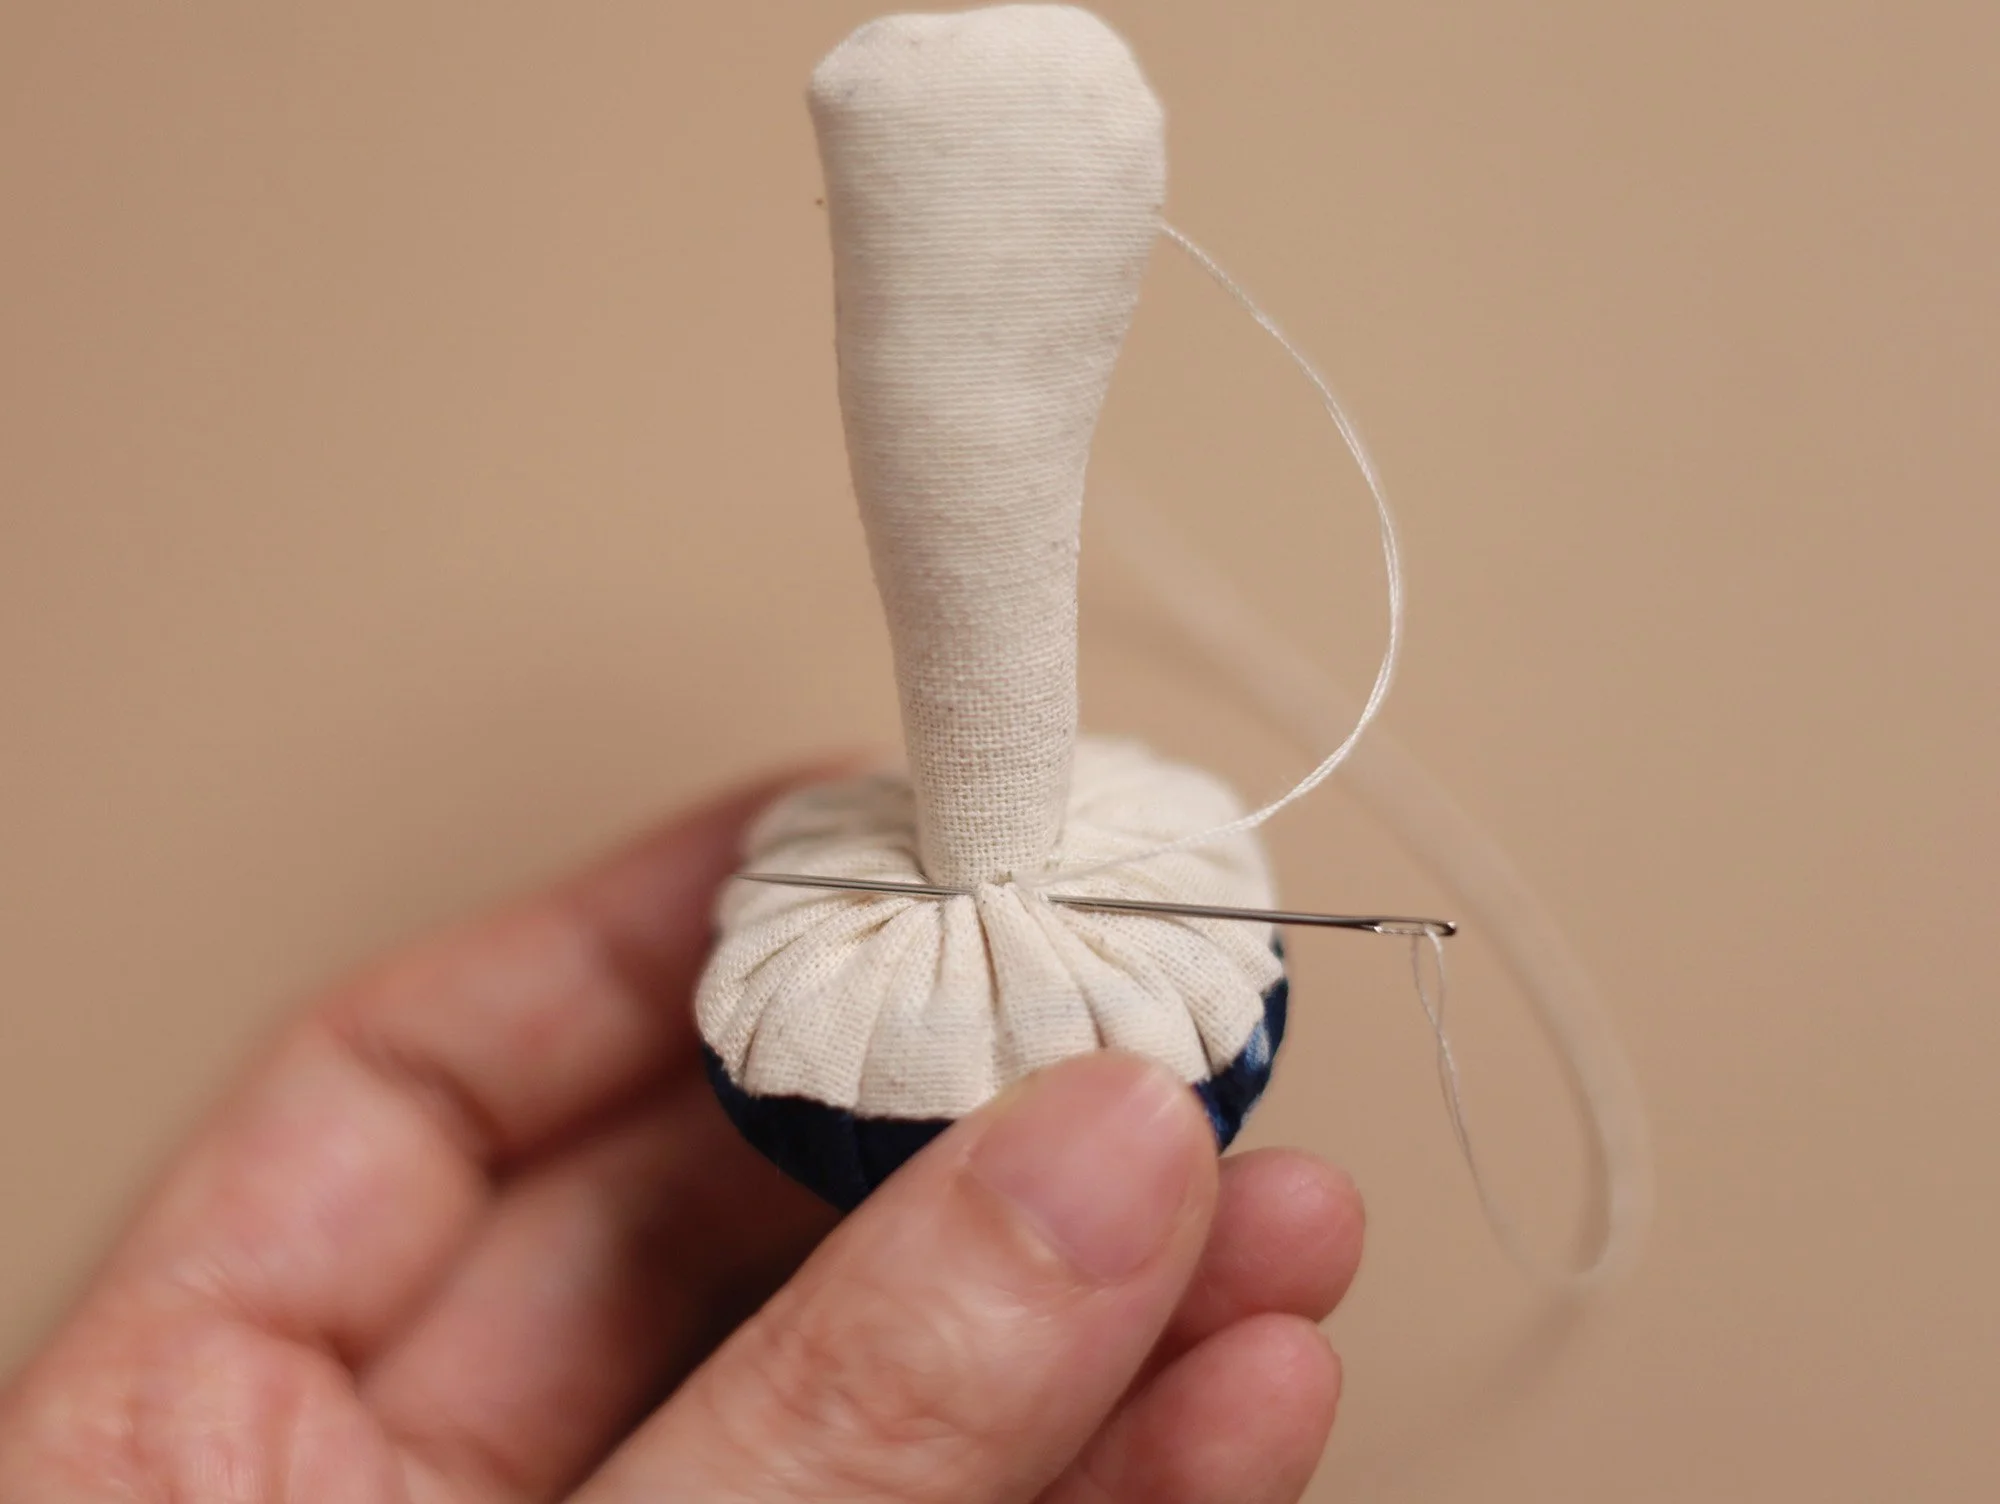
Insert the top of the mushroom stem into the opening and secure it in place using an invisible (ladder) stitch — take one small stitch on the stem, then one stitch on the cap, and repeat all the way around. (Note: For MR02 and MR03, align the side seams of the stem with those of the cap..)
Trim off the excess fabric, leaving a 3–5 mm seam allowance. Press open the SA with your nails, then turn the piece right side out.
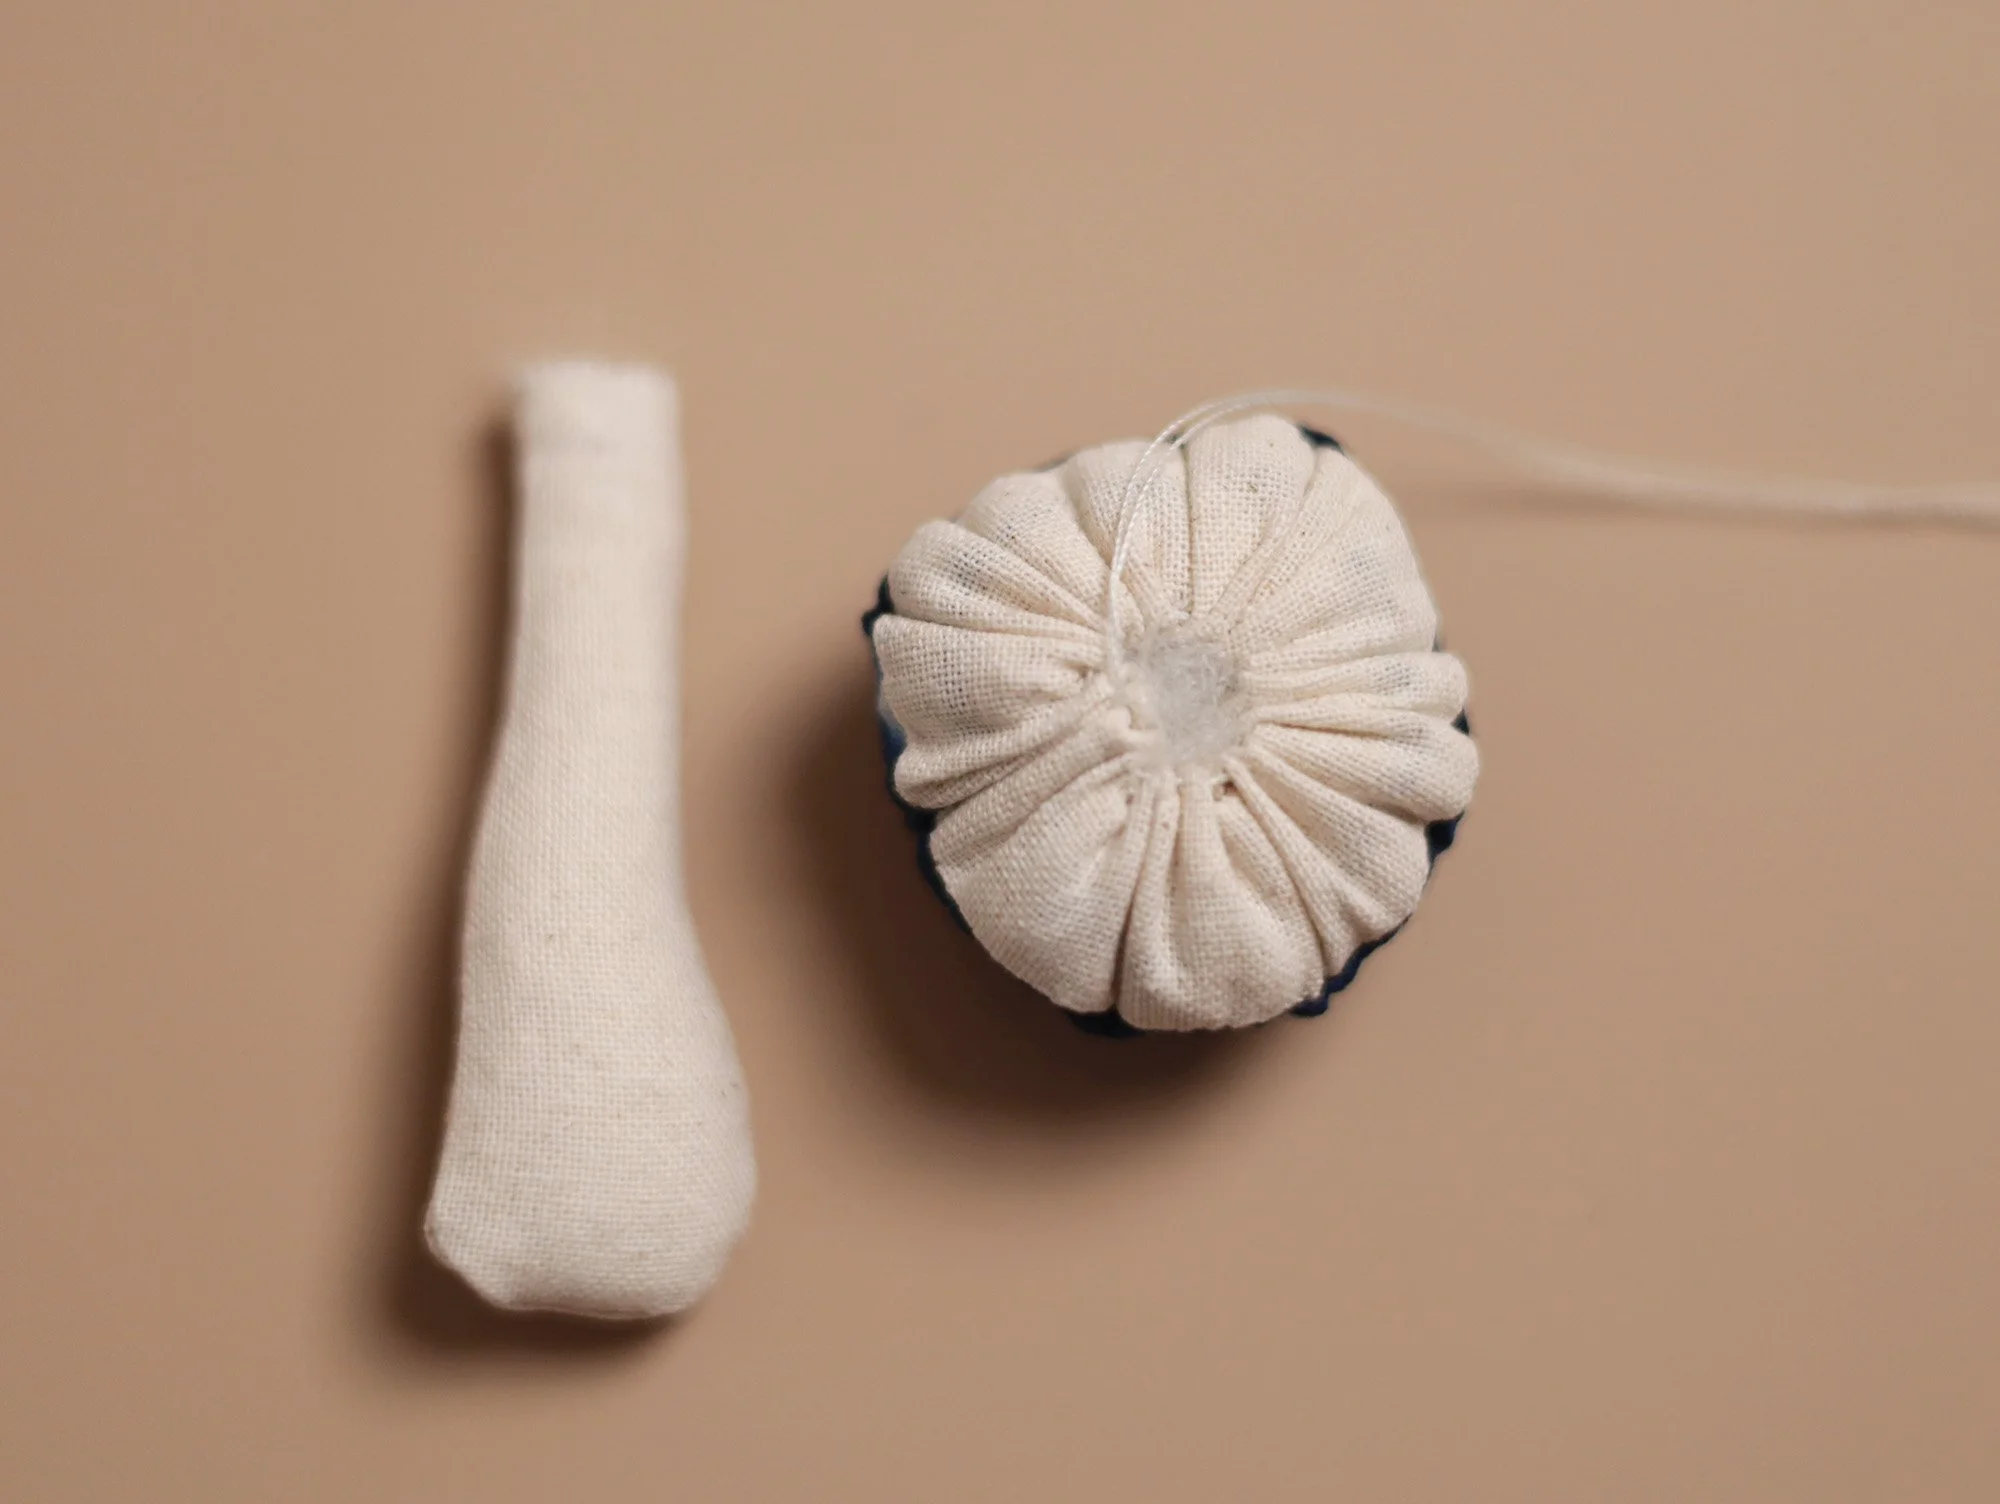
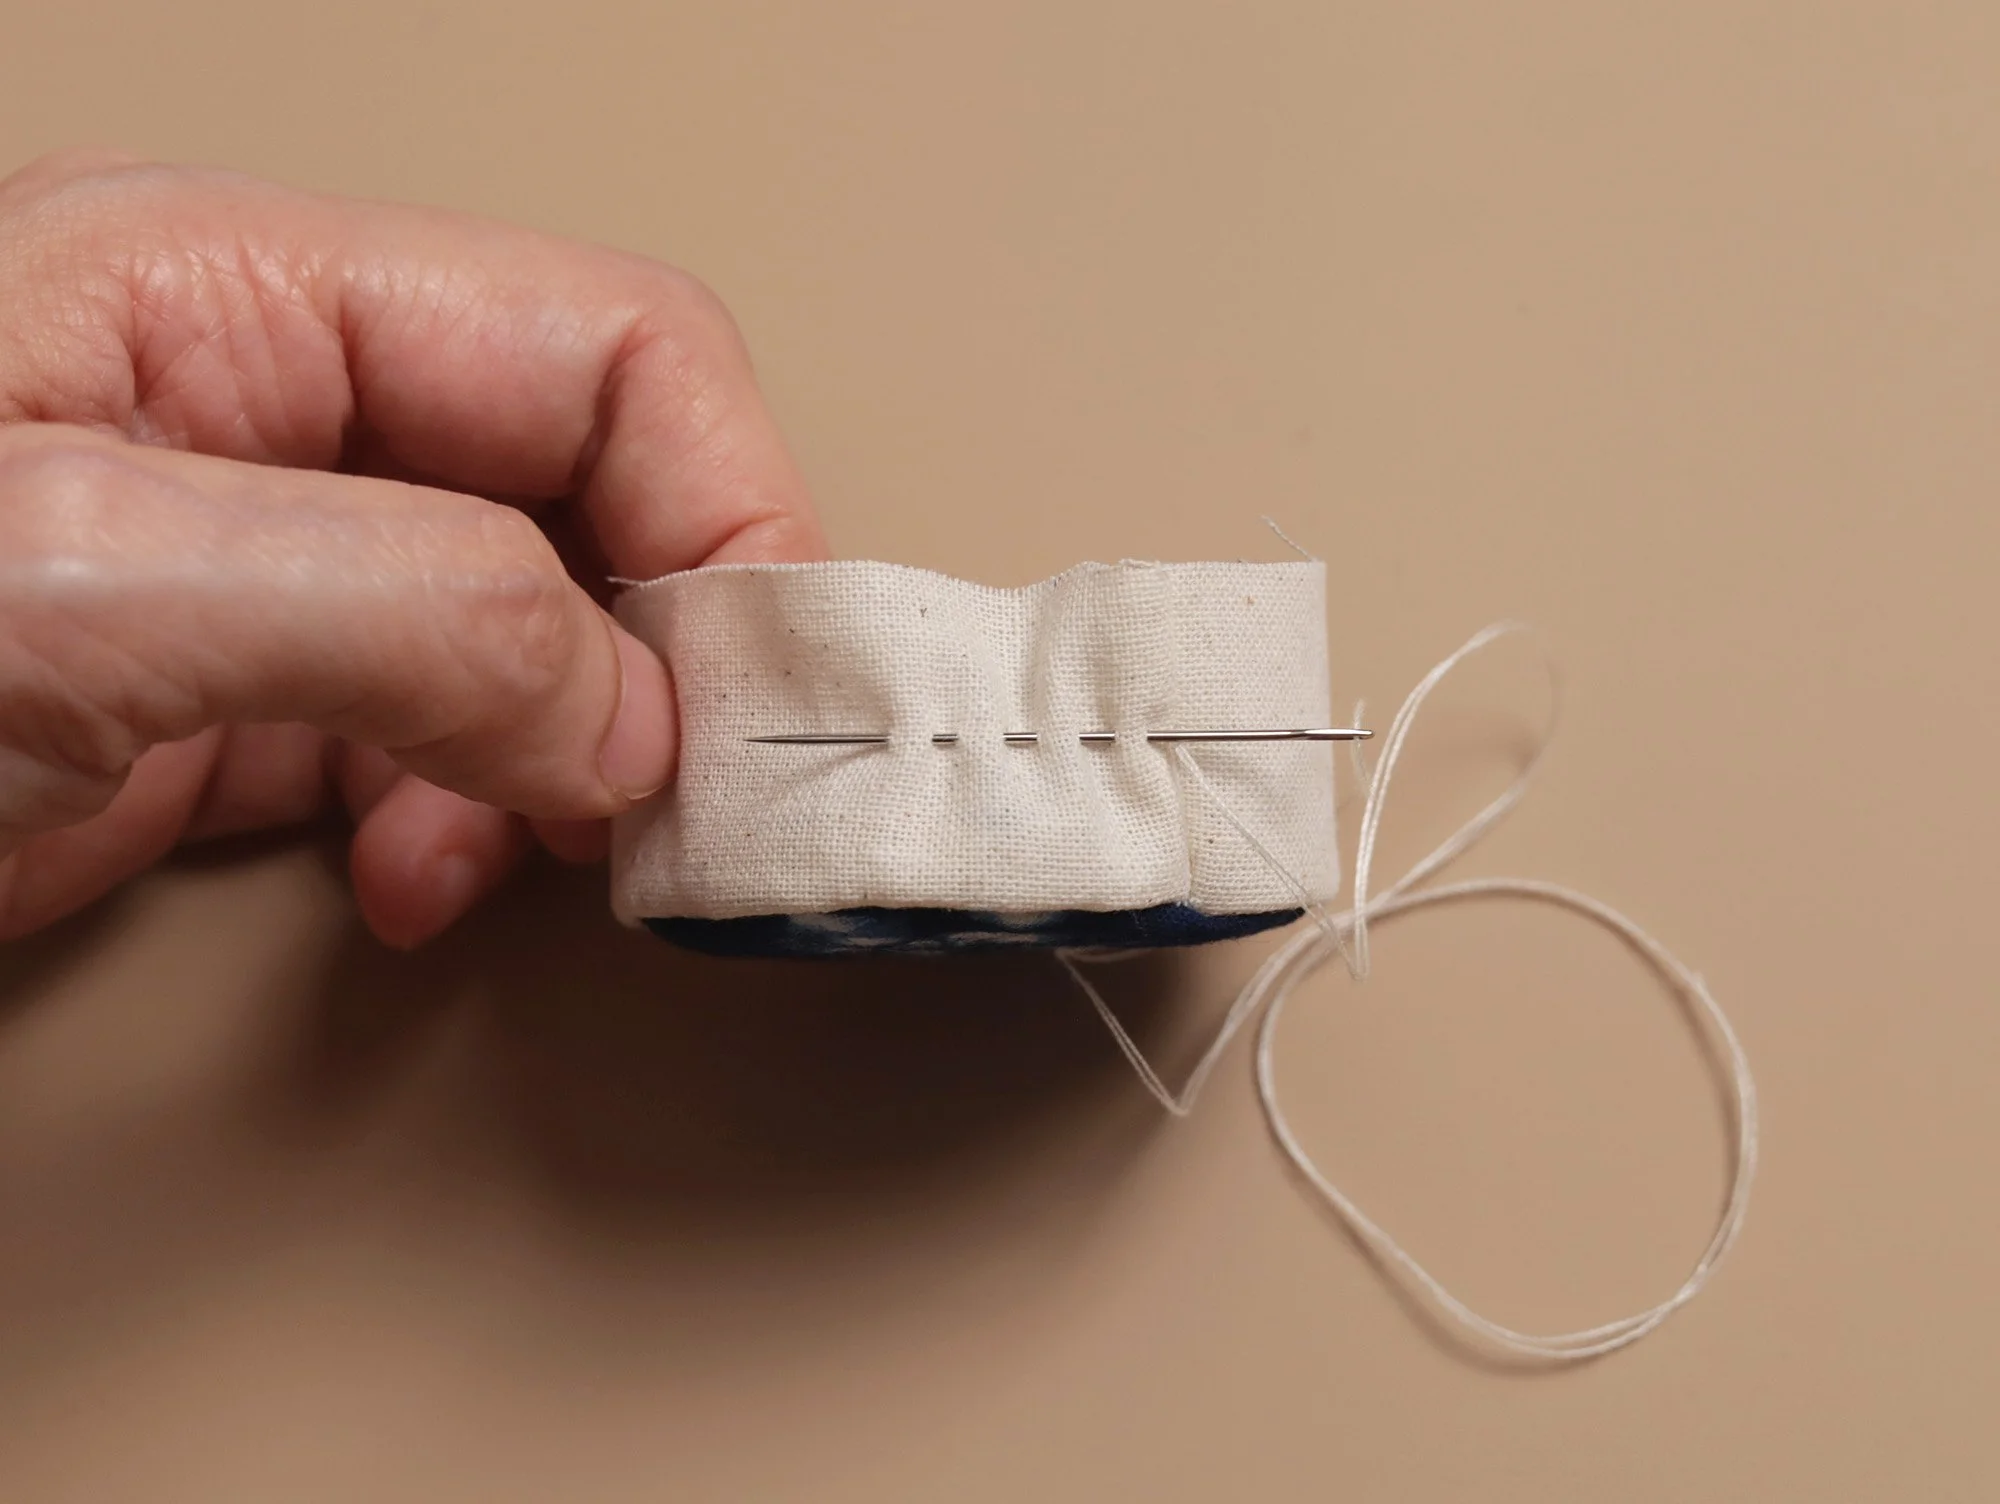
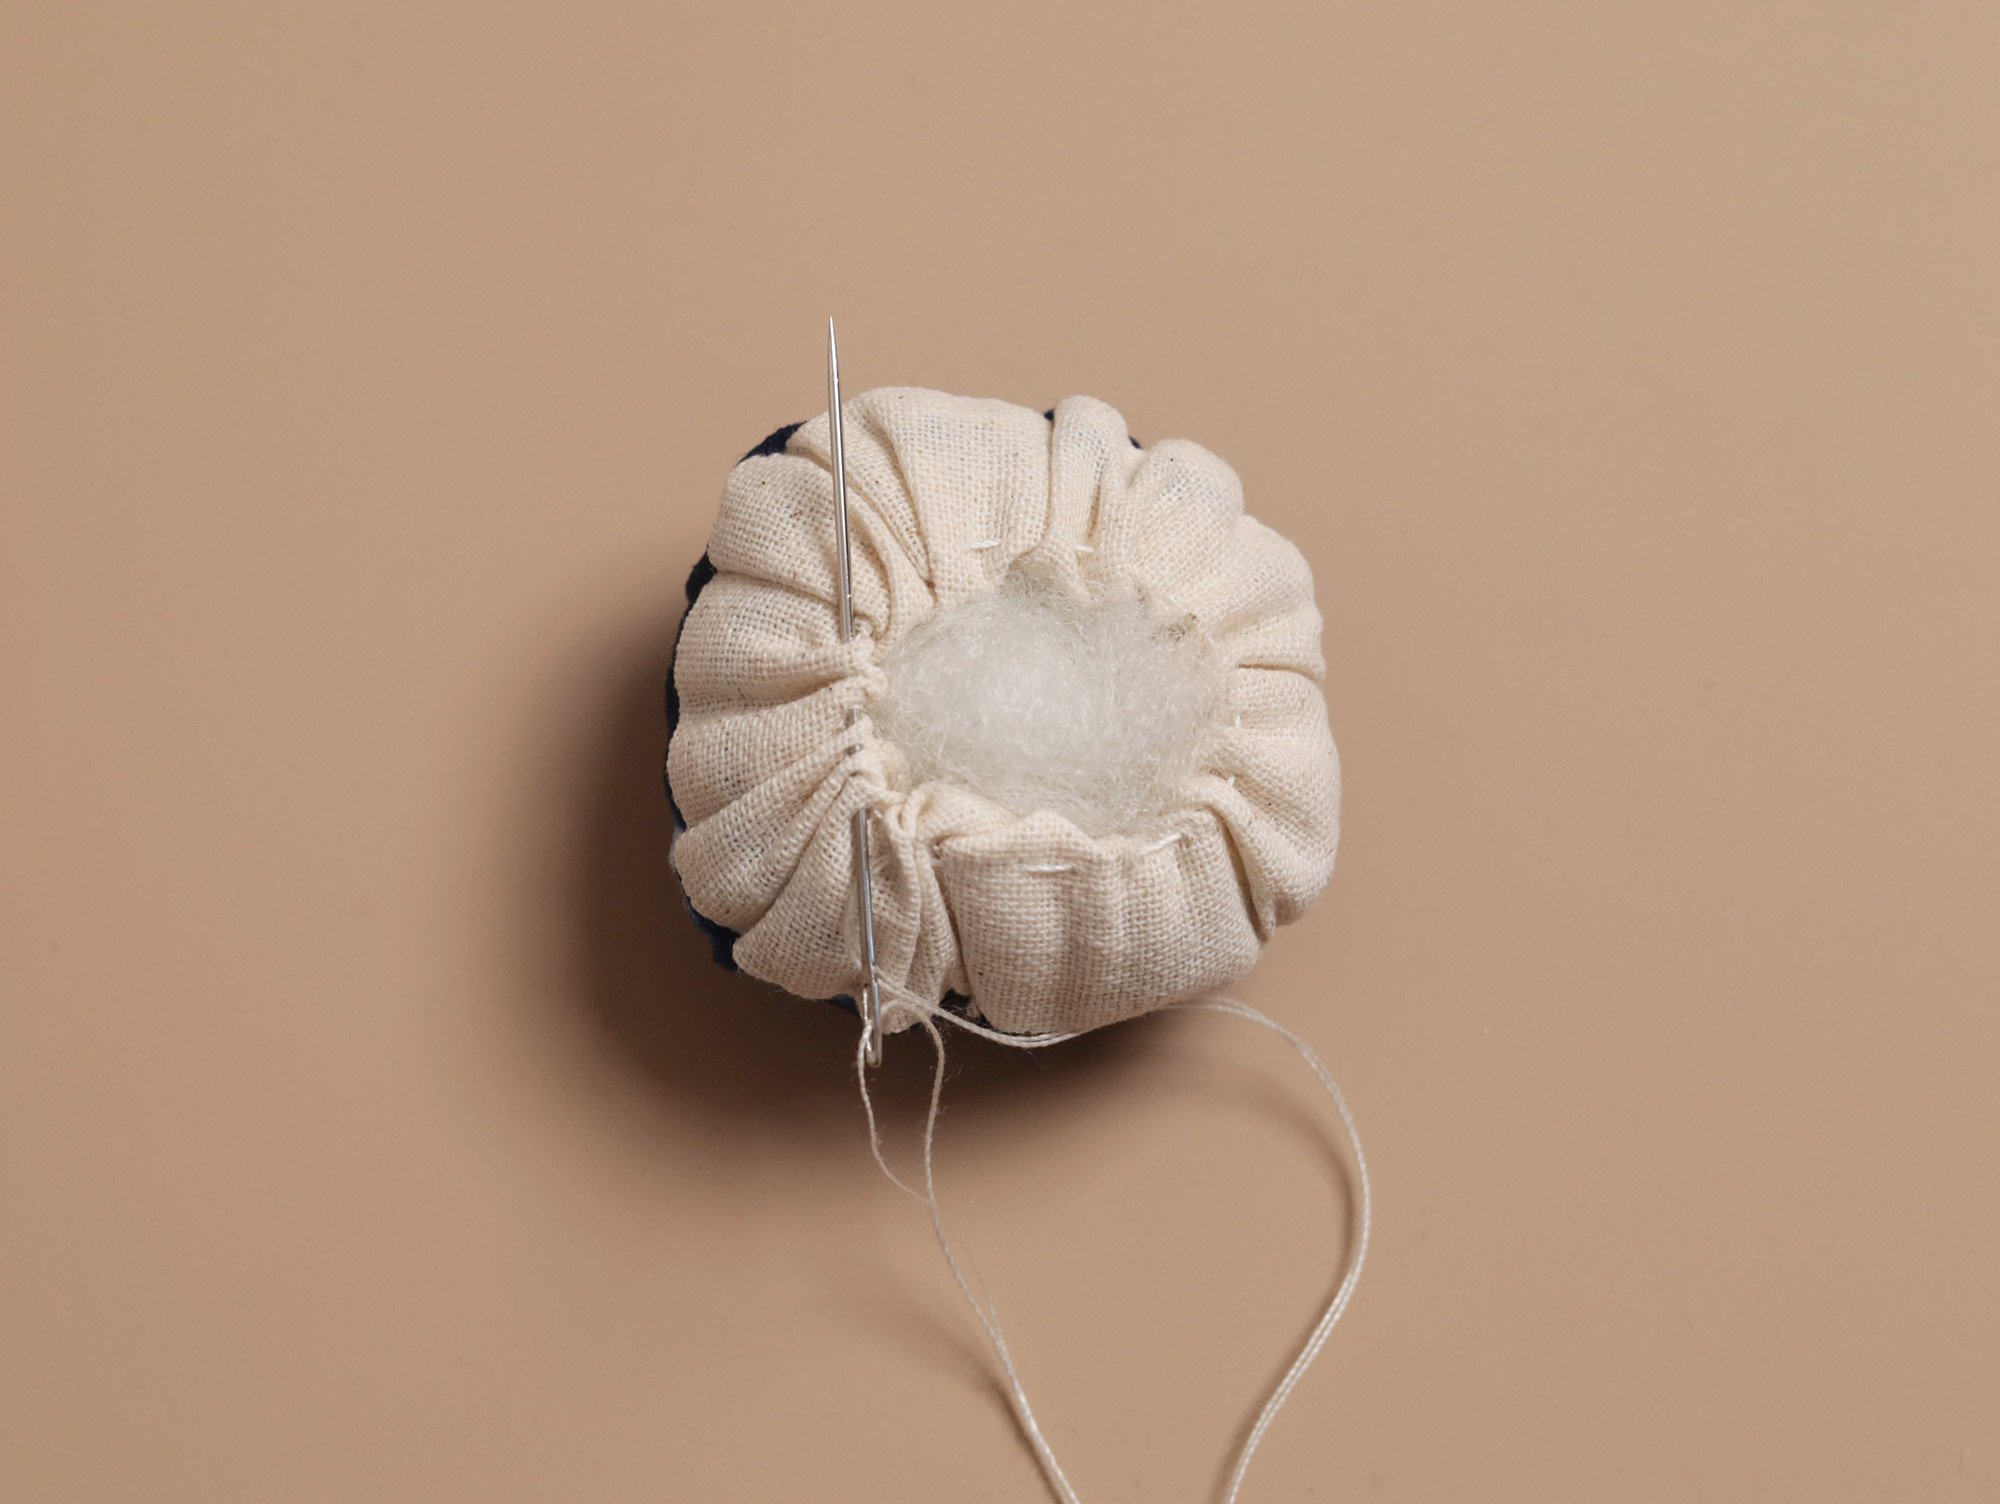
Stitch around the middle of the strip using a running stitch, pulling the thread every few stitches to gather the lining fabric. Stuff the filling into the cap until it is full and firm.
Note: You can either fold in the seam allowance as shown in the third photo below, or leave them on the outside to form a ring.
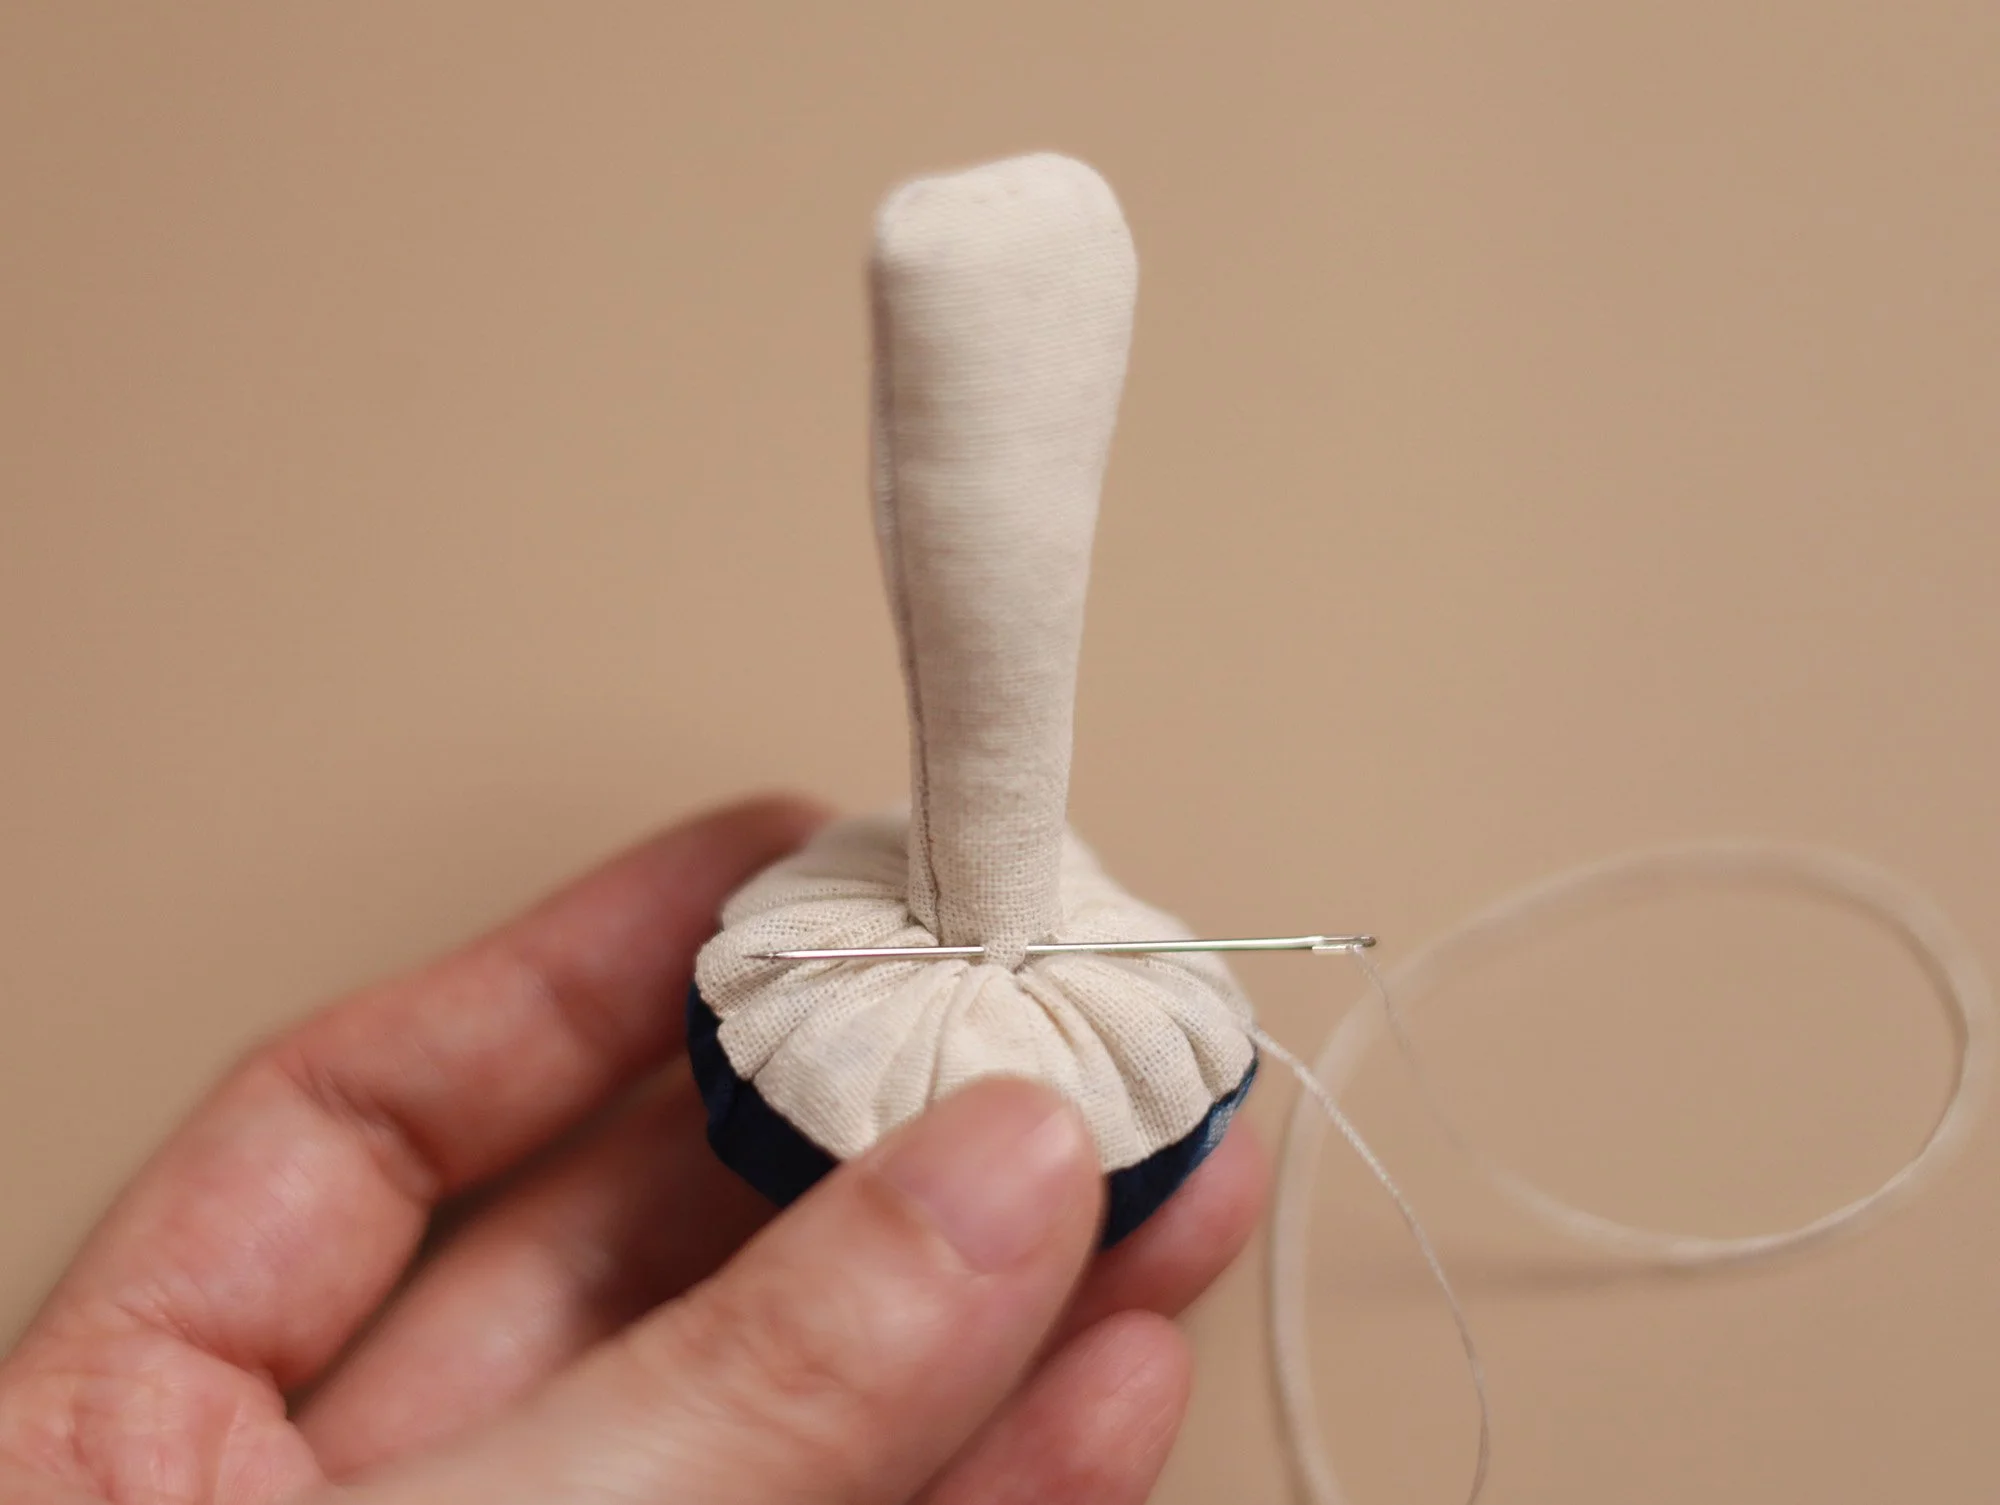
Stitch around the opening once more using a running stitch, then pull the thread tight to close it — this helps the opening close neatly and stay securely closed.
3. Decoration (optional)
Decorate the mushroom in whichever way you prefer.
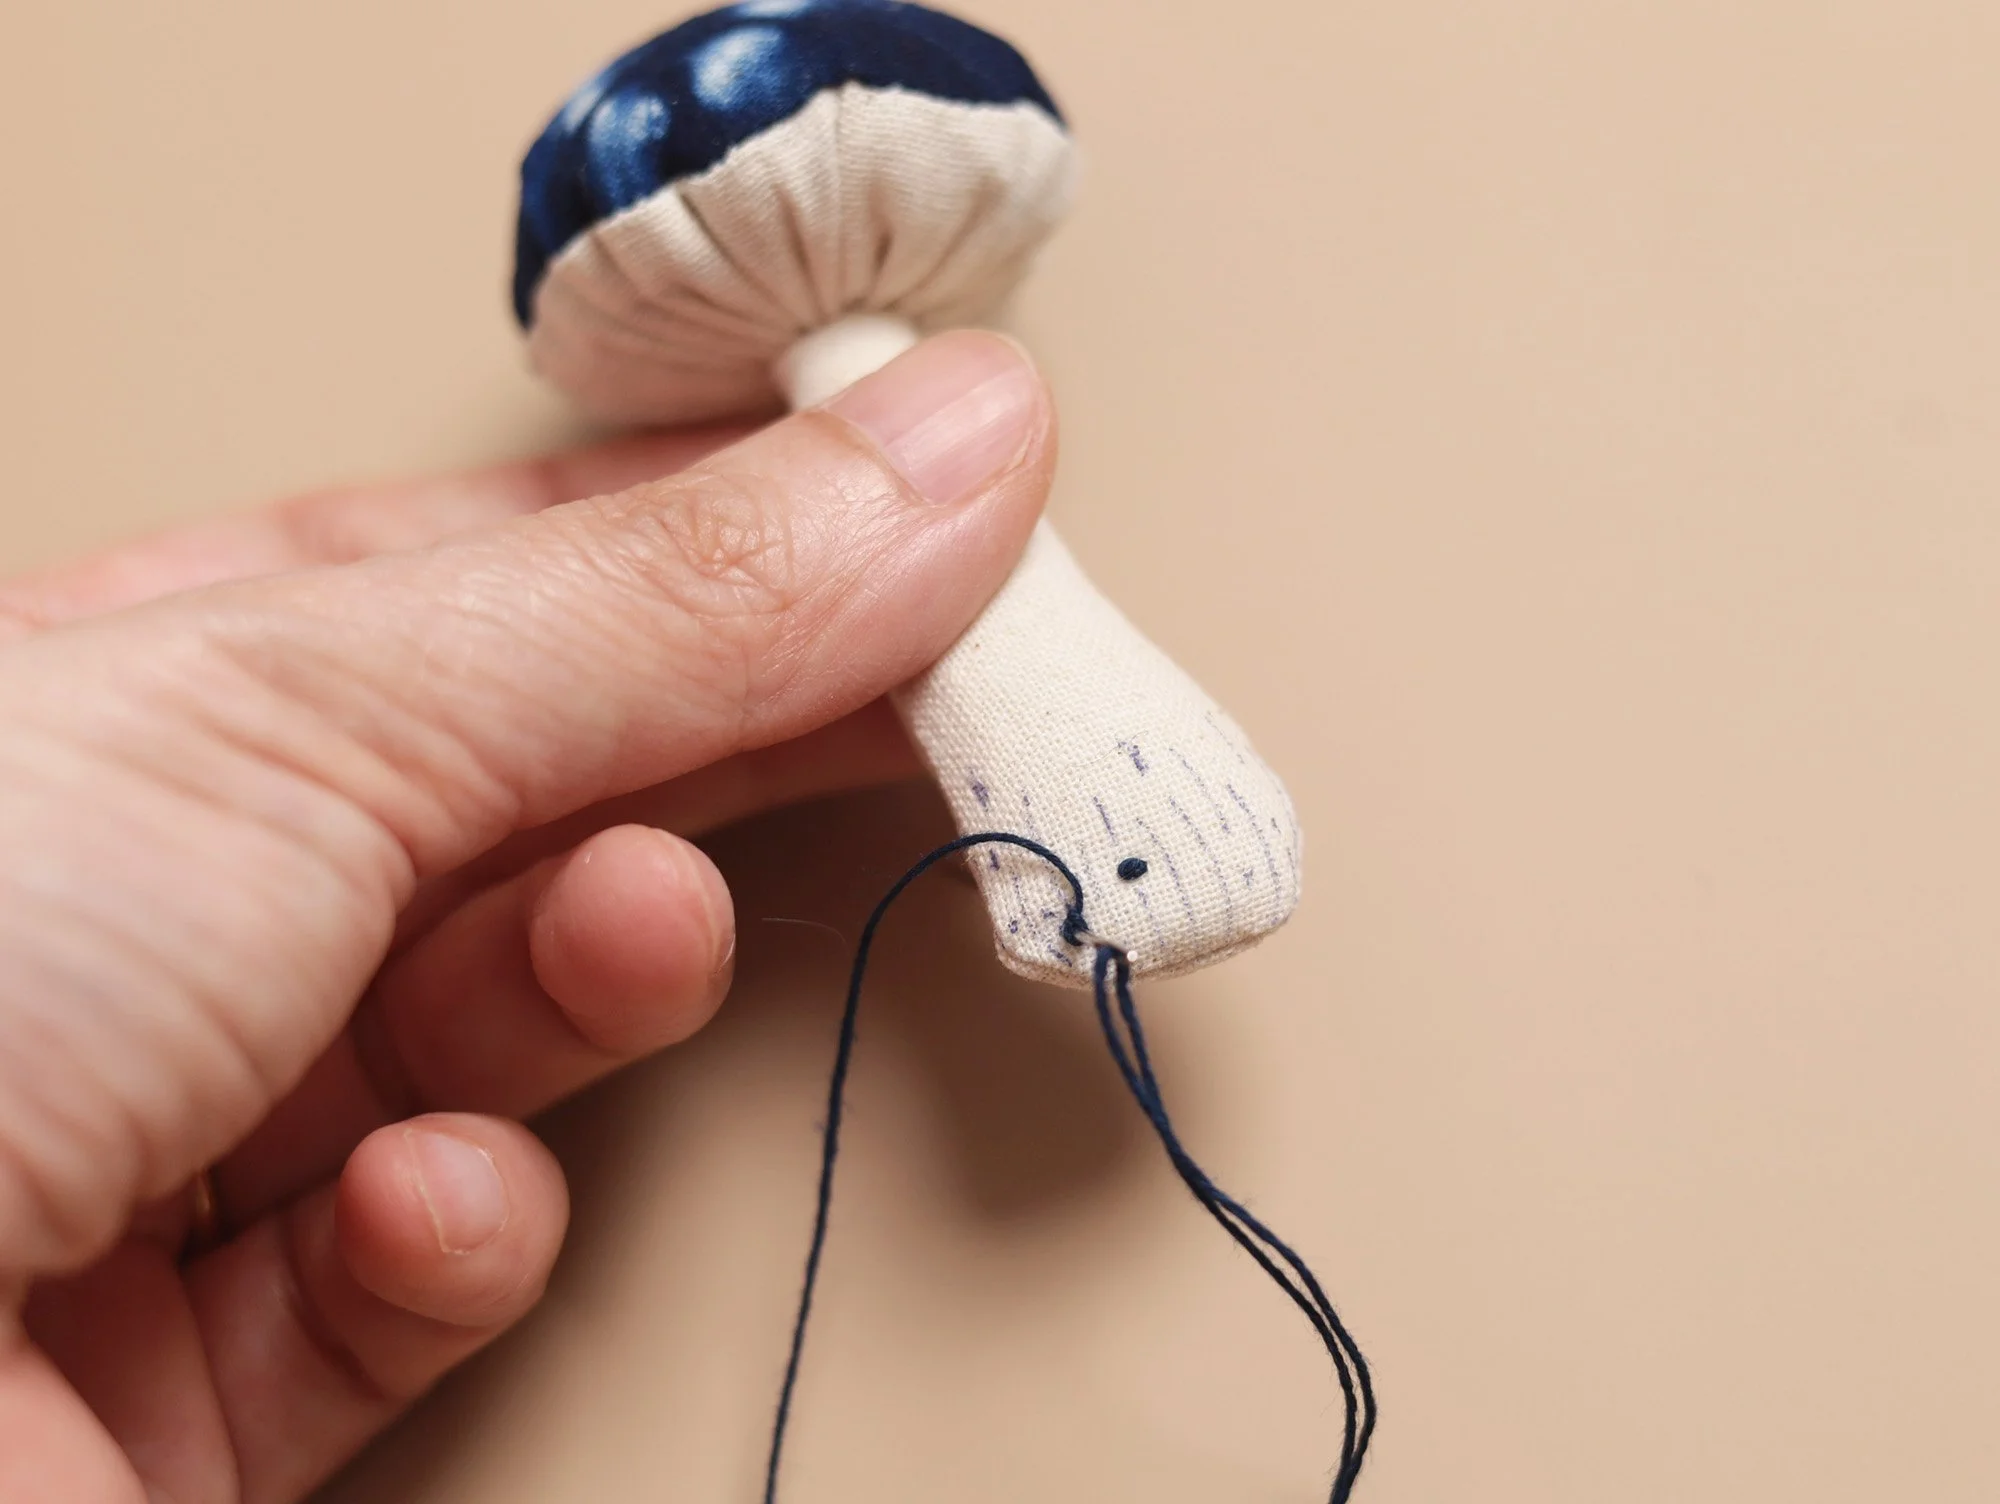
As shown in the photos, I first drew lines and dots near the root using a heat-erasable pen, then stitched over them with Straight Stitch and French Knot Stitch using indigo plant-dyed Sashiko thread. You can also create small dented spots on the stem by making tiny stitches and pulling them snugly, or add wings using gathered lace trim.
To start stitching, tie a knot if using fine sewing thread. Insert the needle anywhere along the side seam of the stem and pull the knot inside. If using thick Sashiko thread, do the same without tying a knot. As we are stitching on the finished mushroom, make sure each stitch ends where the next stitch begins, whether on the same side or the opposite side of the stem. To finish stitching, bring the needle out from anywhere and trim the thread.
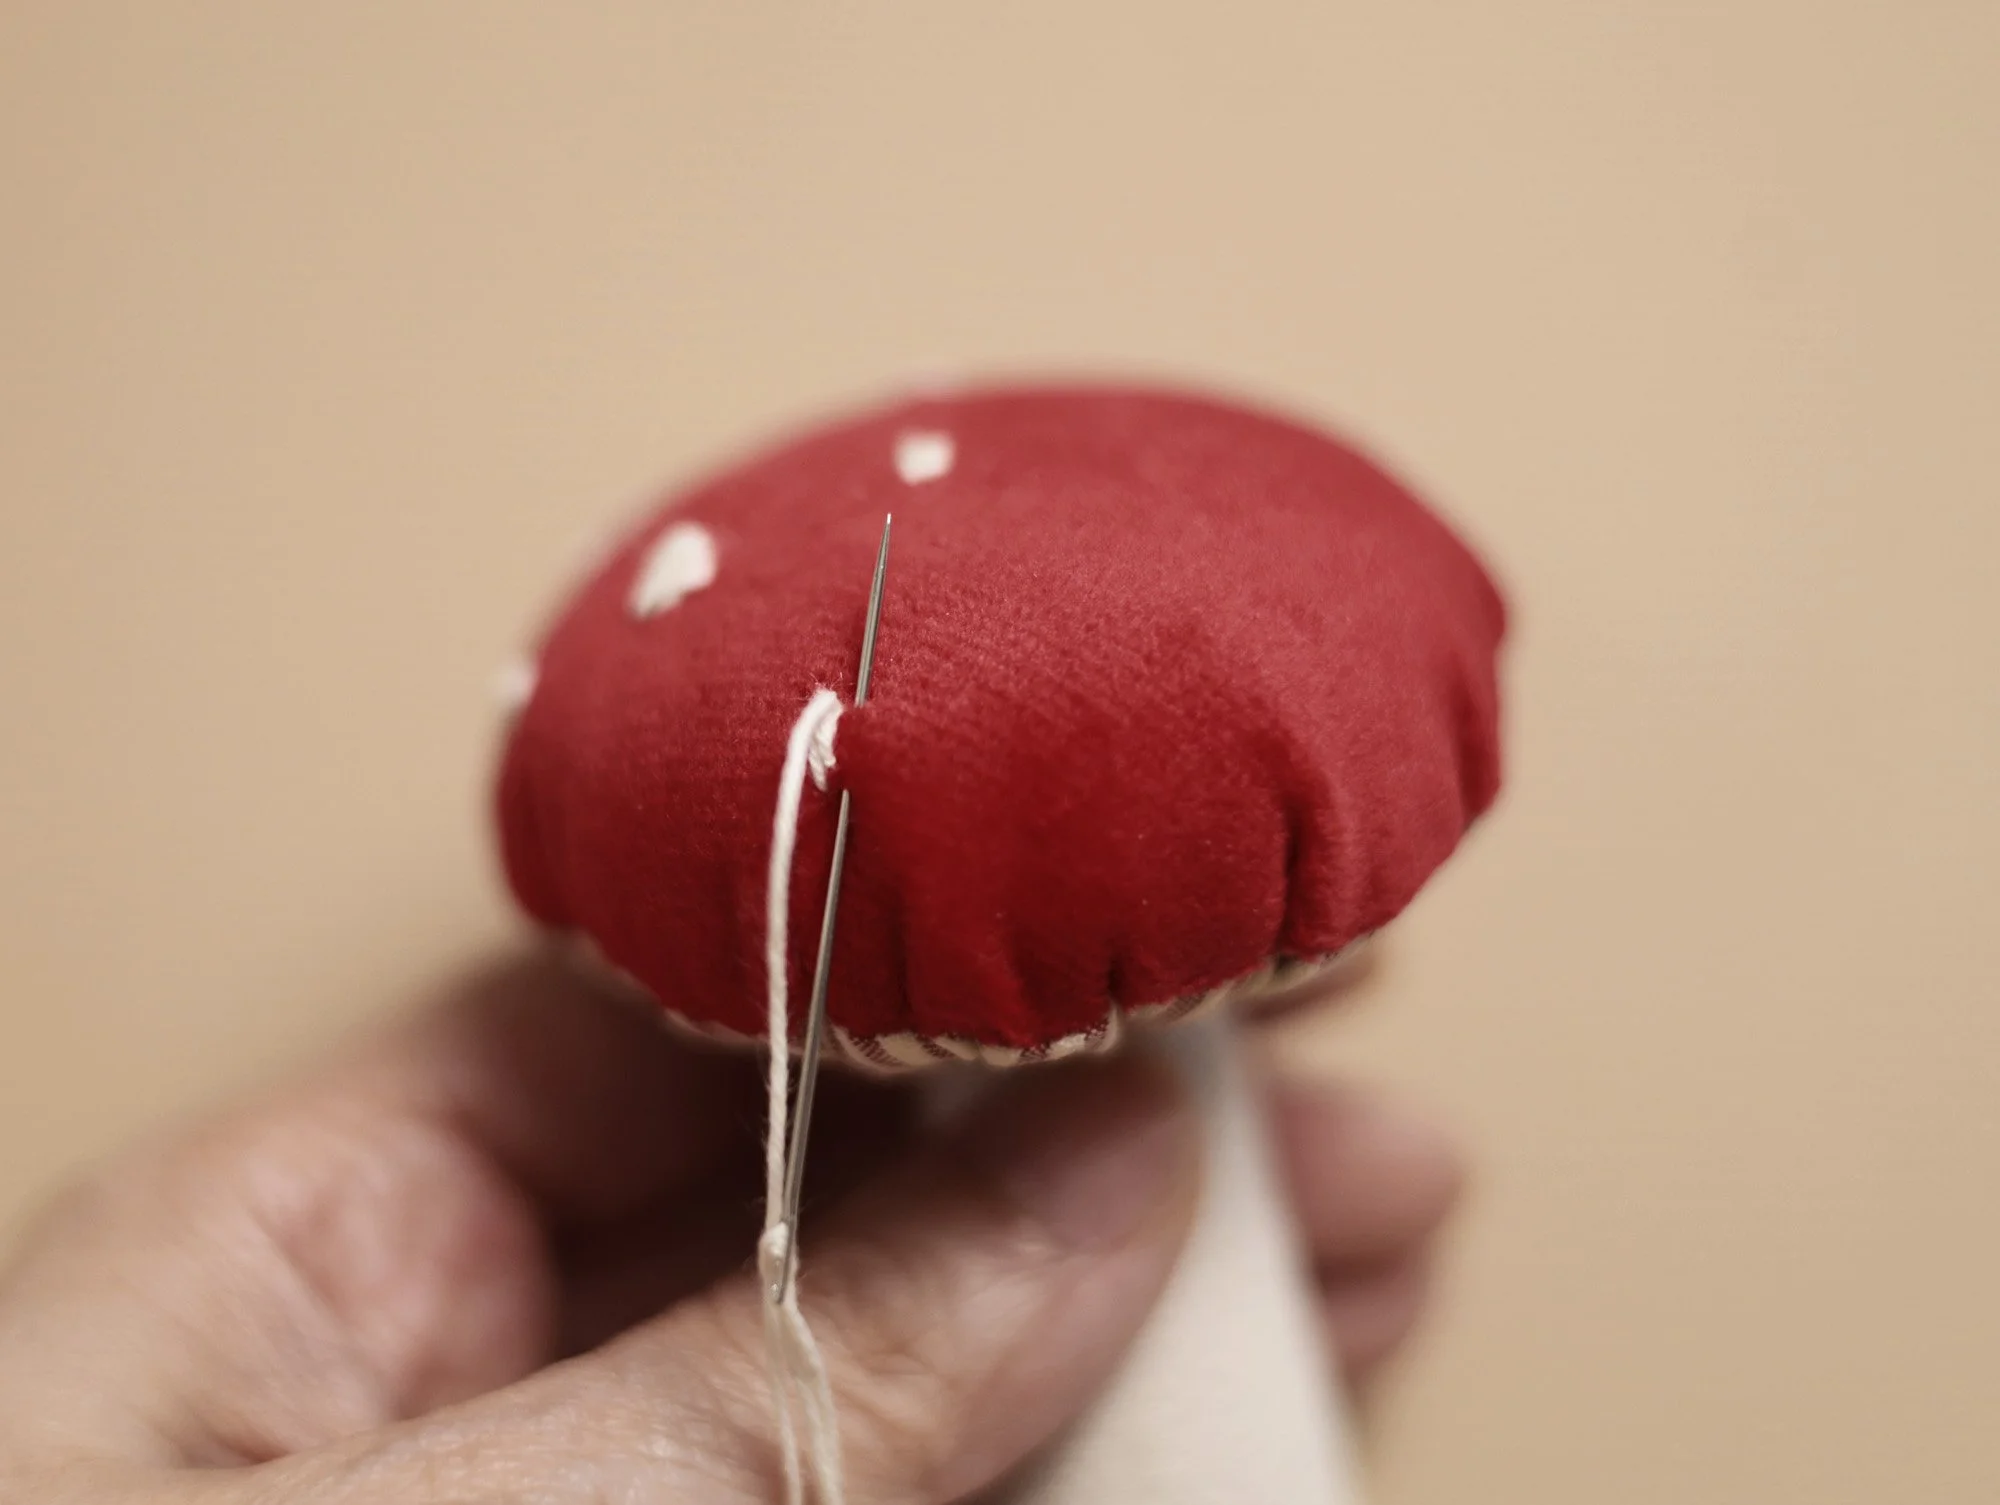
You can also decorate the mushroom by adding spots on the cap. As shown in the photos below, I used Satin Stitch with Sashiko thread for the large red MR01, and white/translucent beads for MR02 and MR03.
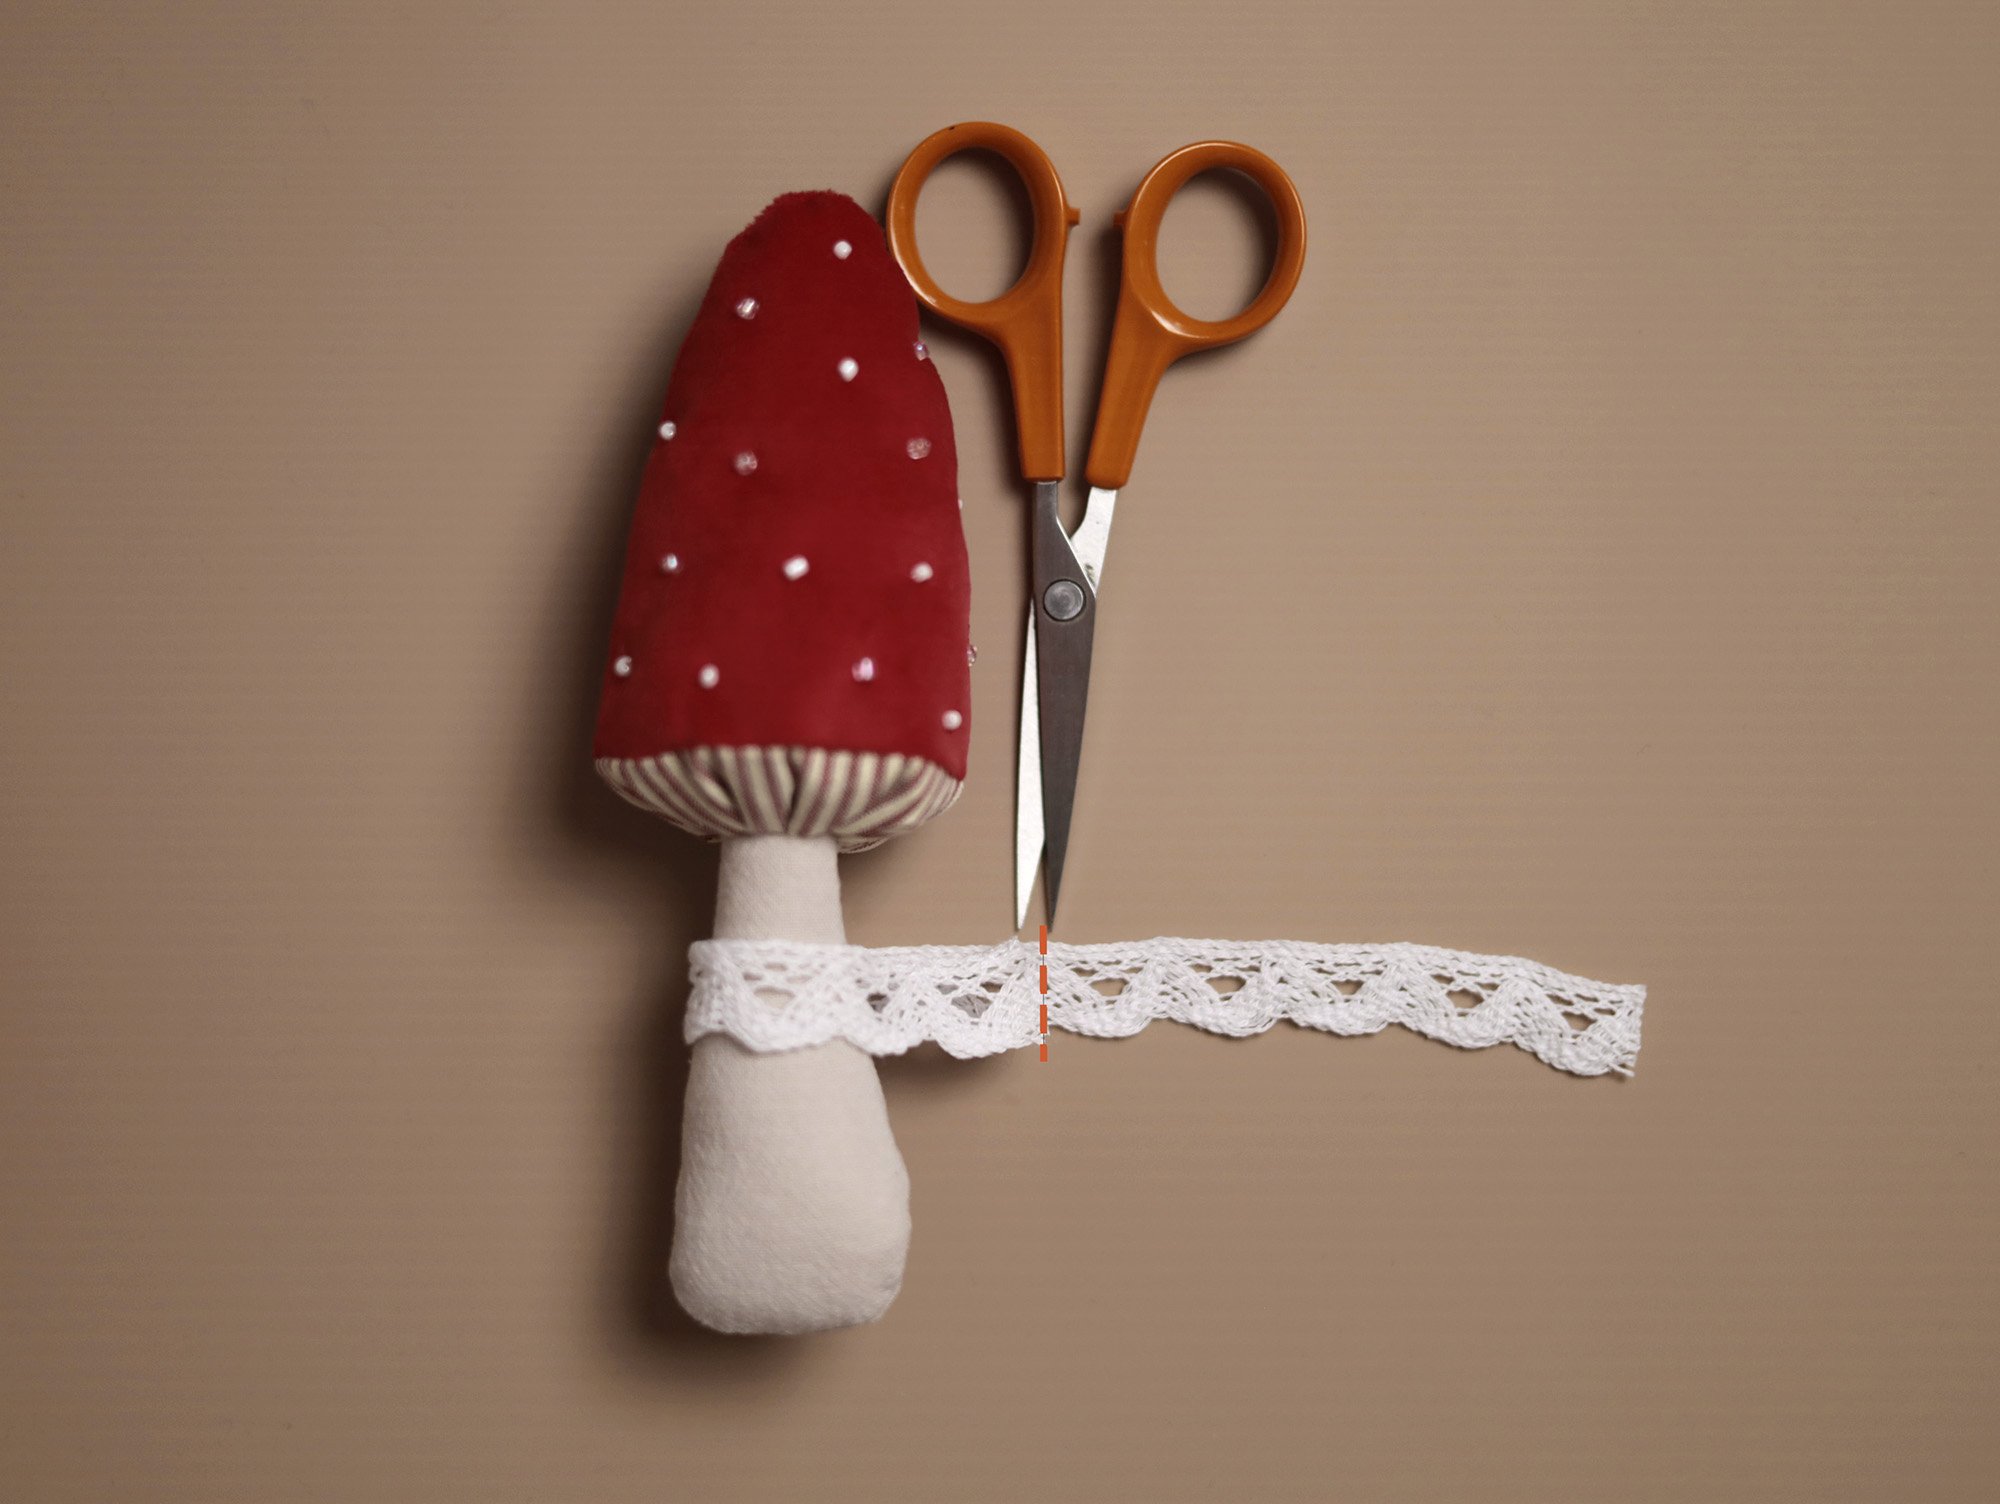
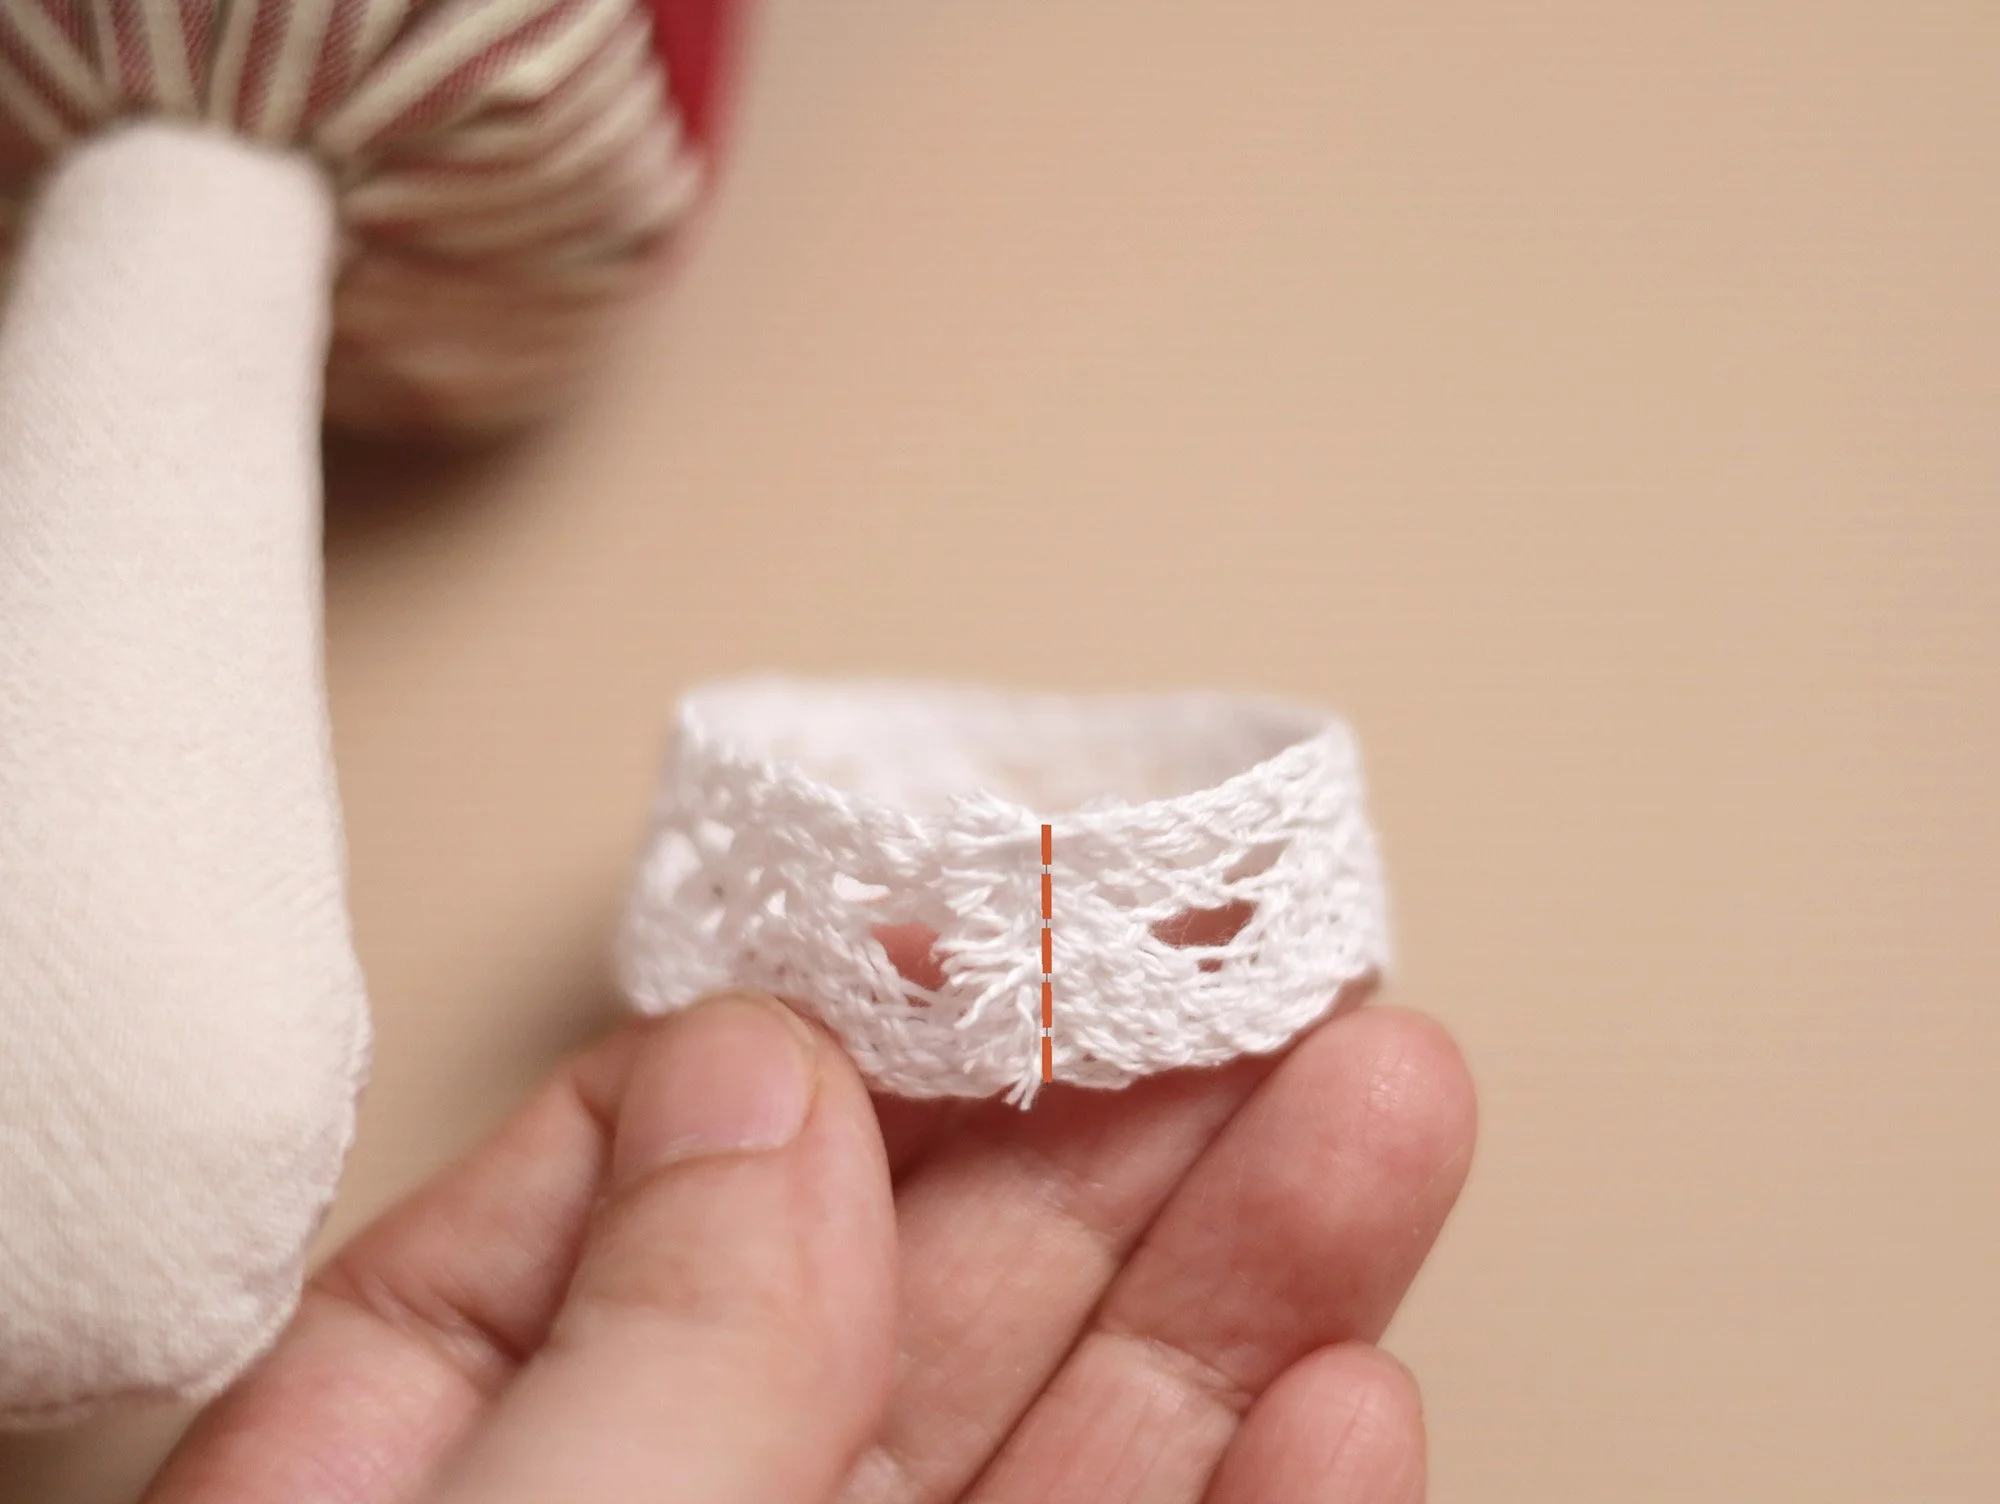
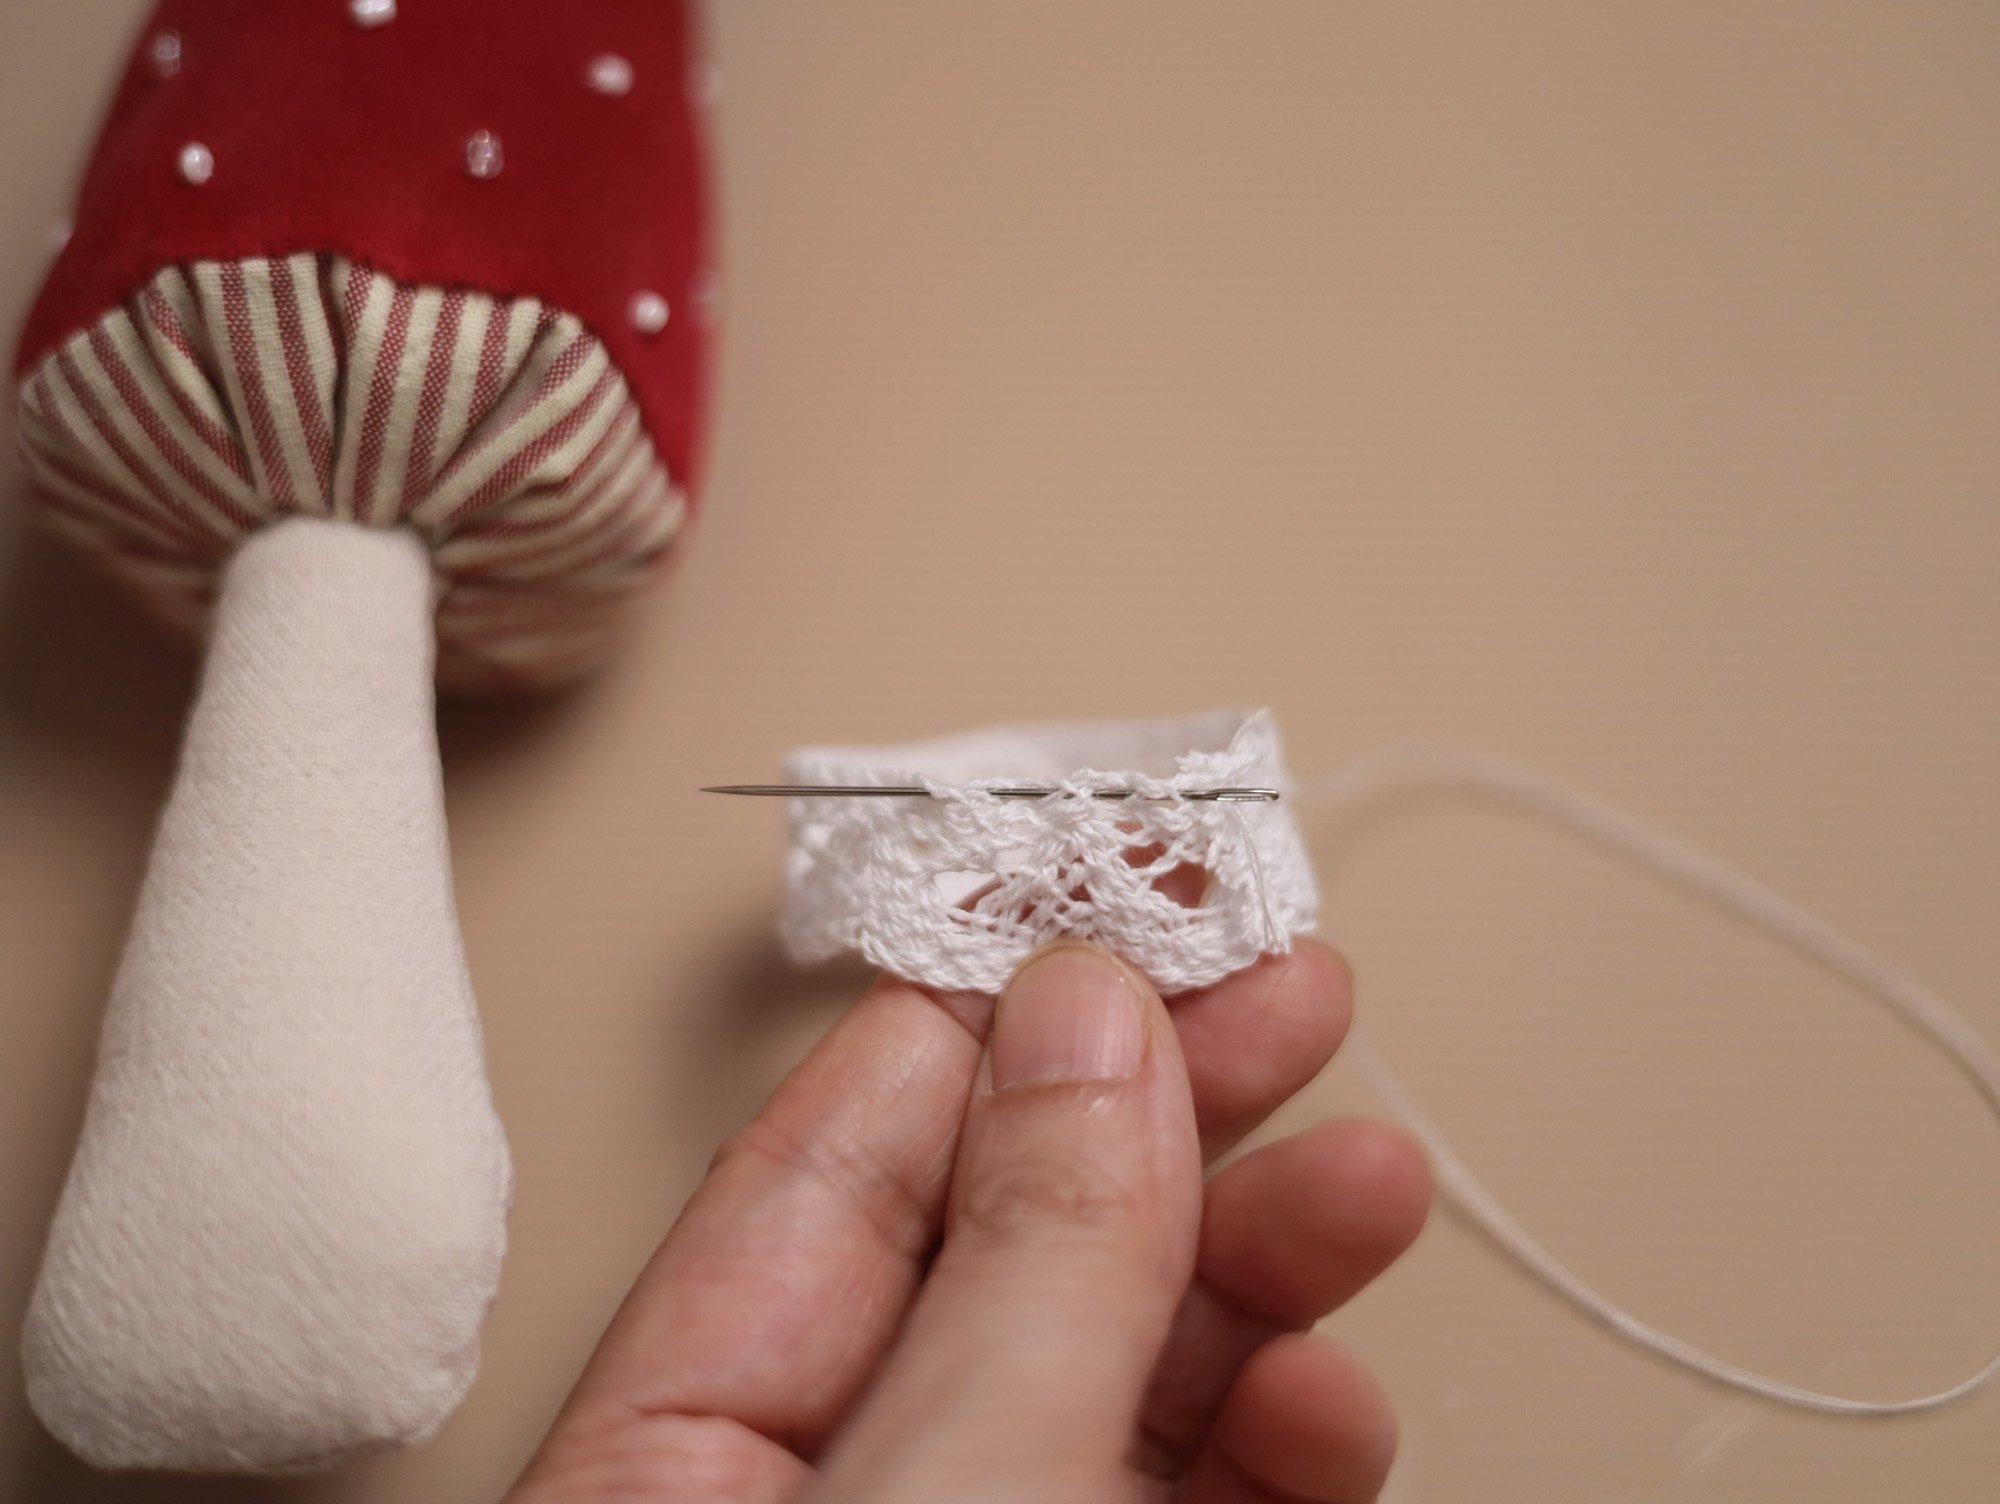
If desired, you can add a decorative ruffle to the mushroom using lace trim. Wrap the lace trim around the stem where you would like the ruffle to sit. Cut a length approximately twice the stem’s circumference, then trim away any excess. Overlap the two short ends of the lace trim and sew them together to form a ring.
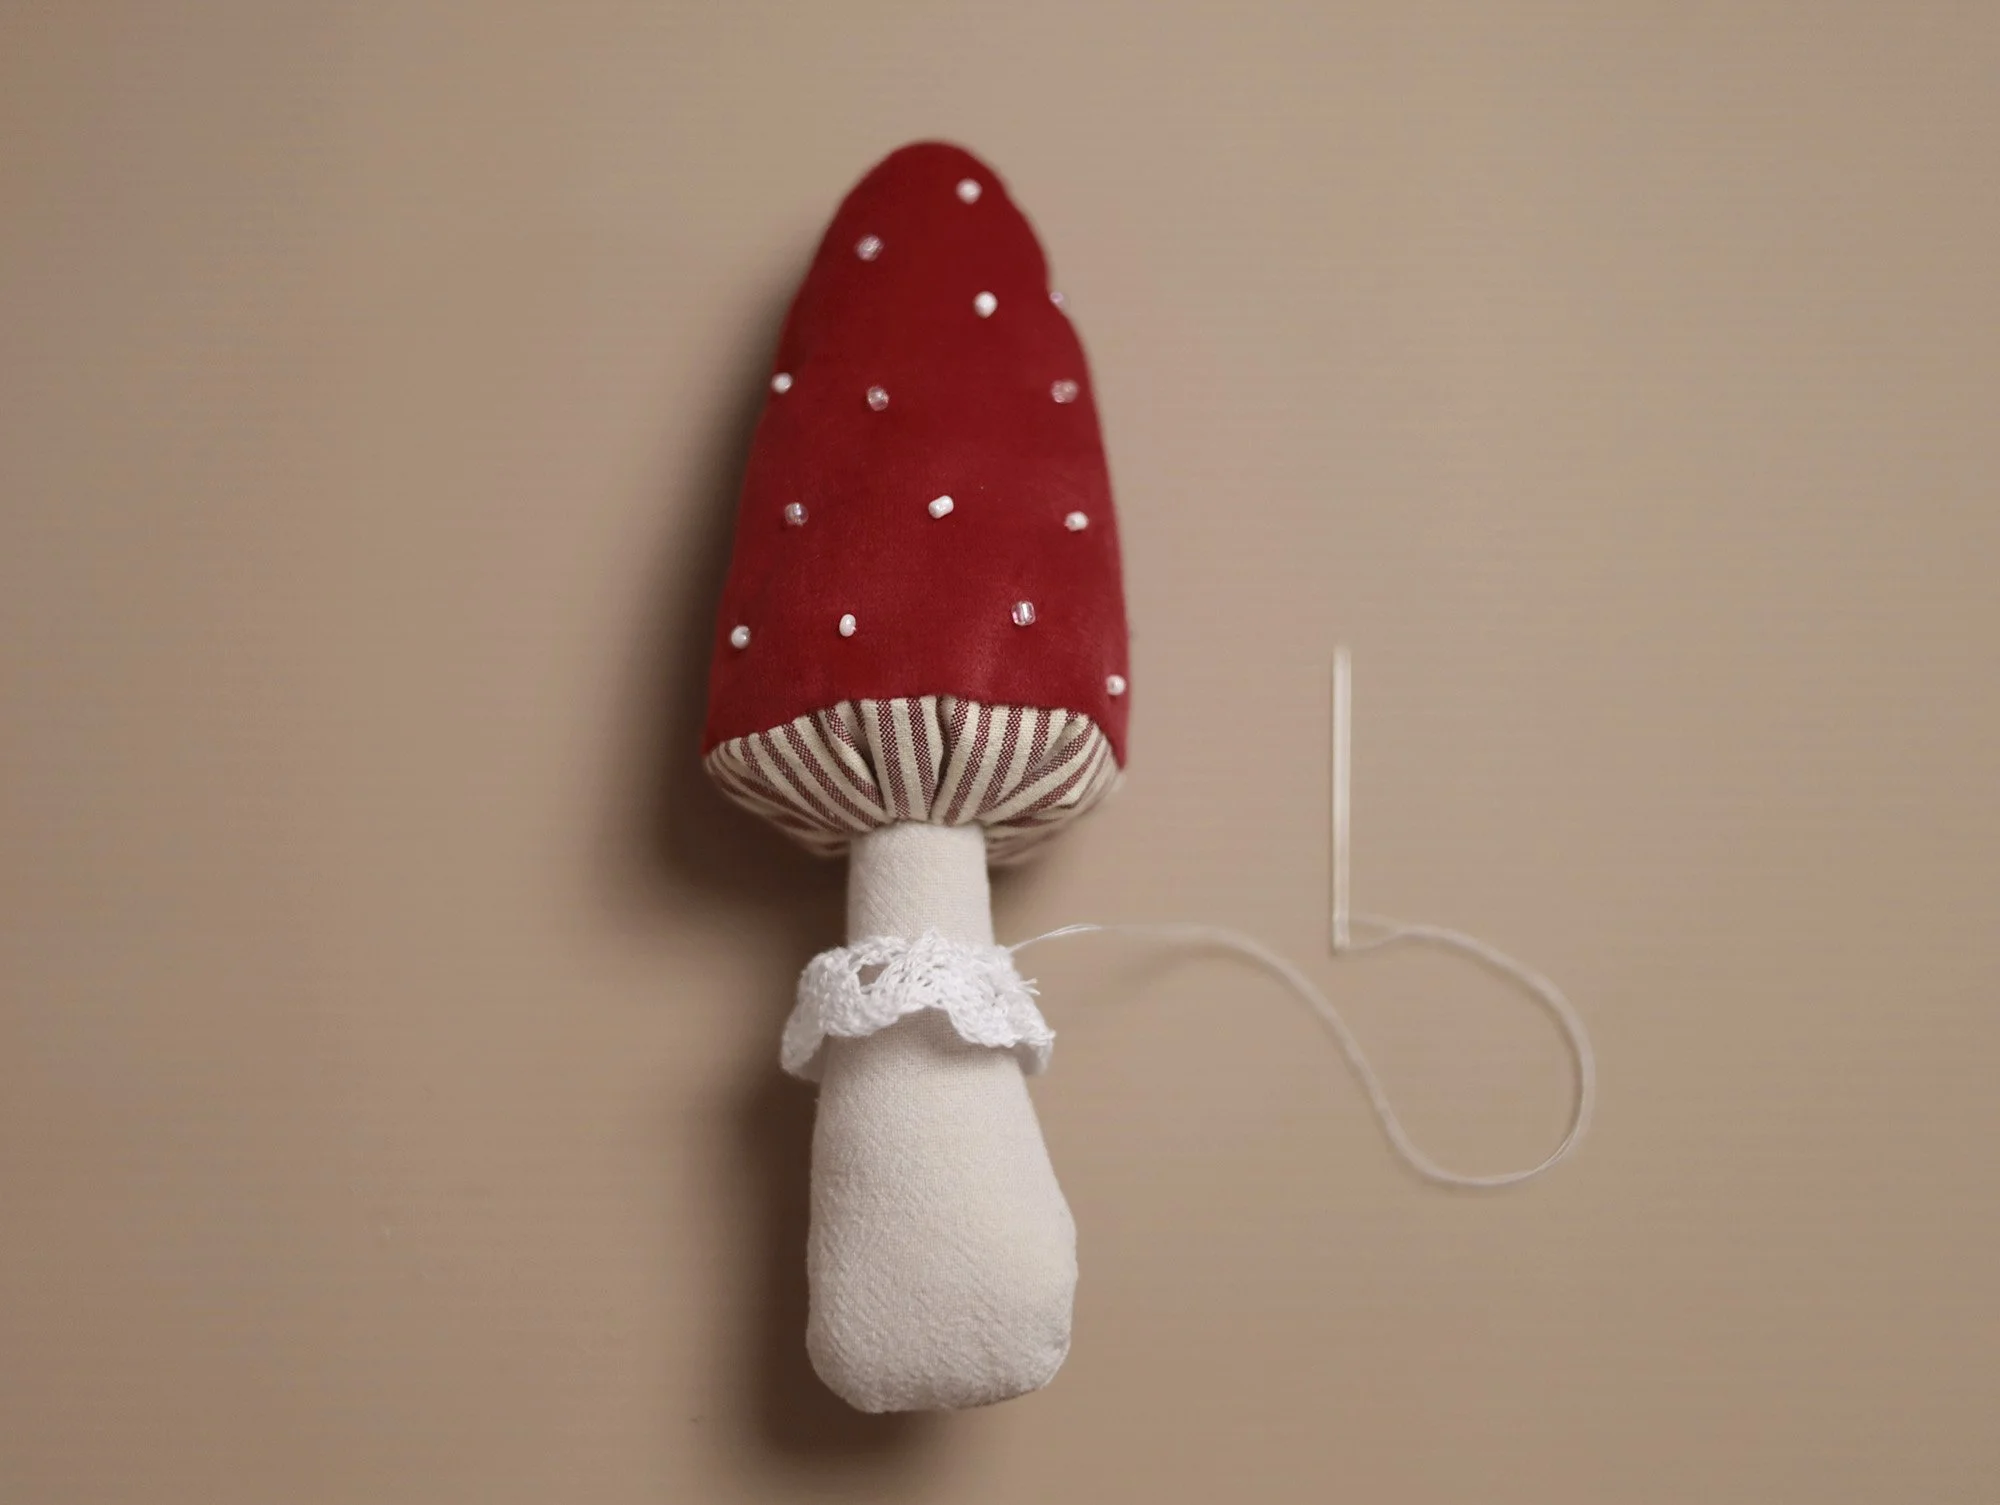
Using small running stitches, sew around the top edge of the lace trim ring. Slip the ring over the stem, then gently pull the thread to gather the lace around it. Adjust the gathers evenly, then stitch the lace securely to the stem.